In this post I will show you how to repair a canvas painting whether it has been ripped, torn, or has a hole or puncture. It’s easy if you have the few supplies needed and I will give you step by step instructions.
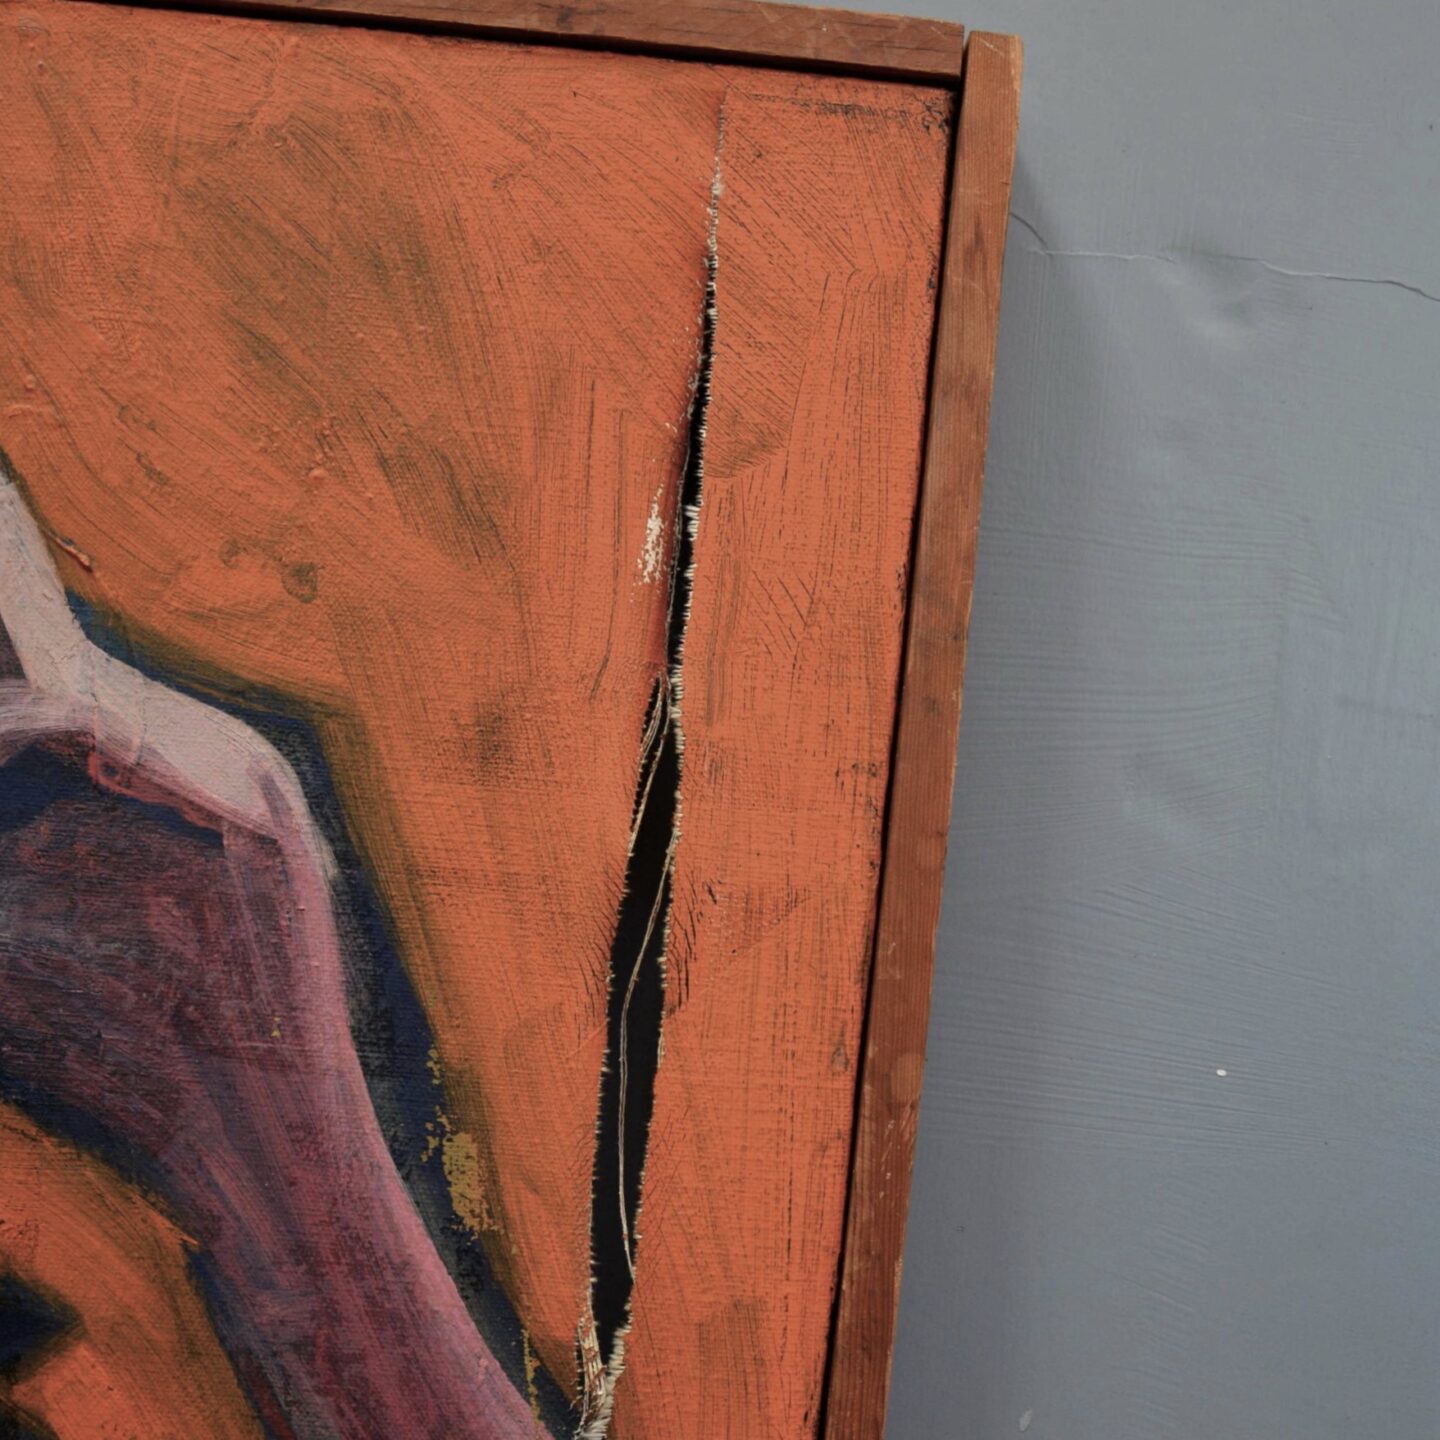
It doesn’t take long and you can bring your painting back to life and give it a second chance by repairing damage. This painting by Jeanne Johnston had a long tear in the canvas.
As an Amazon Associate, I may earn a small commission at no cost to you if you purchase a product I linked to. This helps me with the cost of running this website. Thank you!
Supplies to repair a canvas painting
Over the years I’ve repaired a number of canvas paintings and I will walk you through my steps. My example is of a canvas with a farily large rip in it. And don’t worry, it’s easy.
You will need:
- a flat work surface depending on the size of the painting
- a piece of canvas for the patch
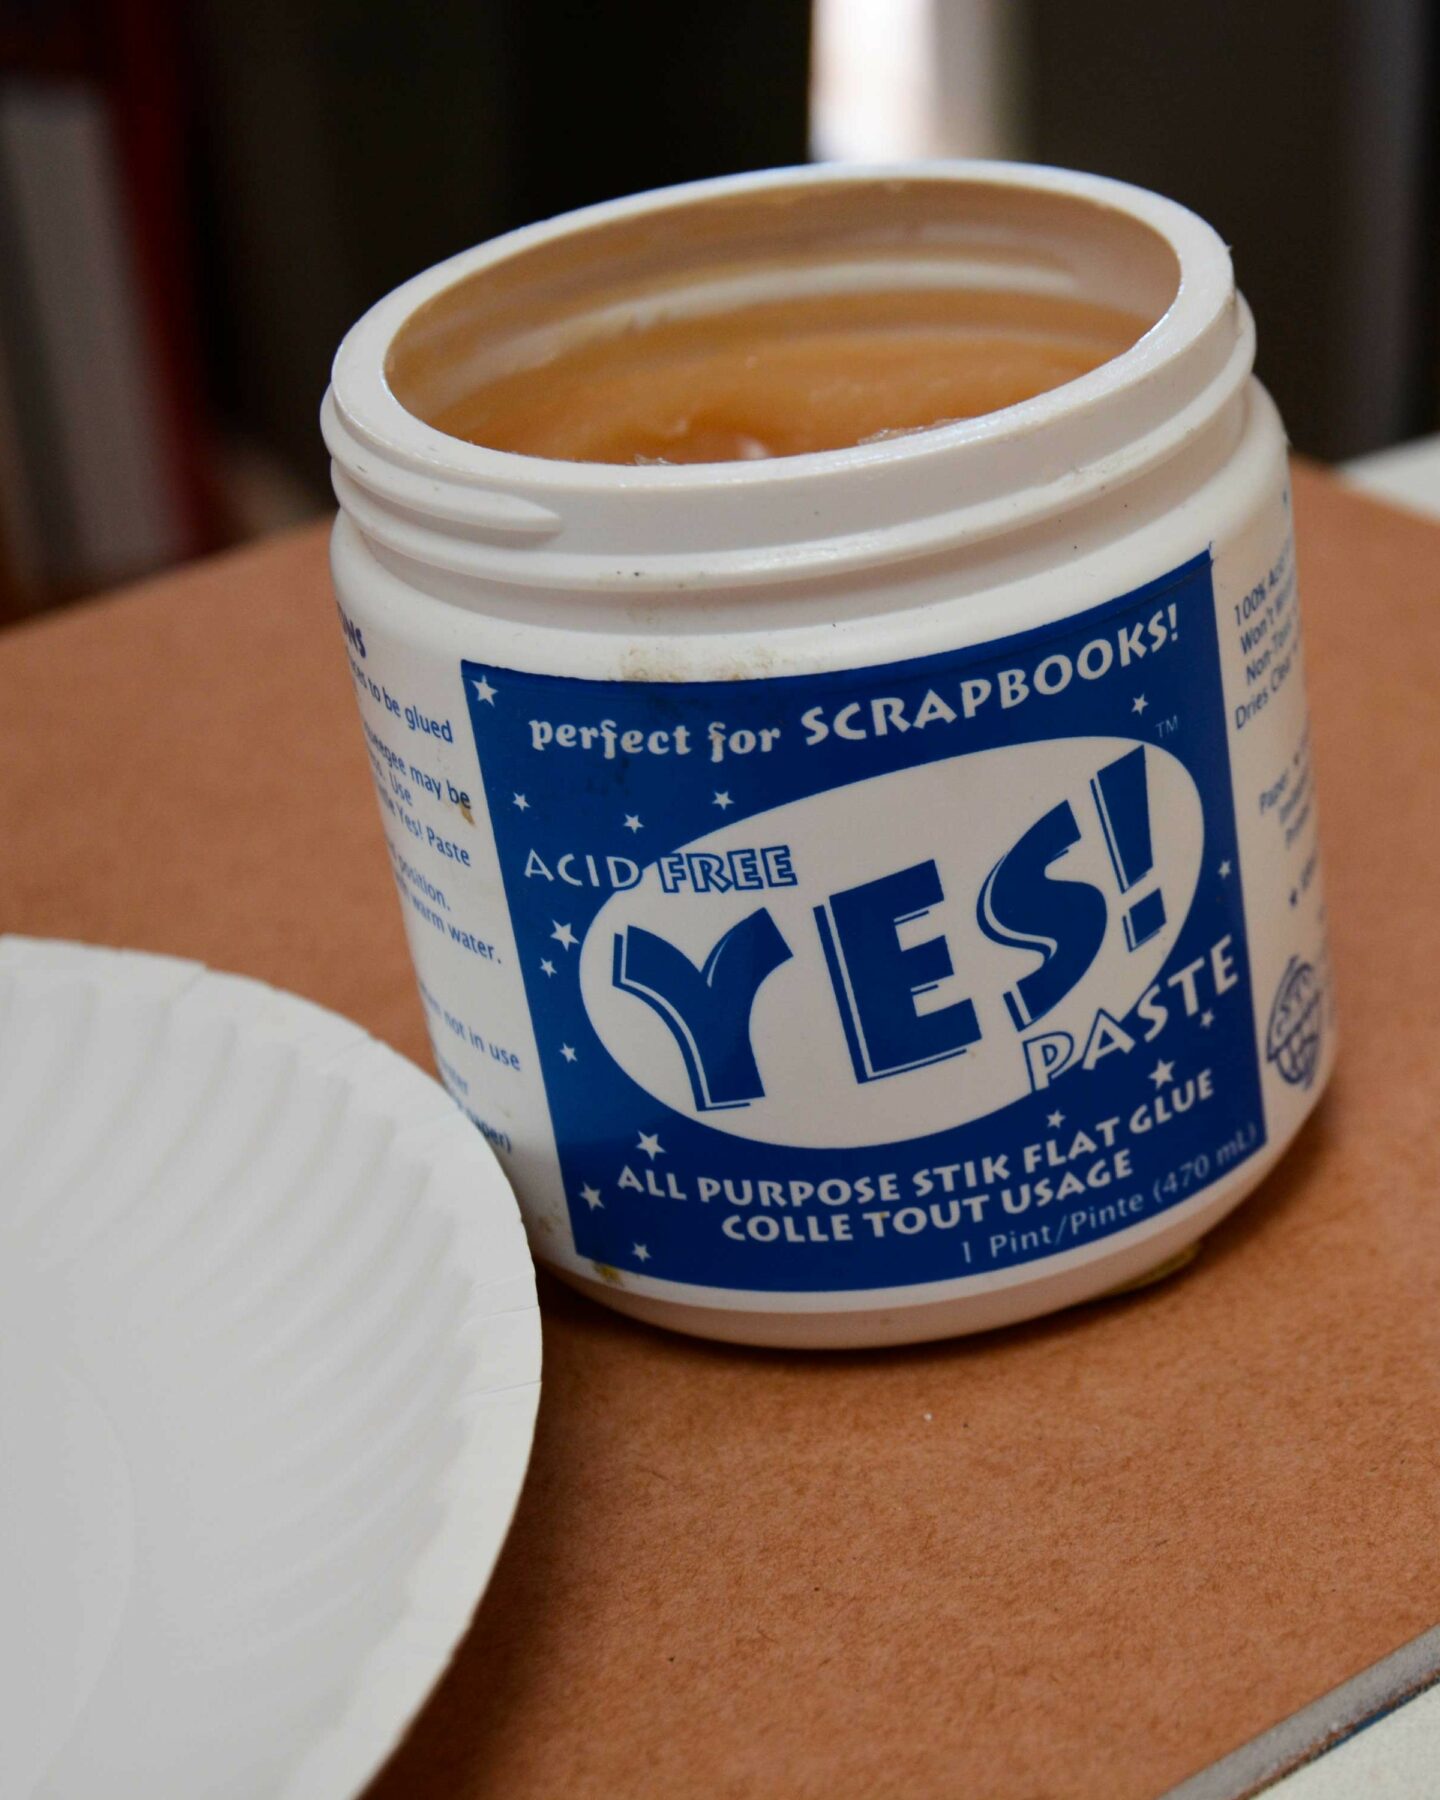
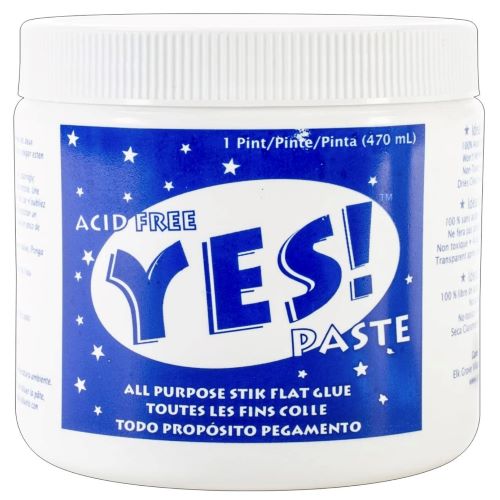
- YES! paste or similar glue
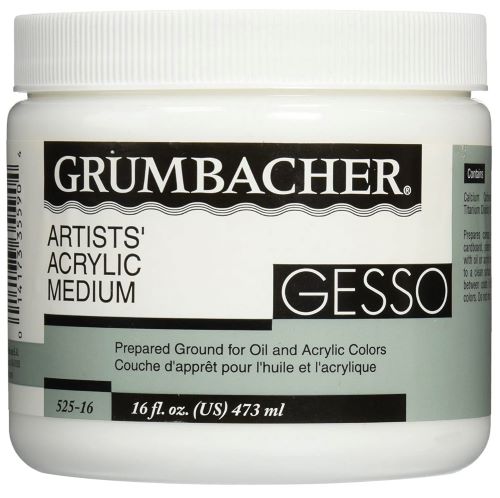
- gesso
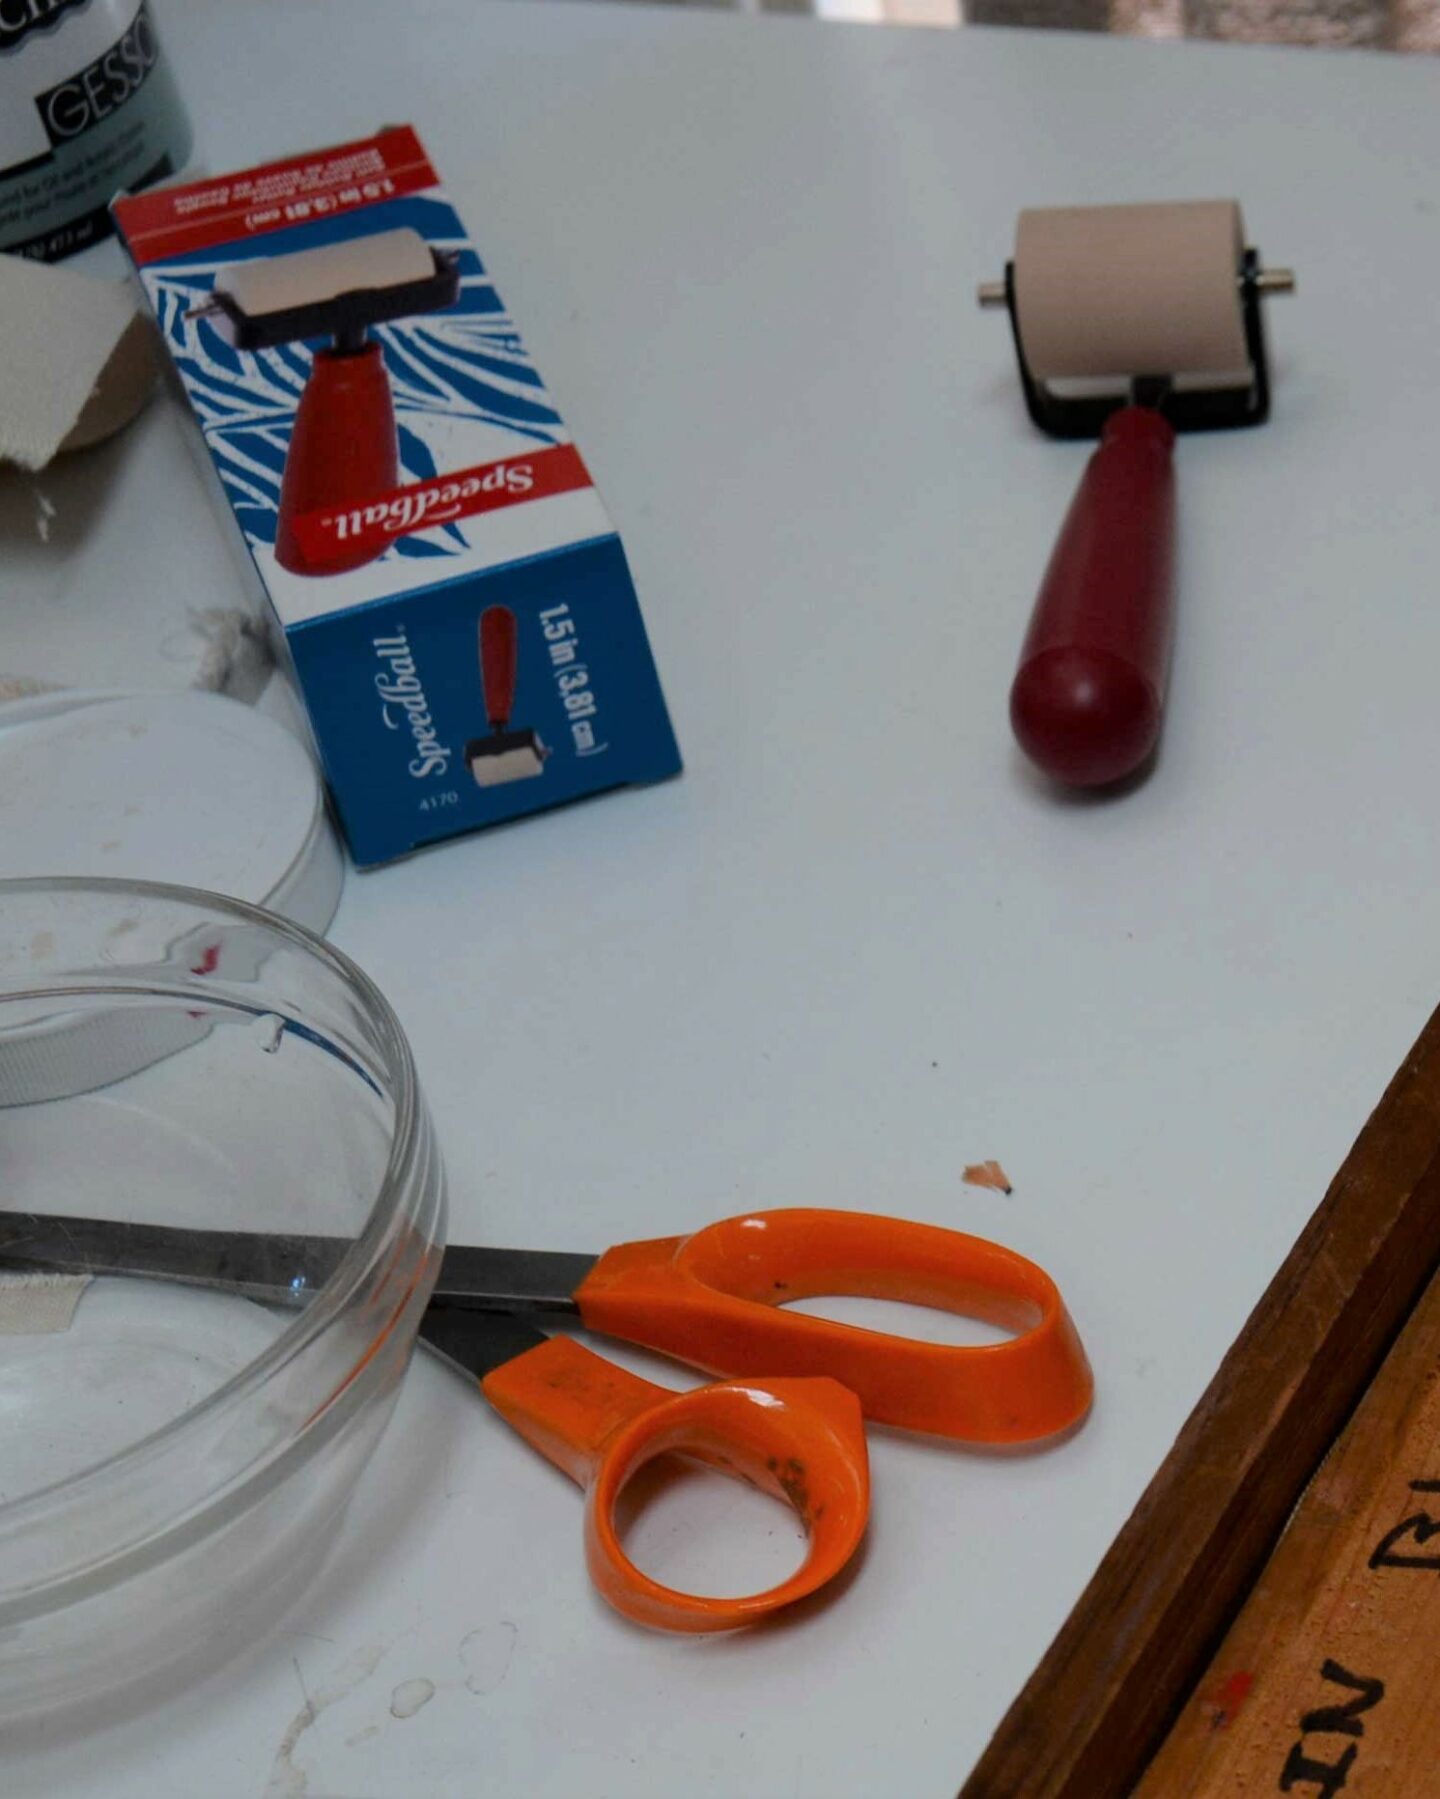
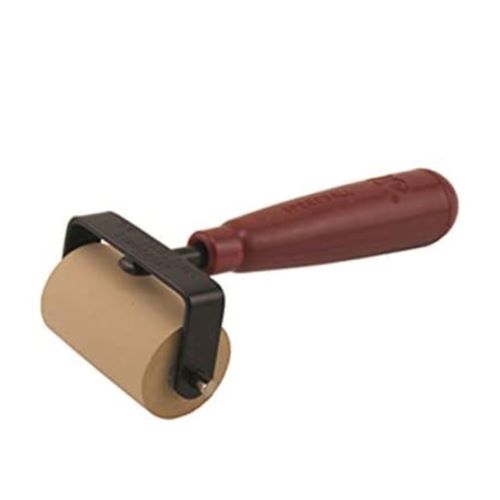
- a brayer or roller
- scissors, a paintbrush to spread the glue, brushes for touch up
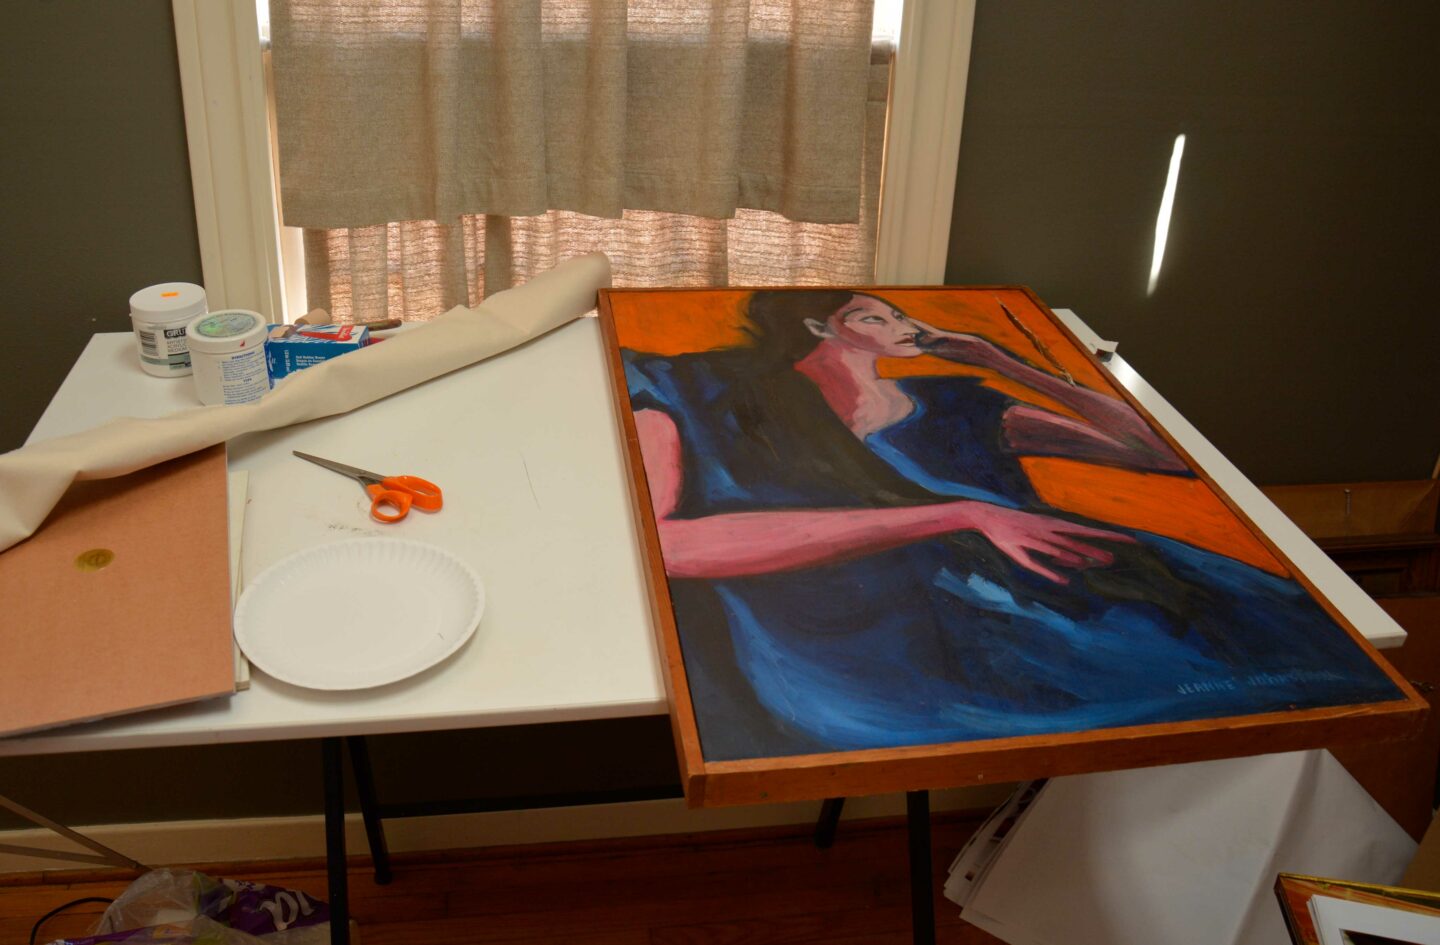
Canvas
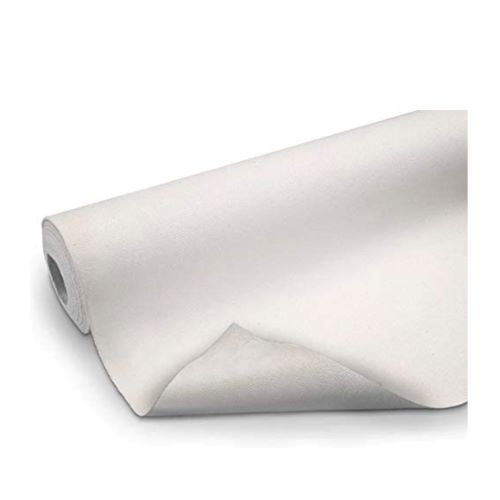
First I found the appropriate canvas for a patch. I happened to have a roll of cotton canvas on hand. You can buy canvas online or at an art supply store. It’s best to buy canvas that is made specifically for painting, not canvas from a fabric store.
The painting I repaired was painted on cotton canvas so I used cotton canvas. If the painting to be repaired is painted on linen canvas, it’s ok to use cotton canvas because you’re going to cover the weave with gesso.
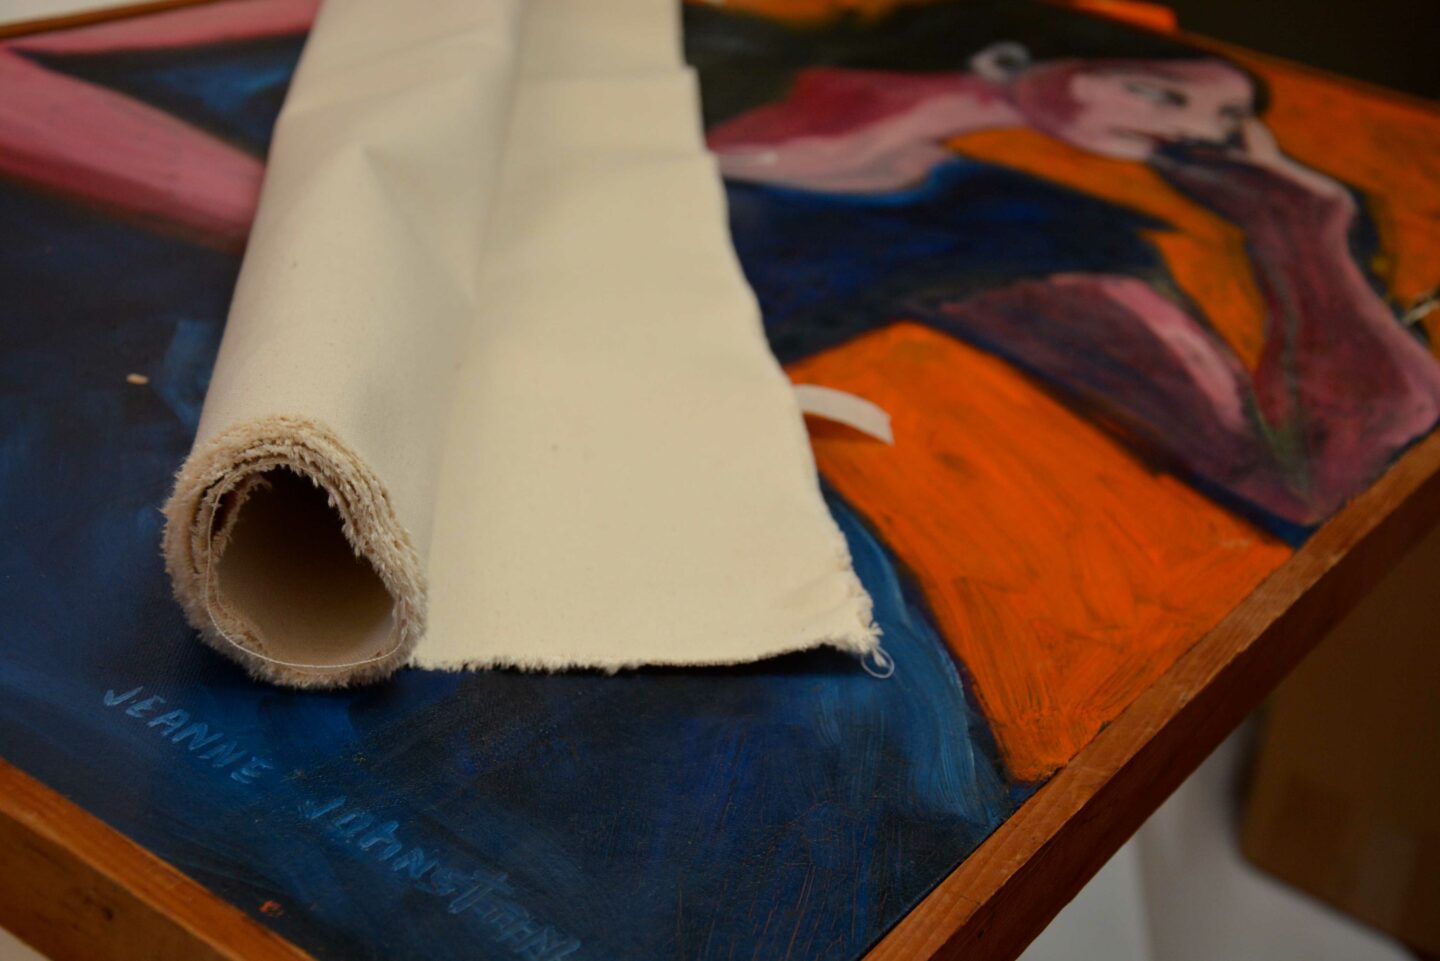
Be sure and get PRIMED canvas. Priming is a barrier between the paint you will apply and the cotton or linen canvas, without primer the paint would eventually deteriorate the bare canvas.
Cut the canvas patch
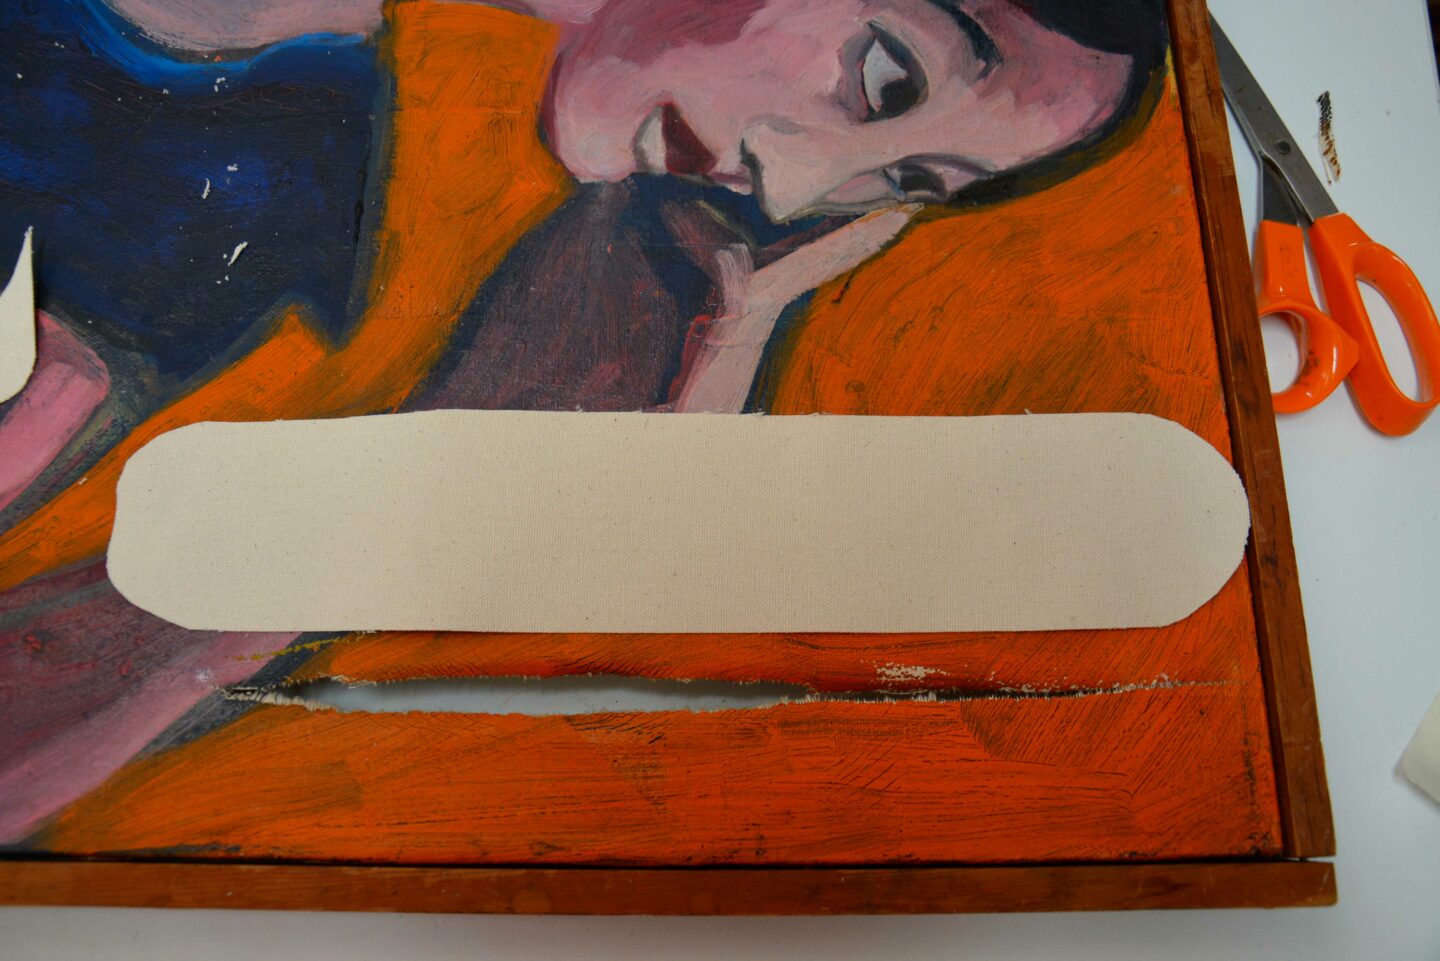
Next, cut your canvas to the desired size. I cut my canvas an inch larger than the tear on all sides. You just want to make sure the patch is large enough to cover the tear, but you don’t want too much extra when you glue it on the backside.
If your painting only has a puncture or hole, you can use this same method, just use a much smaller round patch. A round patch won’t have any corners that can get snagged and tear off.
Attach the patch to the damaged painting
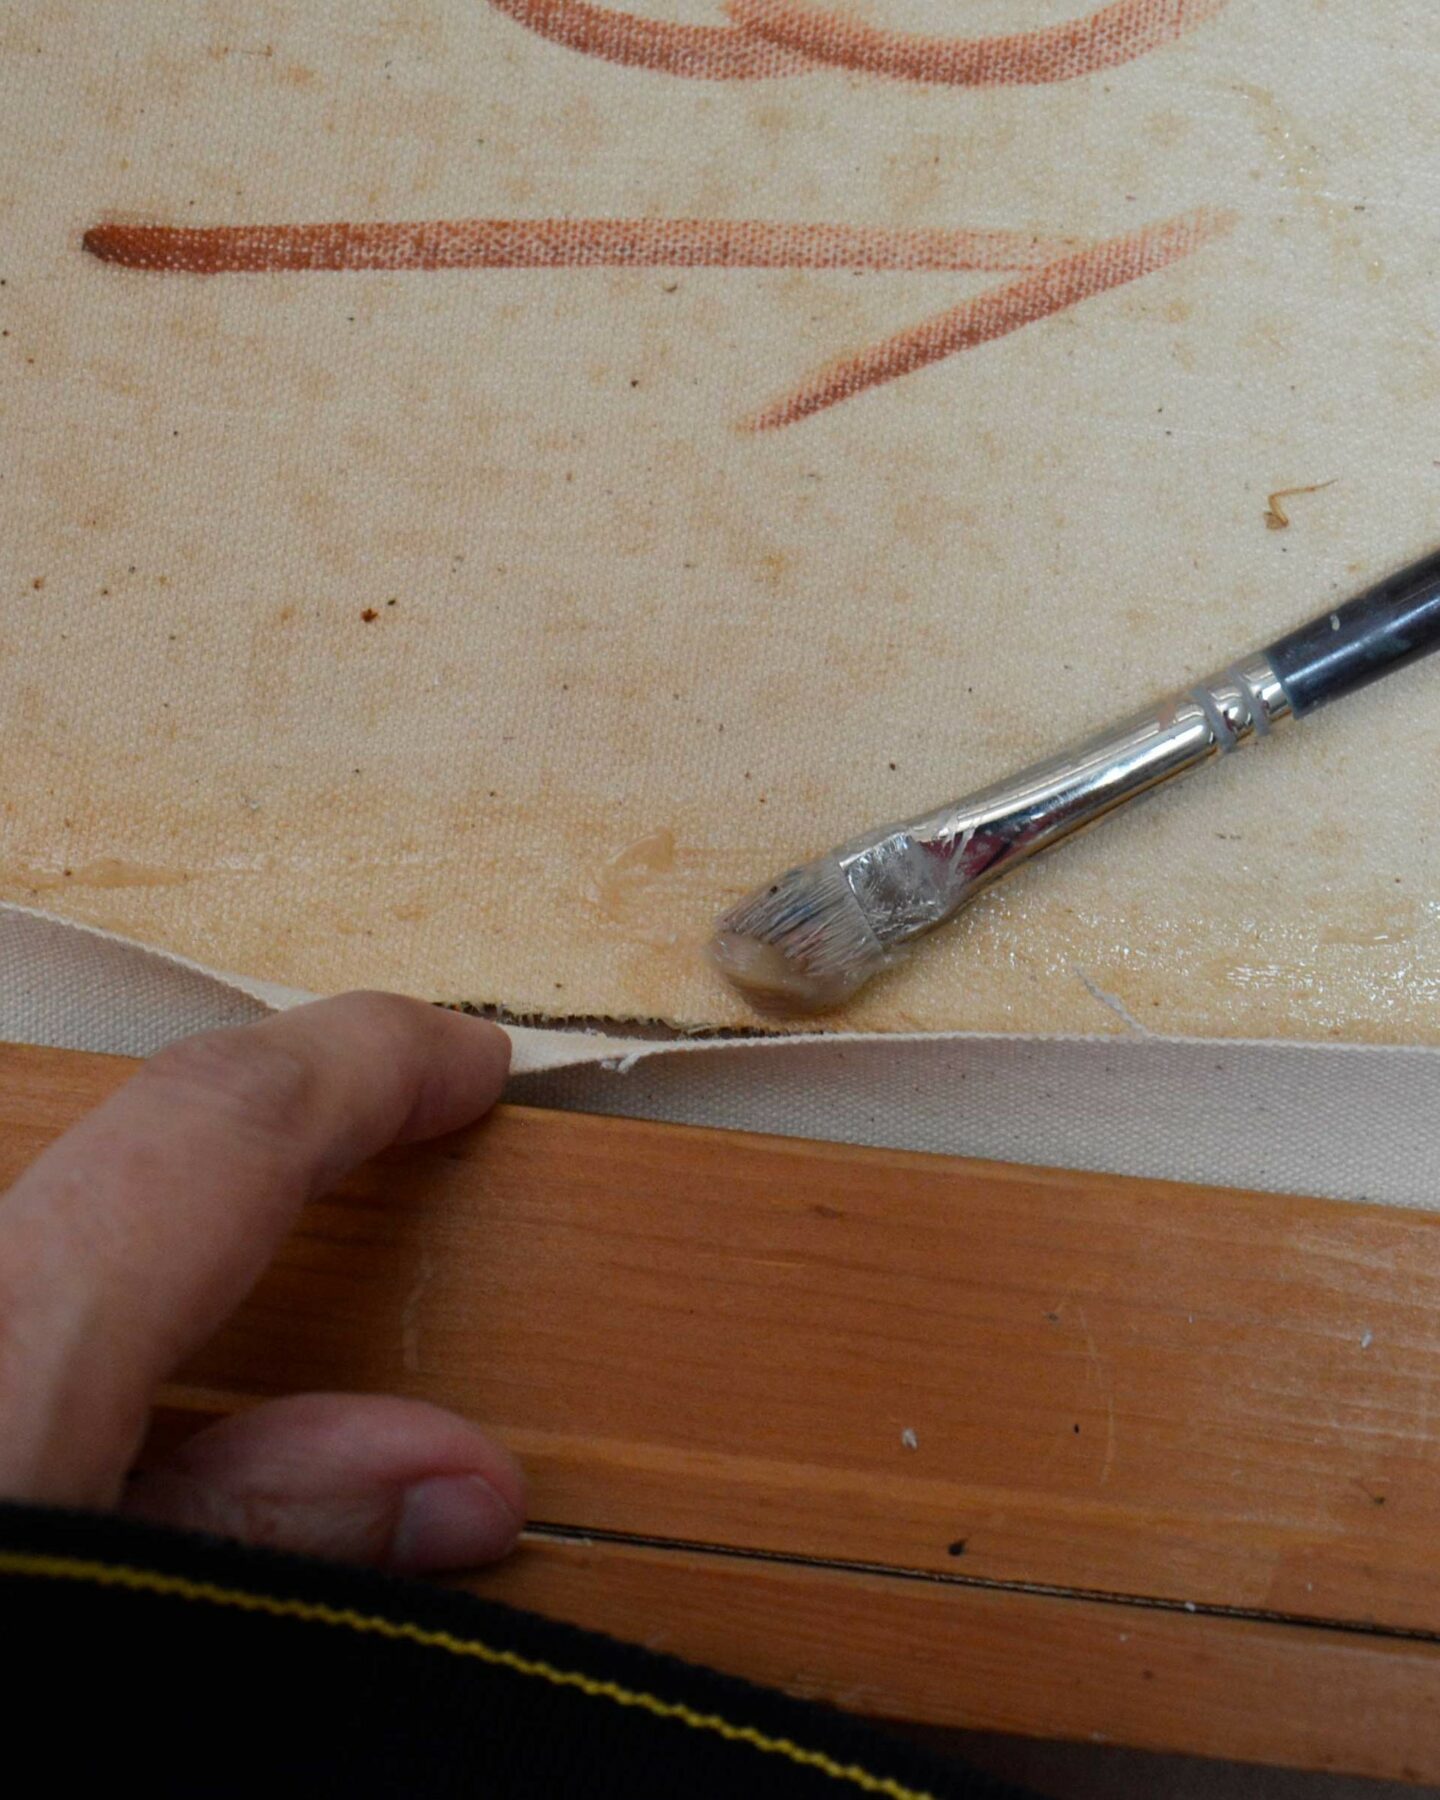
Below you can see the YES! paste that I use. I brushed some on one side of my patch and stuck the patch to the back of my canvas. Then I lifted up the edges and added a little more glue to make sure the patch was glued all the way to the edges. If the patch is flapping around it might get caught on something and tear off.
To make sure the canvas was adhered well, with no bumps or bubbles, I used a Speedball rubber brayer. You can see it in the 3rd image below.
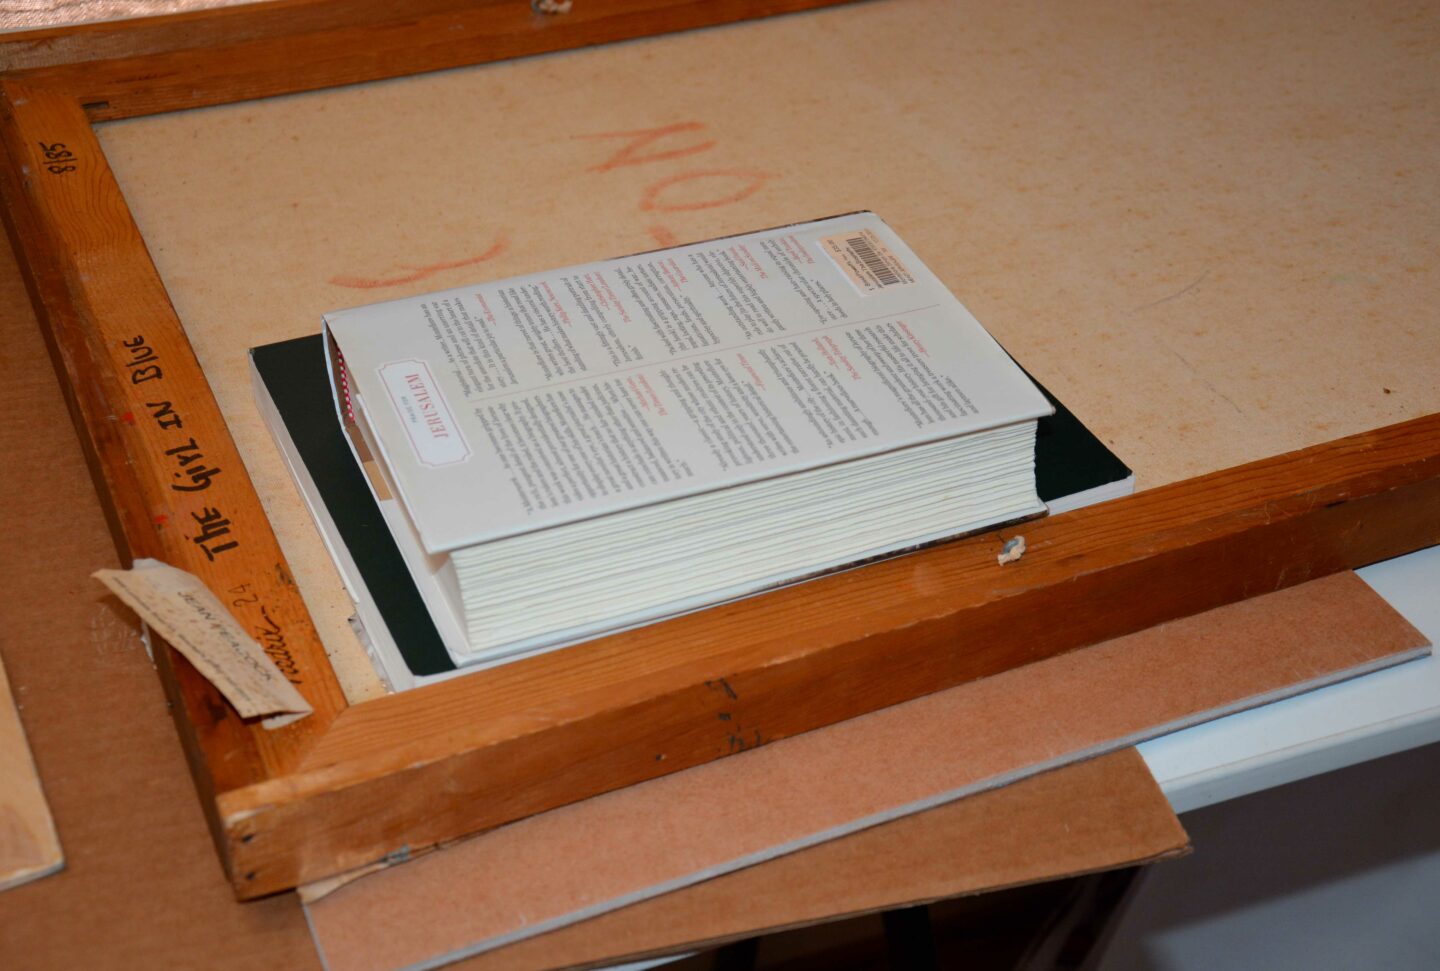
Finally, to make sure that patch wasn’t going anywhere, I weighted it down with a book and waited a couple of days for it to dry.
Supplies to repair canvas
You may have scissors and a little bit of canvas for the patch already. But the three things that will make this work are the YES! paste, the brayer and the gesso. I’ve got links to these three important items that I use below:
Filling in the tear
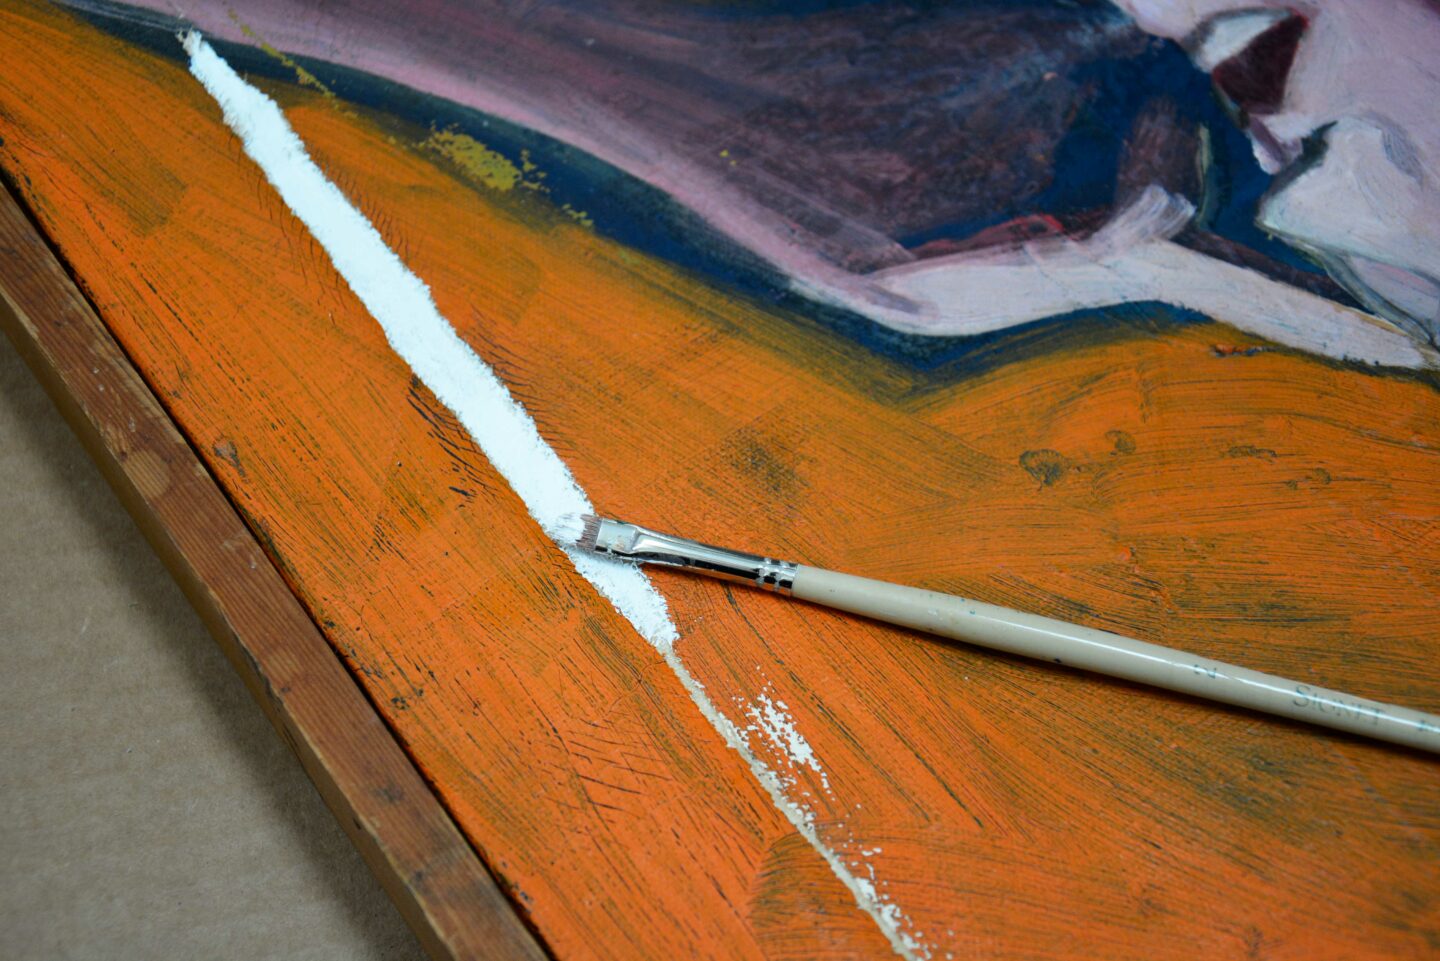
Once the glue is dry, turn the painting over and you’ll see an obvious difference in the level of the patch and the level of the original canvas. Sort of a shallow ditch. This is easy to fix, just fill the ditch in with acrylic gesso.
I used a brush and filled in the ditch, going a little beyond the ditch to feather out the gesso so there would be no hard edges.
Paint touch up
Once the gesso is dry you’re ready to touch up the painting. If it’s an oil painting I would suggest you use oil paint, for an acrylic painting use acrylic paint. Each has a different sheen and matching the type of paint will be an overall match.
This was the fun part for me. Just keep mixing until you get the closest color match you can. This painting seemed to have a blue underpainting so I did that and then waited a few days and then put the orange over it. Pay attention to details like this, and try to match the brushstrokes.
I hope this post will help you with knowledge about how to repair a canvas painting that has been damaged, ripped, or torn. It’s rewarding to rescue a damaged painting and give it another chance!
Just in case you do need canvas . . .
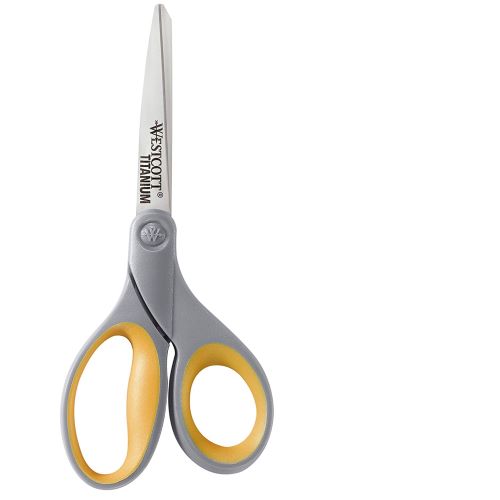
Or scissors. Below is a link to the smallest amount of canvas I could find online. Remember to use primed canvas. And a link to a good pair of inexpensive scissors.
This was SO helpful! Love the tip of adding a book on it for some weight!
After you are done, how noticeable is the tear? I have an unfinished painting that I did that I want to enter in an art contest. I was just wondering if the judges would notice.
That is a good question. And it depends on how severe the tear is. I have one painting where I cut the canvas by accident, probably with a blade as I was removing the plastic, and I repaired it in the same way I described in this post and I can’t even find the repair. But that was a small cut. The tear in the sample above was quite large and the difficult part of this tear was when I tried to pull the canvas together to close the tear, there was a gap. That’s why I needed to fill the gap with gesso. If you don’t have a gap I would say it’s possible to repair the canvas and you would never see the tear. If there is a gap where the tear is, as I had here, then it can be visible if the gap isn’t filled completely. And if you look closely at a repair like this, the gesso that is filled into the gap doesn’t have the canvas texture. The gesso is smoothe. But again, if your paint strokes are thick, perhaps you won’t see the canvas anywhere anyway. Why don’t you go ahead and repair your painting, then you can take a look and decide if the repair is visible. I would say, in general, unless someone is looking closely for a repair, they aren’t noticable if done carefully. Thank you for your question and good luck! Joan
While the gesso is wet after filling in the gap, could you not take a piece of canvas and press it into the gesso? This would leave an impression of the canvas, right? Then paint away!