Before you frame your unstretched canvas painting, you need to adhere it to a rigid support. Below I will give you step by step instructions how to do this. The loose canvas can be glued to a piece of wood, masonite, or foamcore.
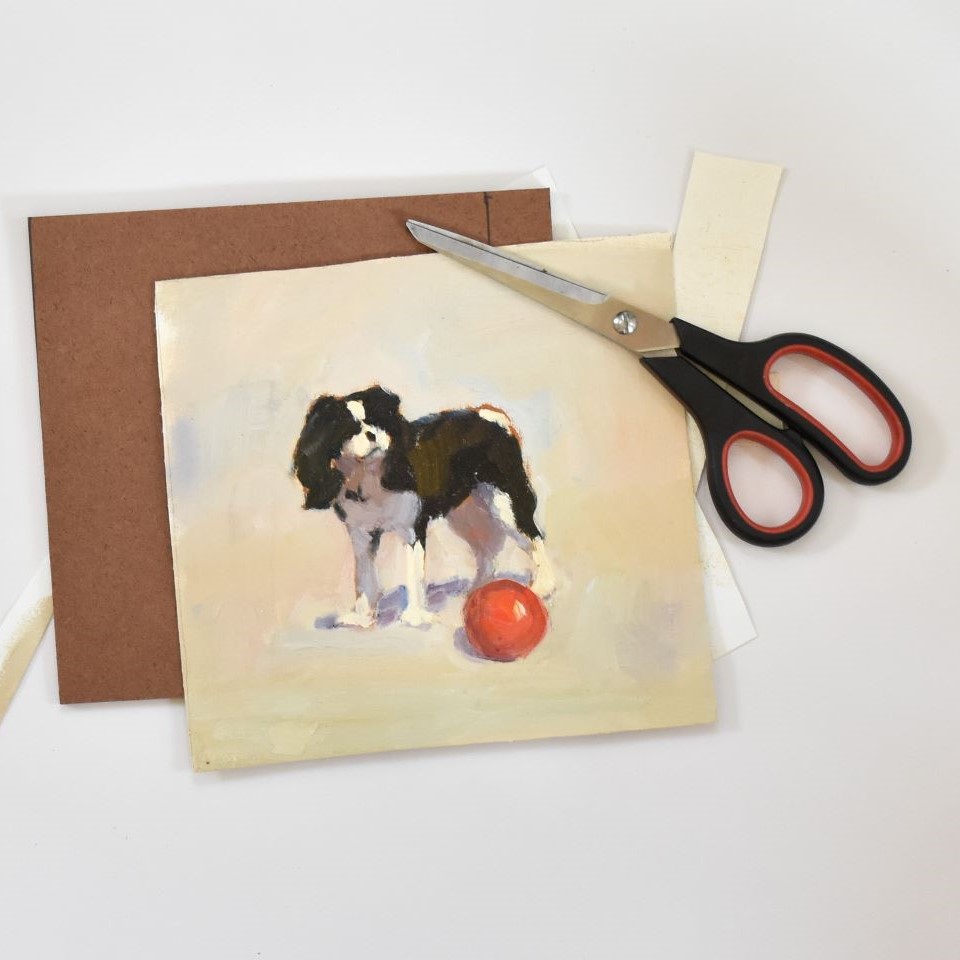
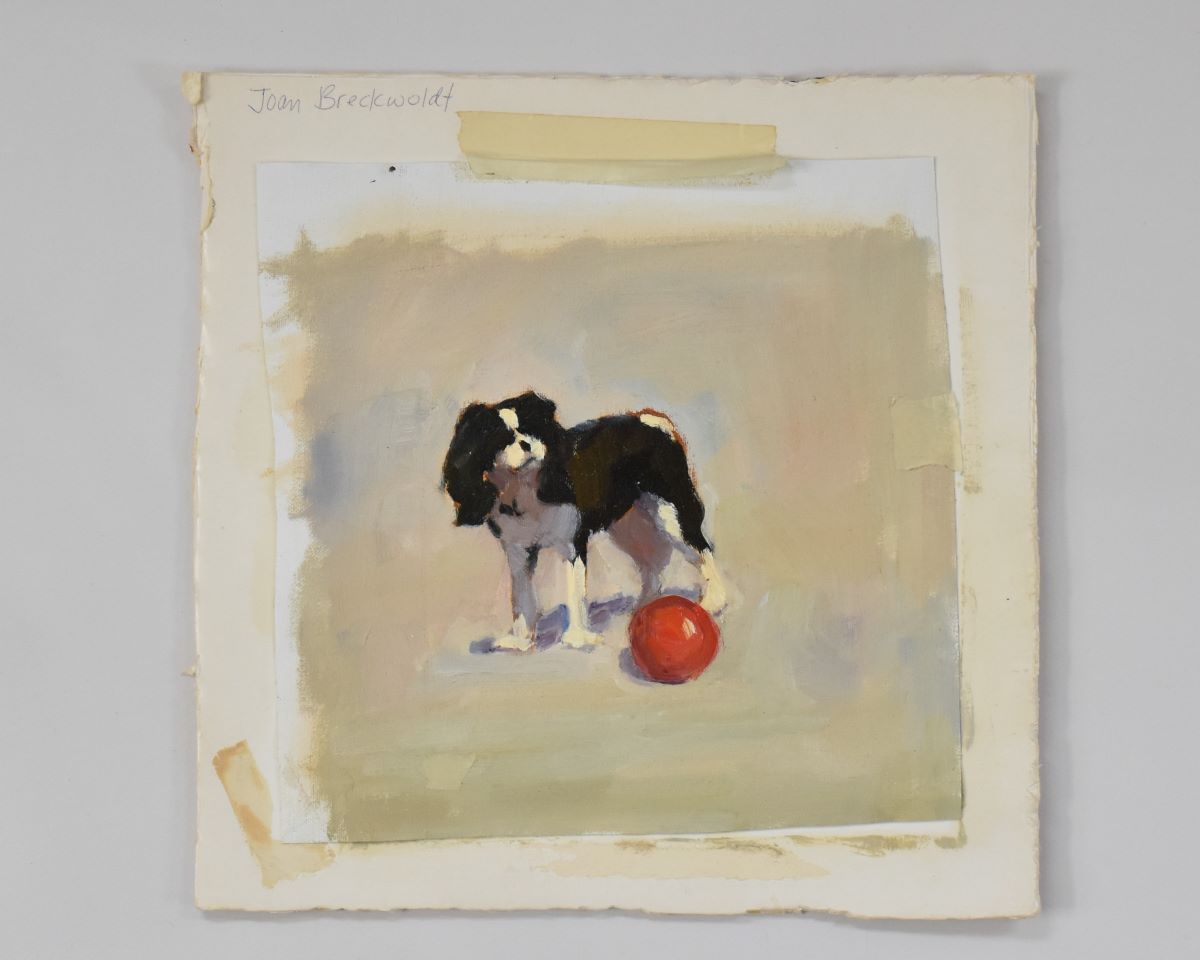
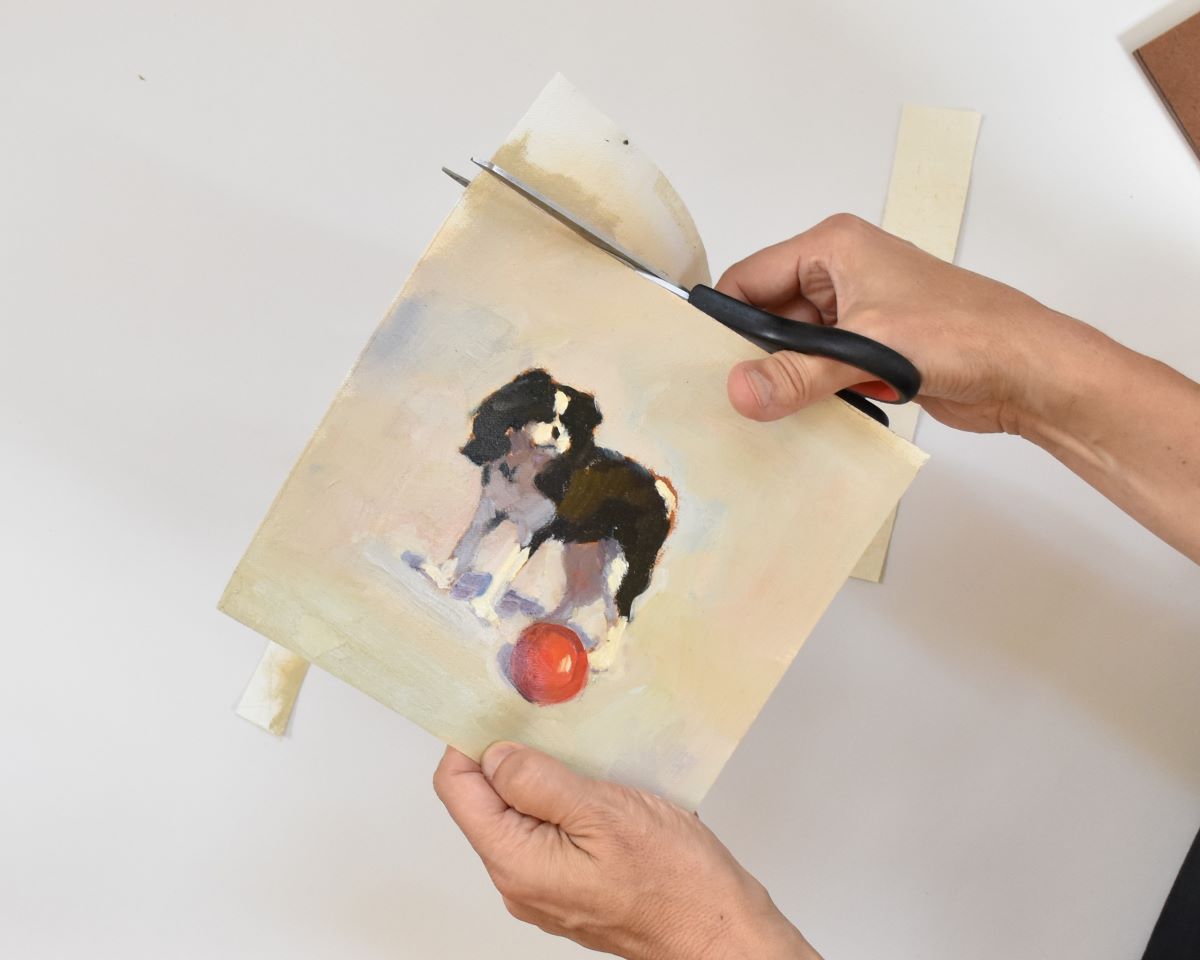
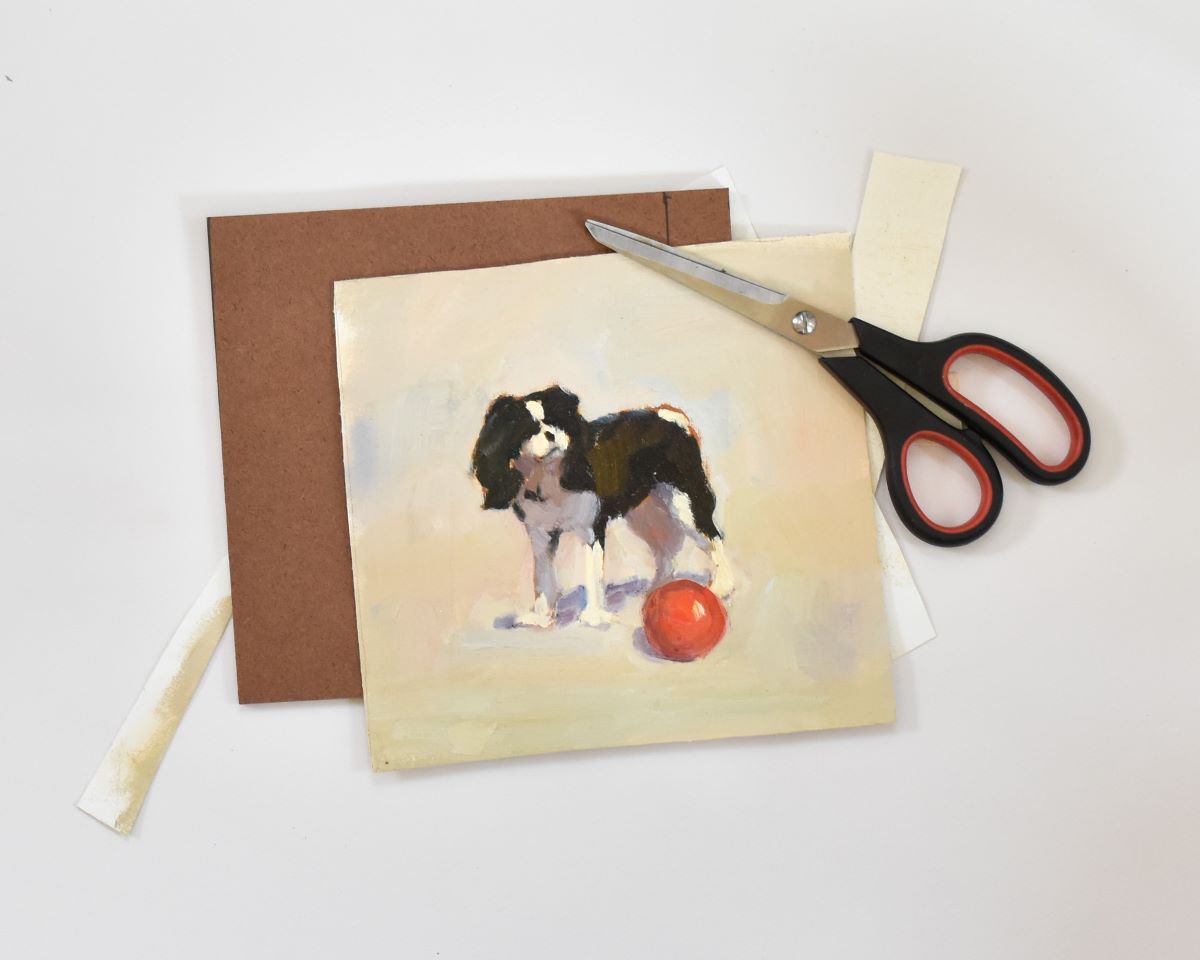
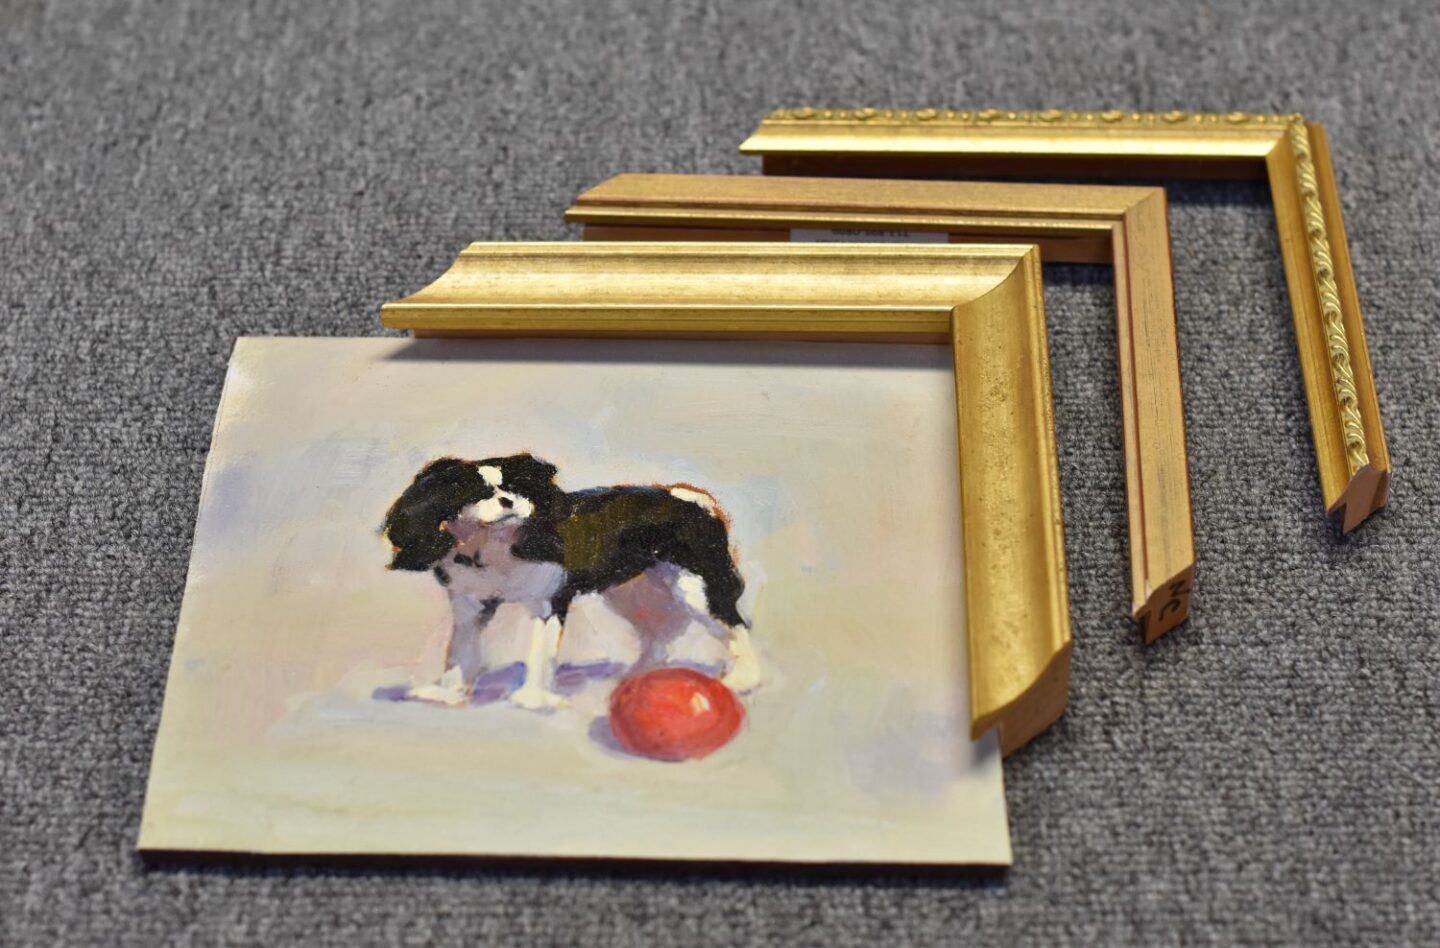
I painted this dog on a piece of canvas taped to cardboard. And now I’ve decided to want to frame that painting.
Unstretched vs. Stretched canvas
You can read my other post on 2 methods for painting on unstreched canvas if you are interested in the difference and why I sometimes paint on unstretched canvas instead of already-stretched canvas.
1. How to Cut your Canvas to the Correct Size
The first thing you’ll need to do is decide on what SIZE you want your painting to be.
Custom frame or ready-made frame?
If you plan to have a custom frame made at your local frame shop for your painting, you can cut your canvas to any size. But, if you plan to use a ready-made frame, they are only available in pre-determined sizes so you will need to choose the size frame that best fits your painting.
Add 1/4″ on all sides to your unstretched canvas
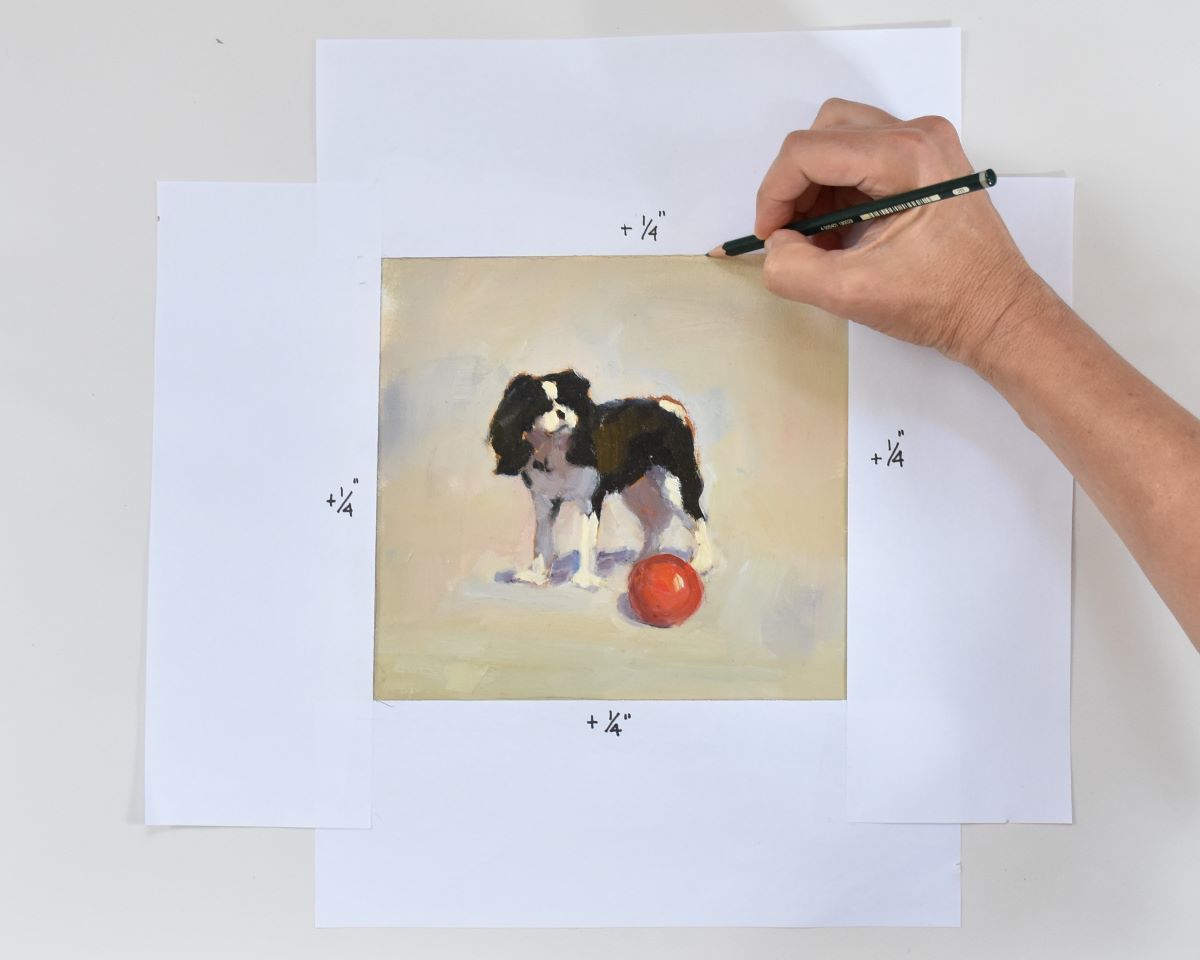
Remember that the frame will cover 1/4″ of your canvas on all 4 sides.
In my example below I wanted the visible part of my painting to be 7″ x 7 1/2″. So I added 1/4″ inch to each side and cut my canvas to 7 1/2″ x 8″.
Composition trick
I used strips of paper to lay on top of my painting to figure out the size and composition of my final painting. This just made it easier to visualize.
My cat likes to be in the middle of everything!
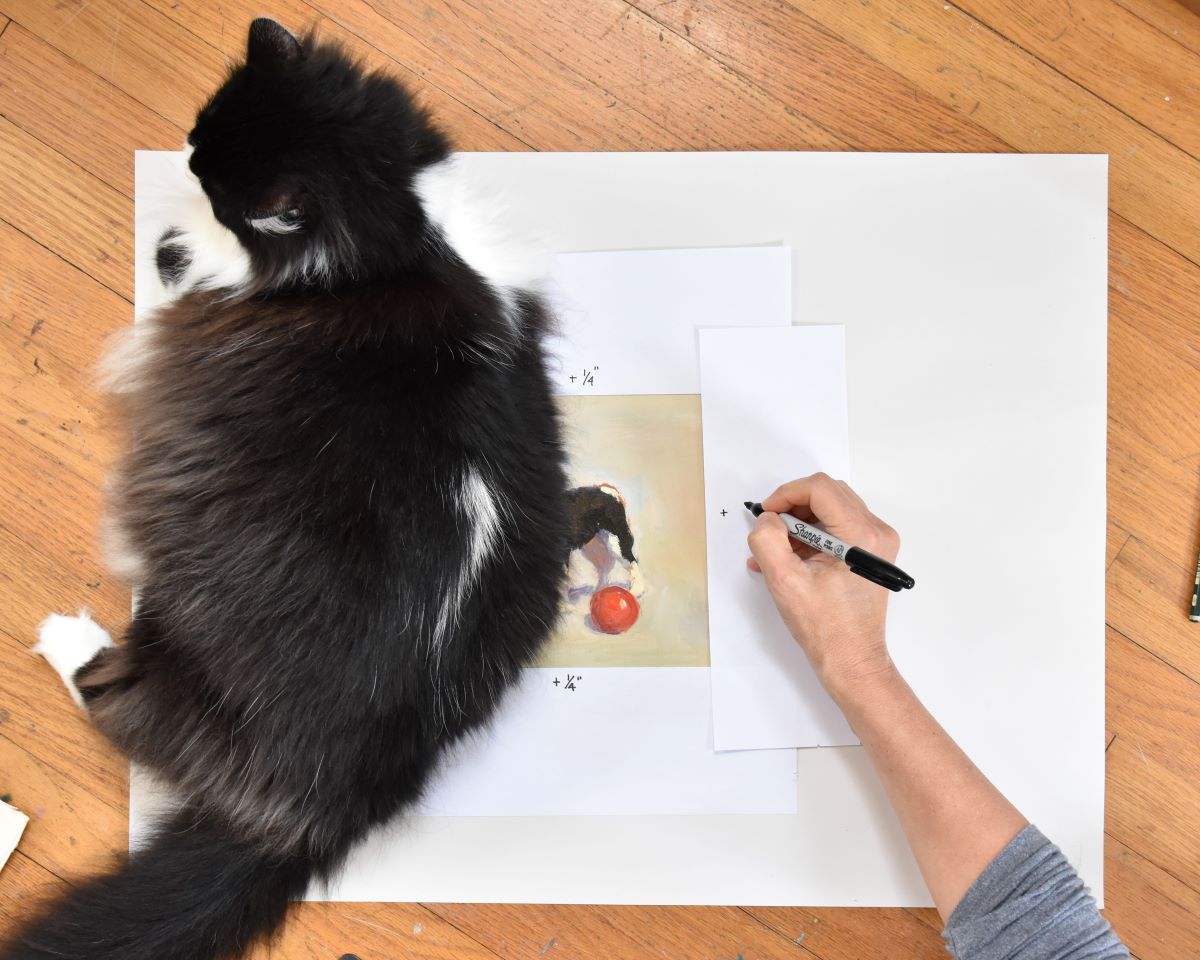
After deciding on my composition and moved each strip of paper out 1/4″. Then I marked the canvas with pencil (below). This will be my guide for cutting the canvas.
Cutting the unstretched canvas
I carefully cut the canvas along the pencil lines. It’s ok if your cuts aren’t perfect, you can trim off excess later.
2. Choose a Rigid Support for your Unstretched Canvas
You must have a rigid support if you want to frame your painting. Without a rigid support the canvas will warp or buckle inside the frame.
The first thing I need to do is decide what kind of support I want to glue my painting to. The three most common choices are:
- birch plywood
- hardboard
- foamcore
All three of these materials are rigid and will last a long time. For example, a peice of posterboard would not be rigid enough.
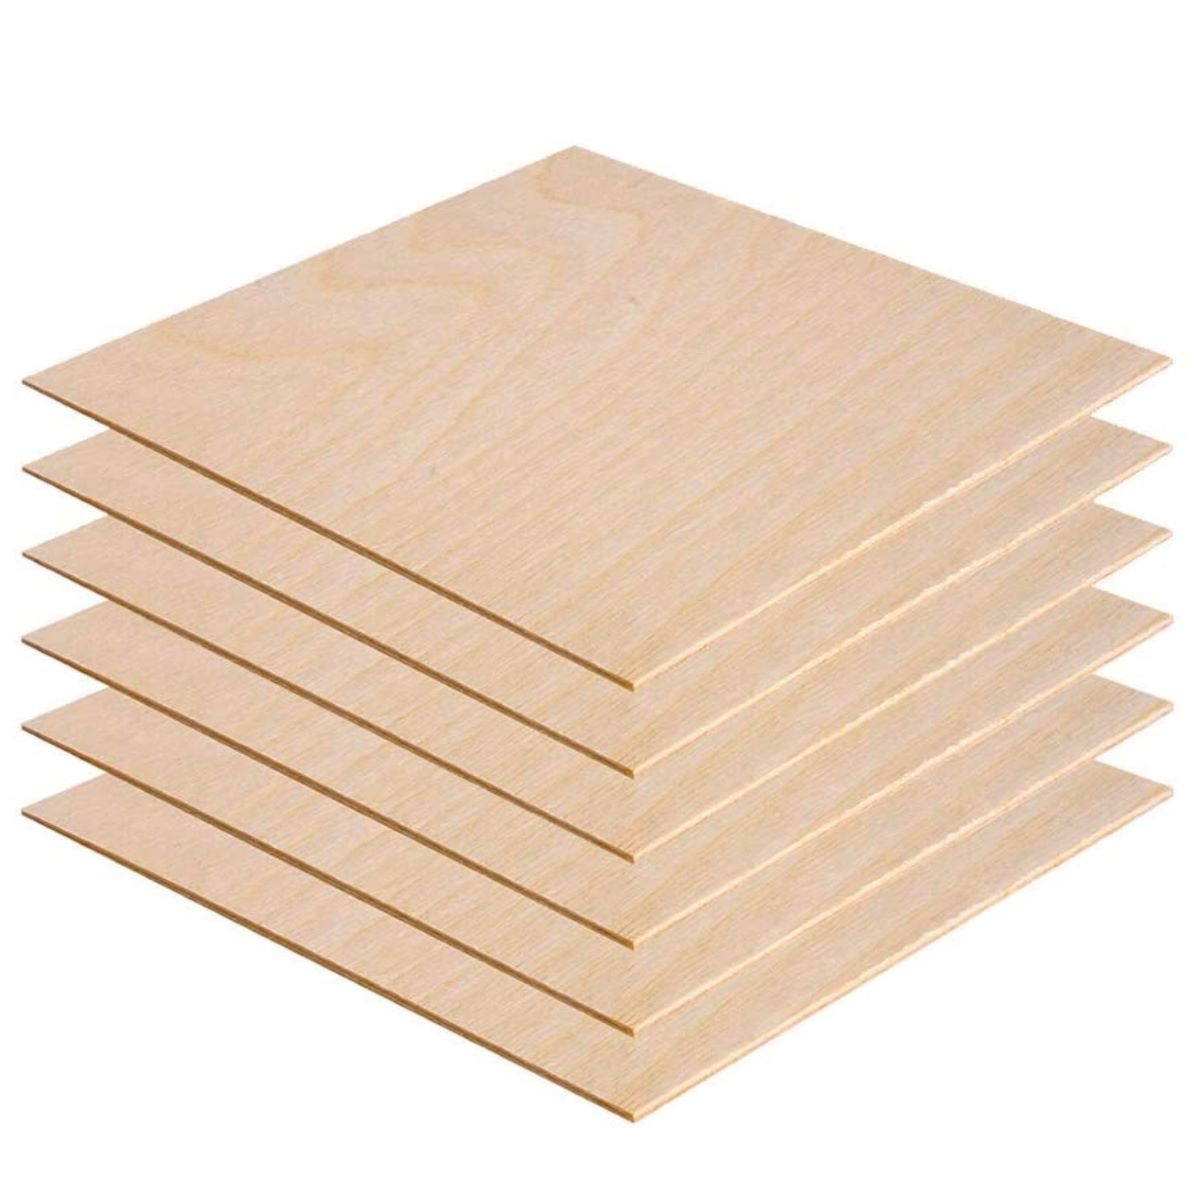
Birch plywood
I recommend 1/8″ thickness. Birch plywood panels are available in 1/4″ thickness but this only adds extra weight. They are available in different sizes and are pretty easy to cut with a hand saw. I’ve done it. Birch plywood is my first choice and I would have used this except I happen to have some masonite handy.
As an Amazon Associate, I may earn a small commission at no cost to you if you purchase a product I linked to. This helps me with the cost of running this website. Thank you!
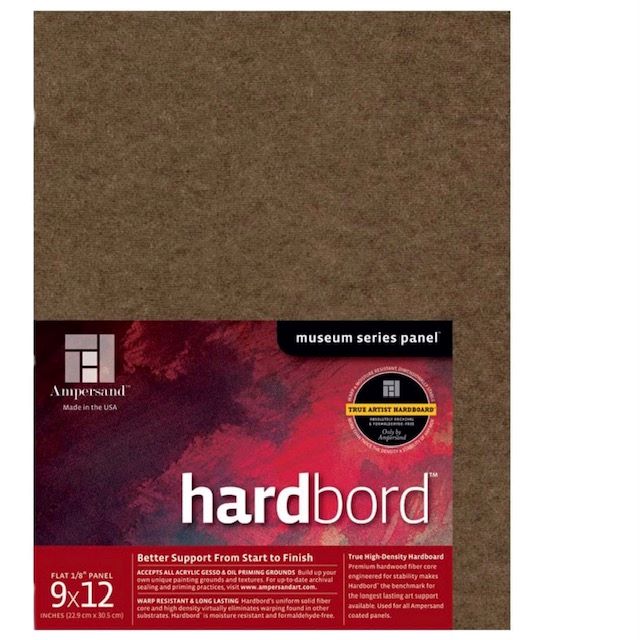
Hardboard
Hardboard is an engineered wood. Masonite is just one particular type of hardboard and it’s made of wood fibers and natural resins. It’s sturdy. A little harder to cut than birch plywood.
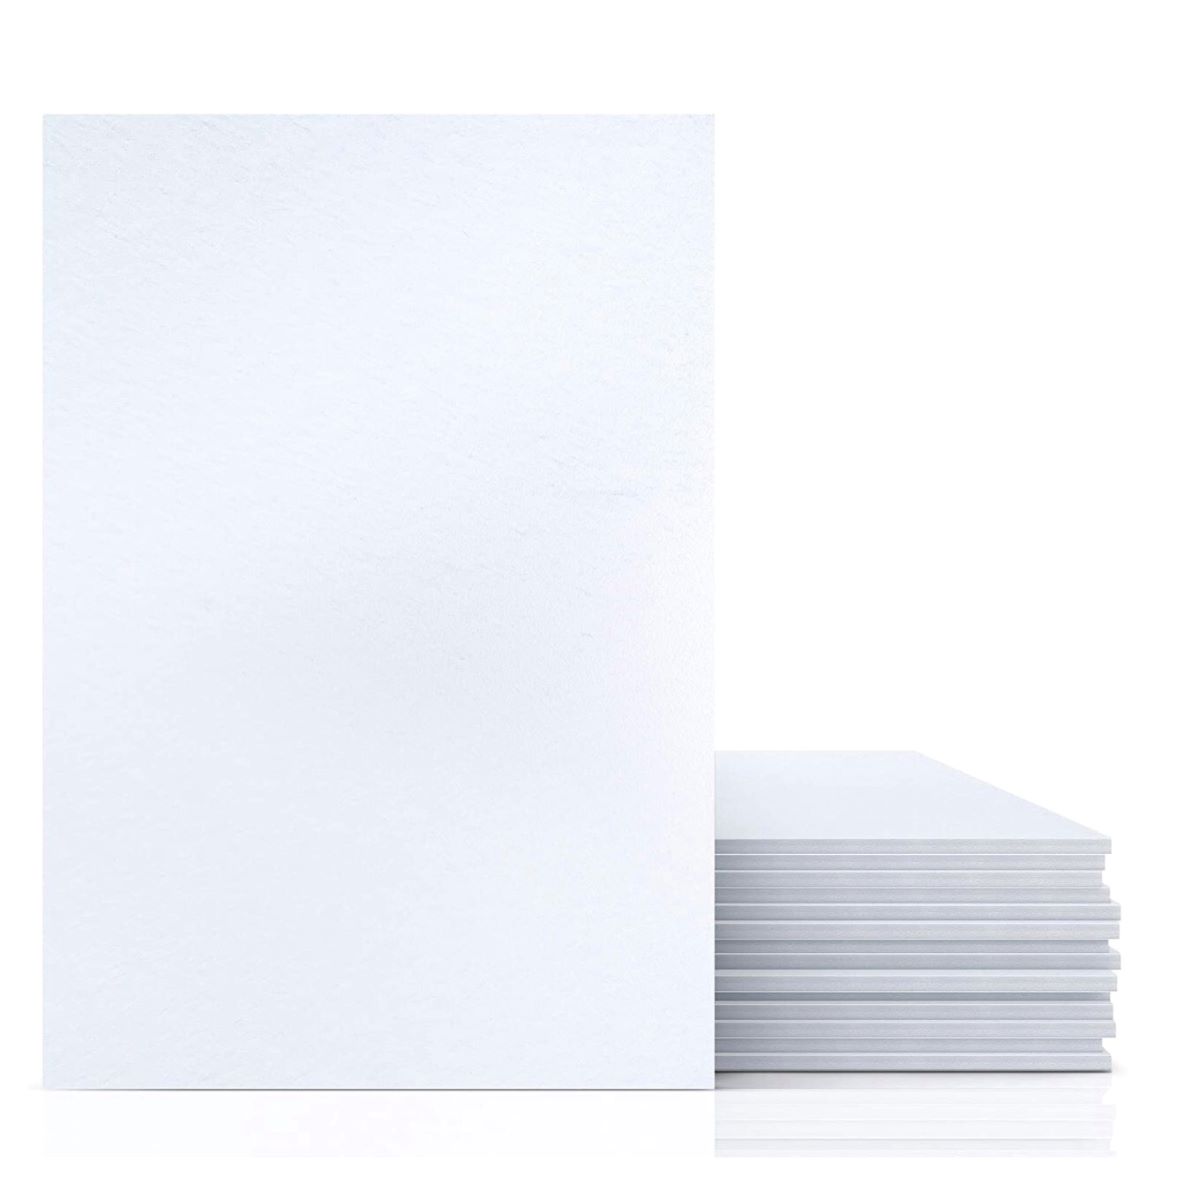
Foamcore
Foamcore is very lightweight and it’s biggest advantage is being able to cut it easily. It can be cut with a box cutter. Foamcore is almost too light. By that I mean I like something with a little weight, it makes the piece seem more important when it’s framed. This is probably a personal thing but when I sell a small painting, I like that it has a little weight to it when I hand it over.
3. Mark and Cut the Rigid Support for your Unstretched Canvas
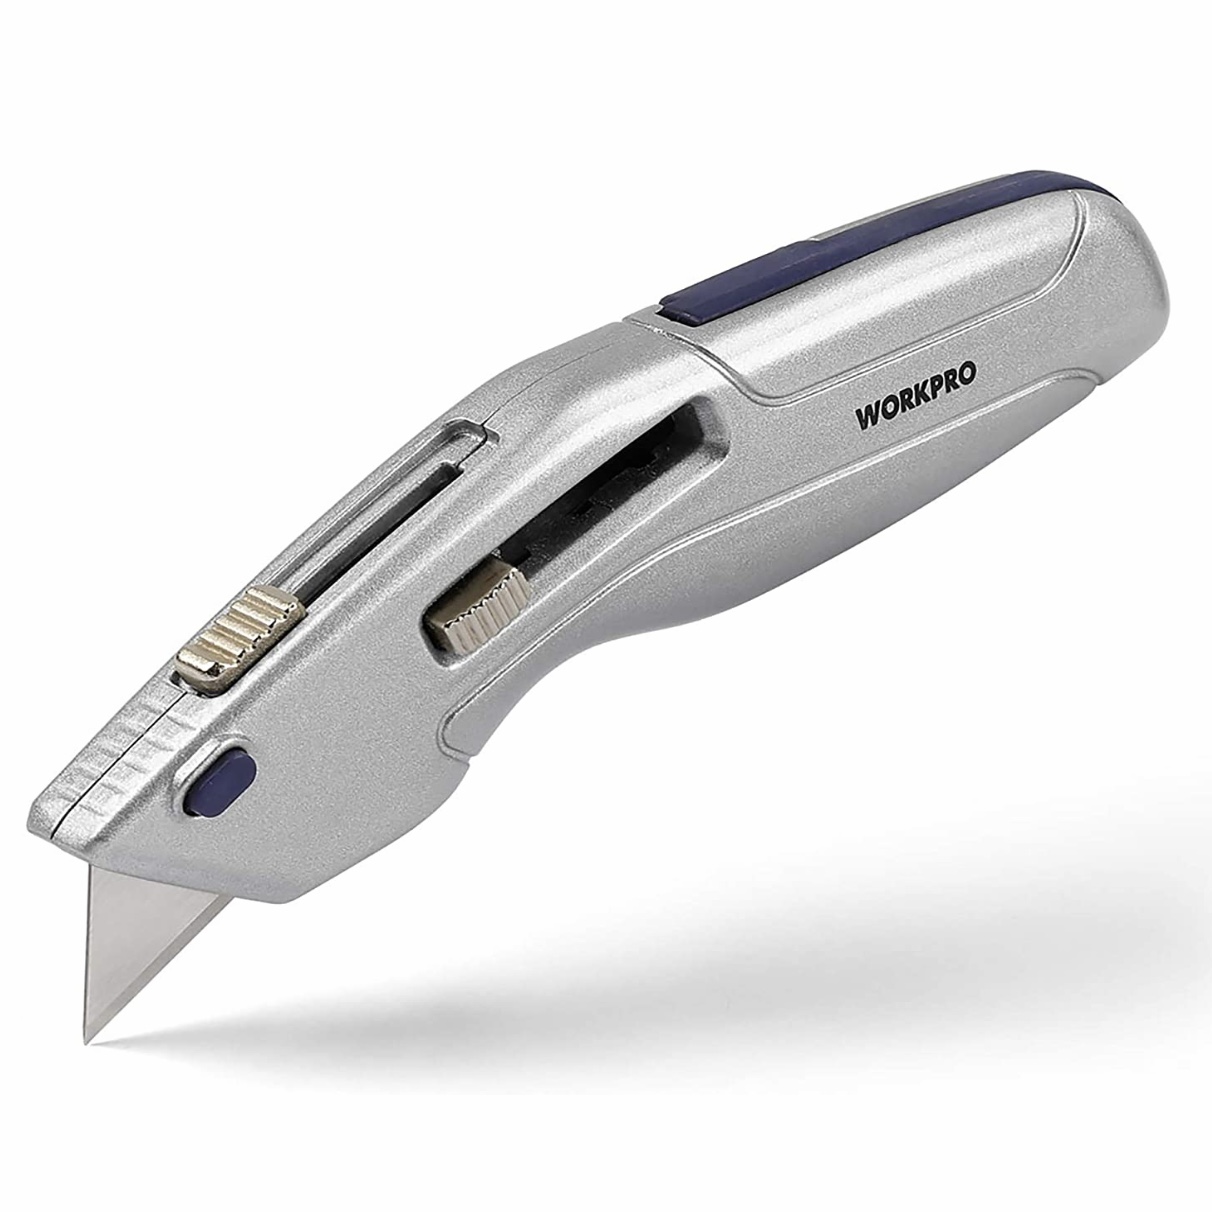
If you choose masonite or birch plywood you will need a saw to cut the material. If you choose foamcore you can cut that yourself with a box cutter. I happened to have a masonite panel so I used that.
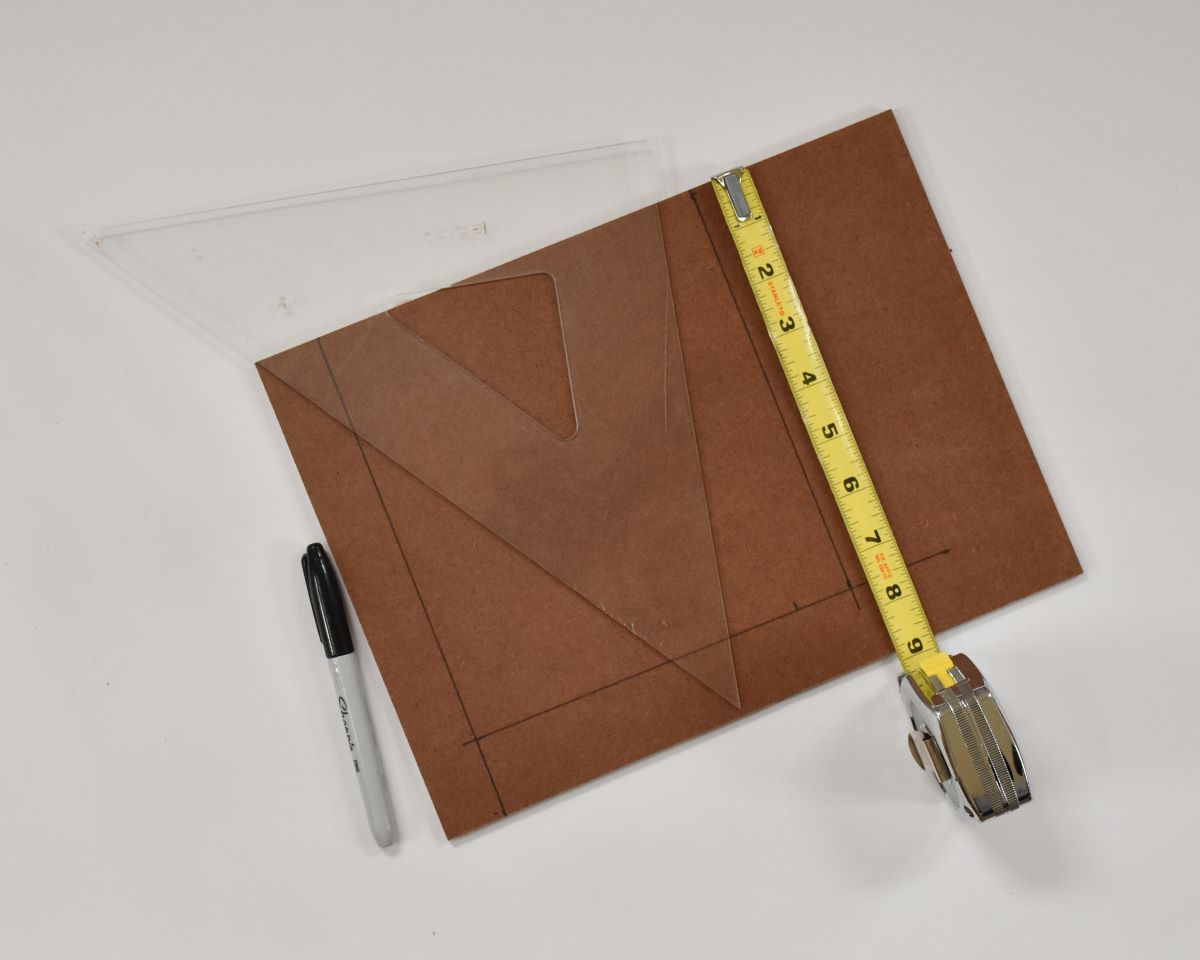
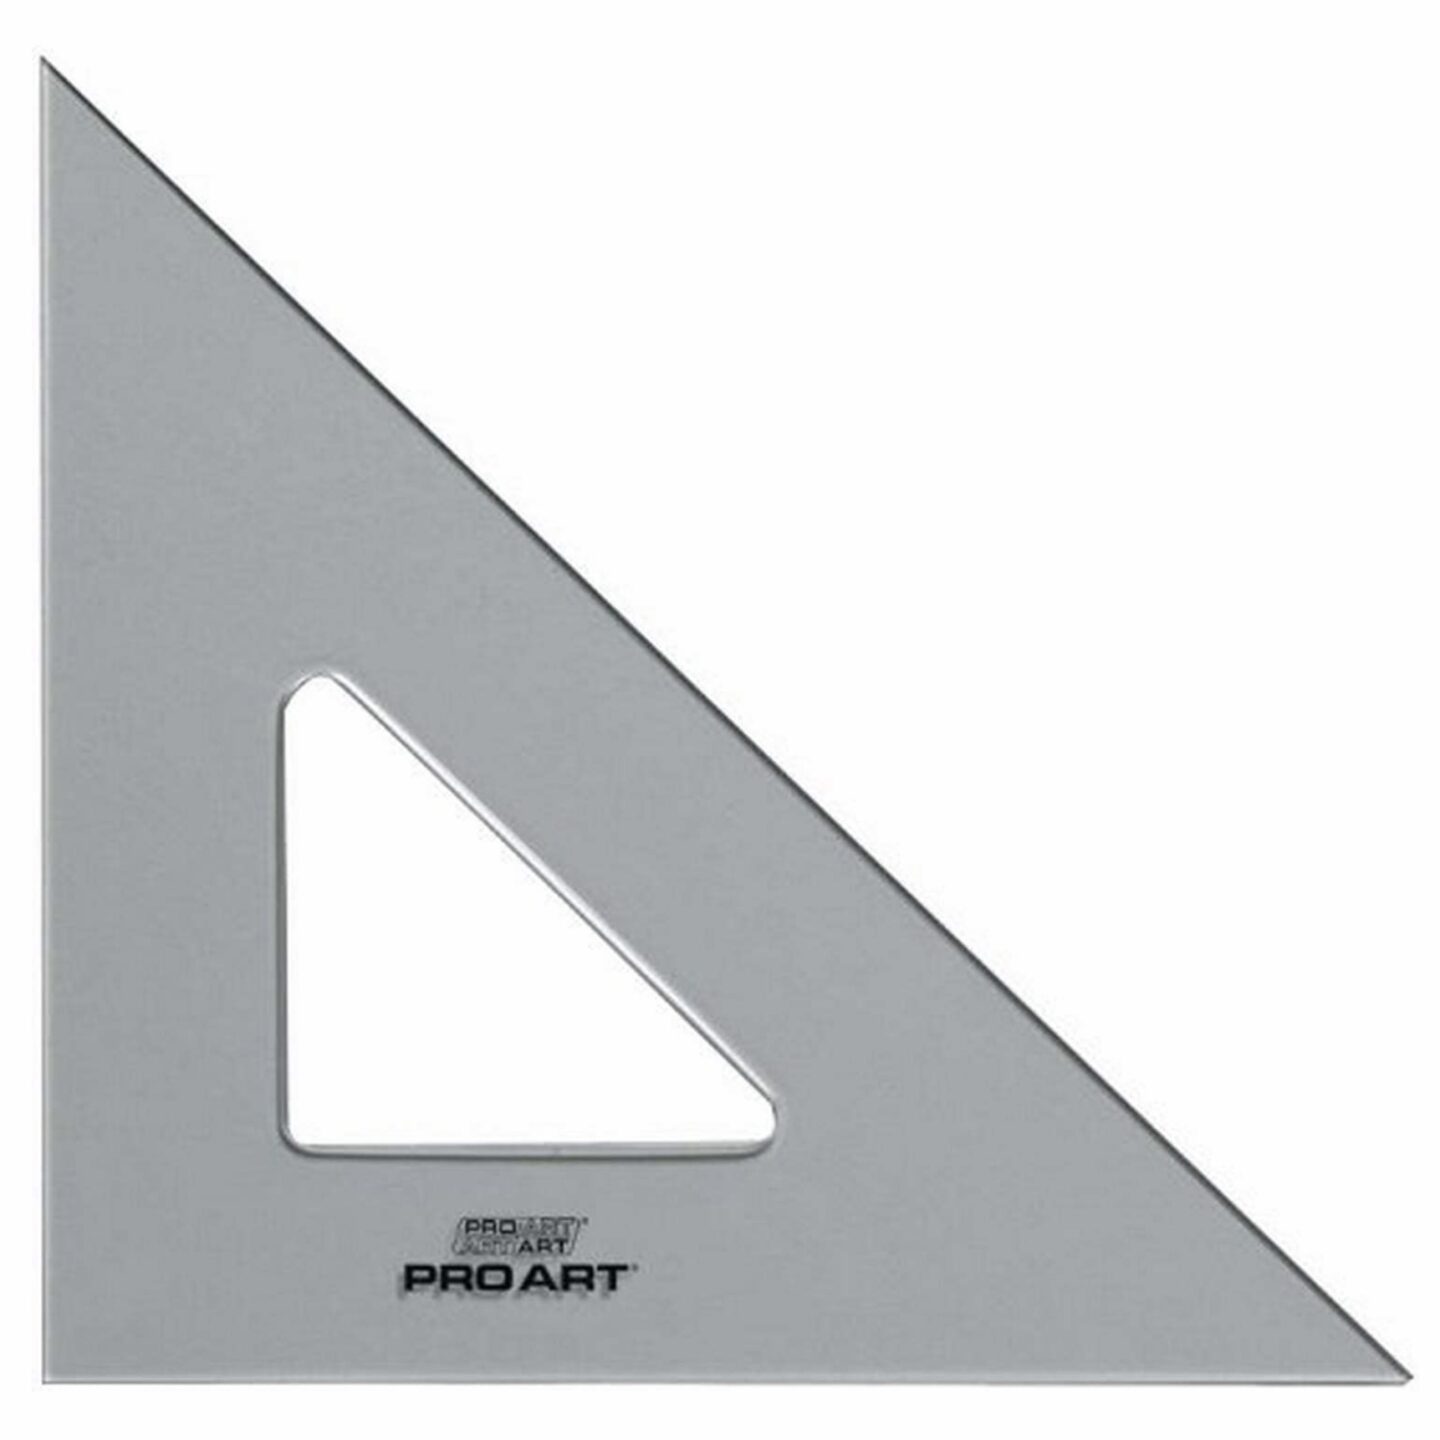
It’s important to get the corners square. When you fit this inside a frame or take it to a framer, the corners will need to be square or 90 degree angles. I have a clear triangle that helps me make sure the corners are square. If you don’t have a triangle like that, you could use a sheet of paper. They have 90 degree corners.
You’ve maybe heard the saying below? I think it’s mainly for construction but it sure applies here!
“Measure twice and cut once.”
This is a good place to stop and make sure the size of your support is the same as the size of your cut canvas. I cut my masonite support the same size as the finished size of my canvas: 7 1/2″ x 8″.
Actually I took my masonite with the cut lines to a local hardware store and they were kind enough to make the cuts for me.
4. Glue your Unstretched Canvas to your Support
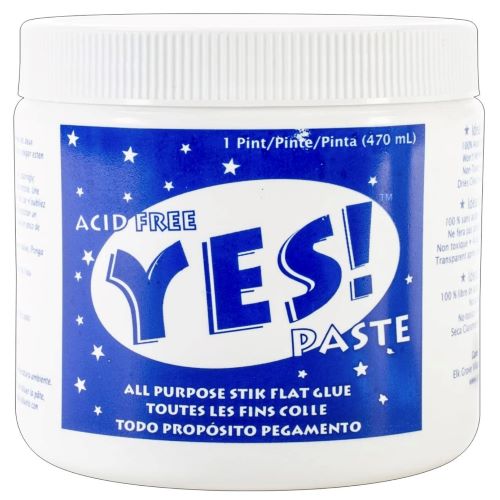
I use YES! paste to glue the canvas to the support. I’ve used this glue for years and I’ve never had any problems with the glue coming loose, even after 10+ years.
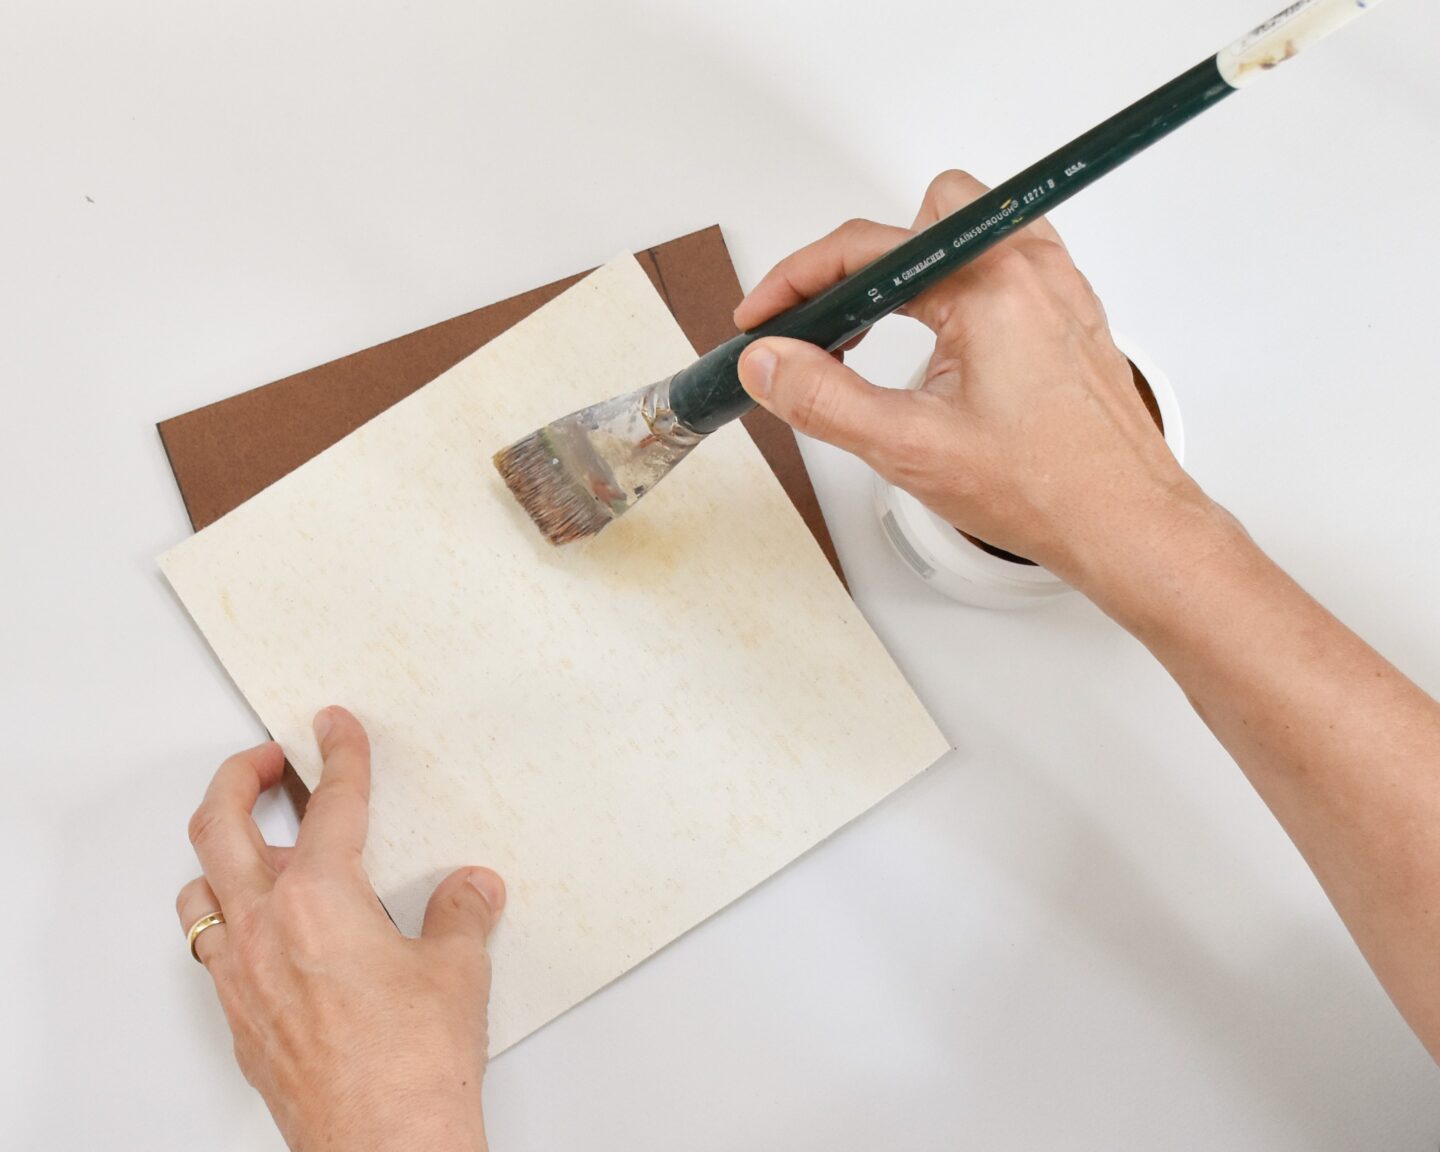
Below are three of the tools that I use.
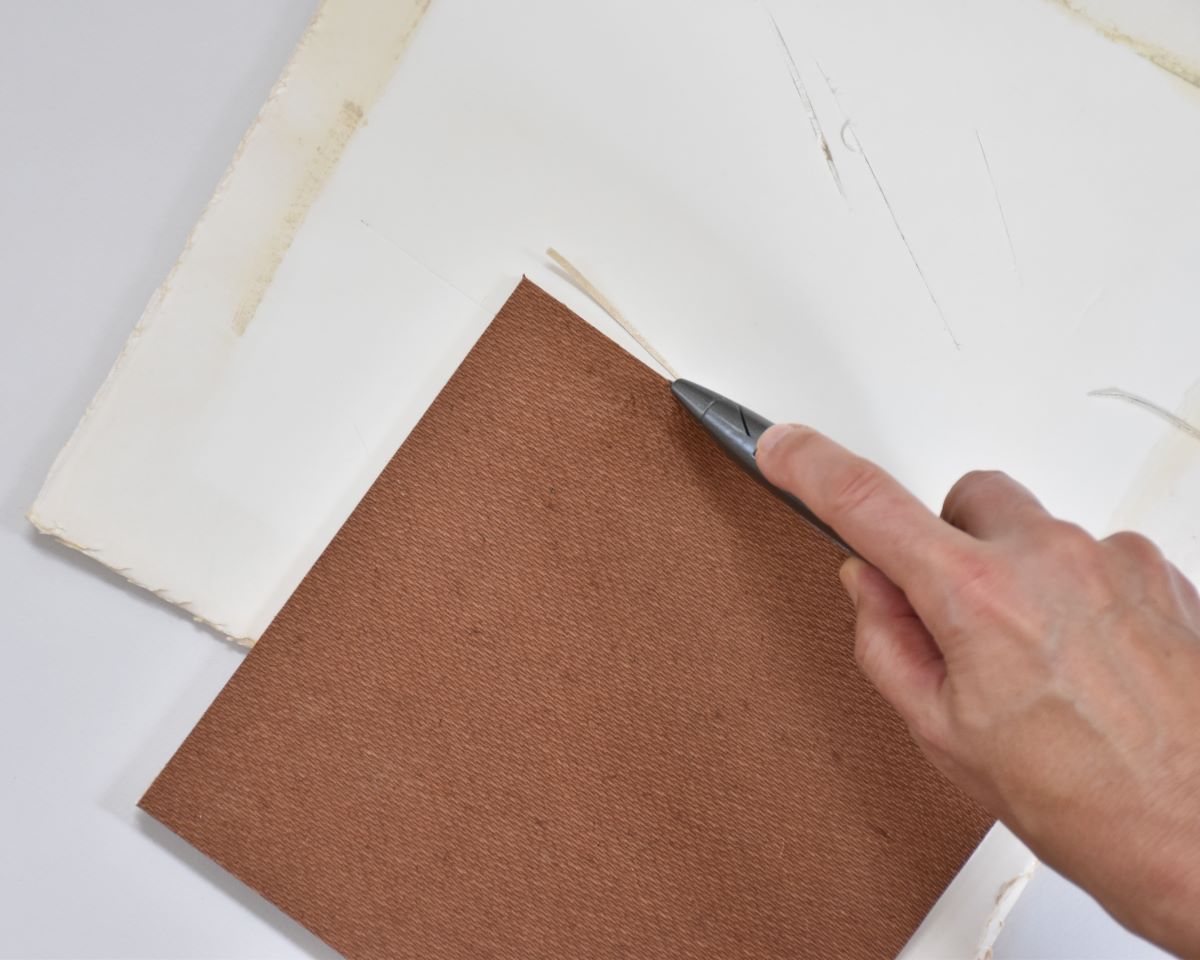
Trim off excess canvas
My cuts weren’t perfect by any means. I flipped my canvas (now glued to the support) over and used a box cutter to trim off the excess canvas. This isn’t absolutely necessary but will make things easier when it comes time to frame the piece.
5. Sign and Varnish Your Painting
If you haven’t already done so, now is a good time to sign your painting. Now that you’ve cut the canvas down to the composition you like, you can choose a good place for your signature. I typically sign my paintings in the lower right corner.
When choosing the placement for your signature, remember that 1/4″ of the painting will be hidden by the frame.
Also, if the painting isn’t varnished you may want to varnish it. Be sure and wait til your signature is dry though, otherwise when you brush on the varnish you’ll be brushing your signature right off!
6. Framing your Finished Canvas
Now comes the fun part! Choosing the frame. You had two choices for framing:
- use a ready-made frame
- custom framing
The composition I had for this painting didn’t conform to a ready made size so I’m having it custom framed. I took the canvas glued to the support to my local framer and chose a frame for the painting.
Finished!
A week later the framer had the painting framed! I hope you’ve found this information on framing your unstretched canvas useful. Painting on unstretched canvas can be a great time, money and space saver.
Wonderful step by step instructions. Now this I can understand! You have inspired me to do my next project-thank you for sharing. Be blessed!