Painting on a wood panel, or wood canvas, is an excellent alternative to painting on canvas and has many advantages.
Wood panels for painting have been used for centuries and are still used today. It wasn’t until the 17th Century Renaissance that canvas overtook wood as the more popular substrate for painting.
While it’s true that most artists today paint on stretched canvas, wood panels are still a popular choice.
Facts: Painting on Wood Panels or wood canvas
Pros and cons
There are pros and cons to painting on wood panels, sometimes referred to as wood canvas.
- Wood panels are sturdy and won’t rip, warp, sag or get puncture holes (except in extreme cases!)
- Large wood panels can be heavy and difficult to transport
- Wood panels can warp or split
- The surface is smooth though it can be given a texture when primed
- Wood panels provide a very firm (no bounce) surface to paint on
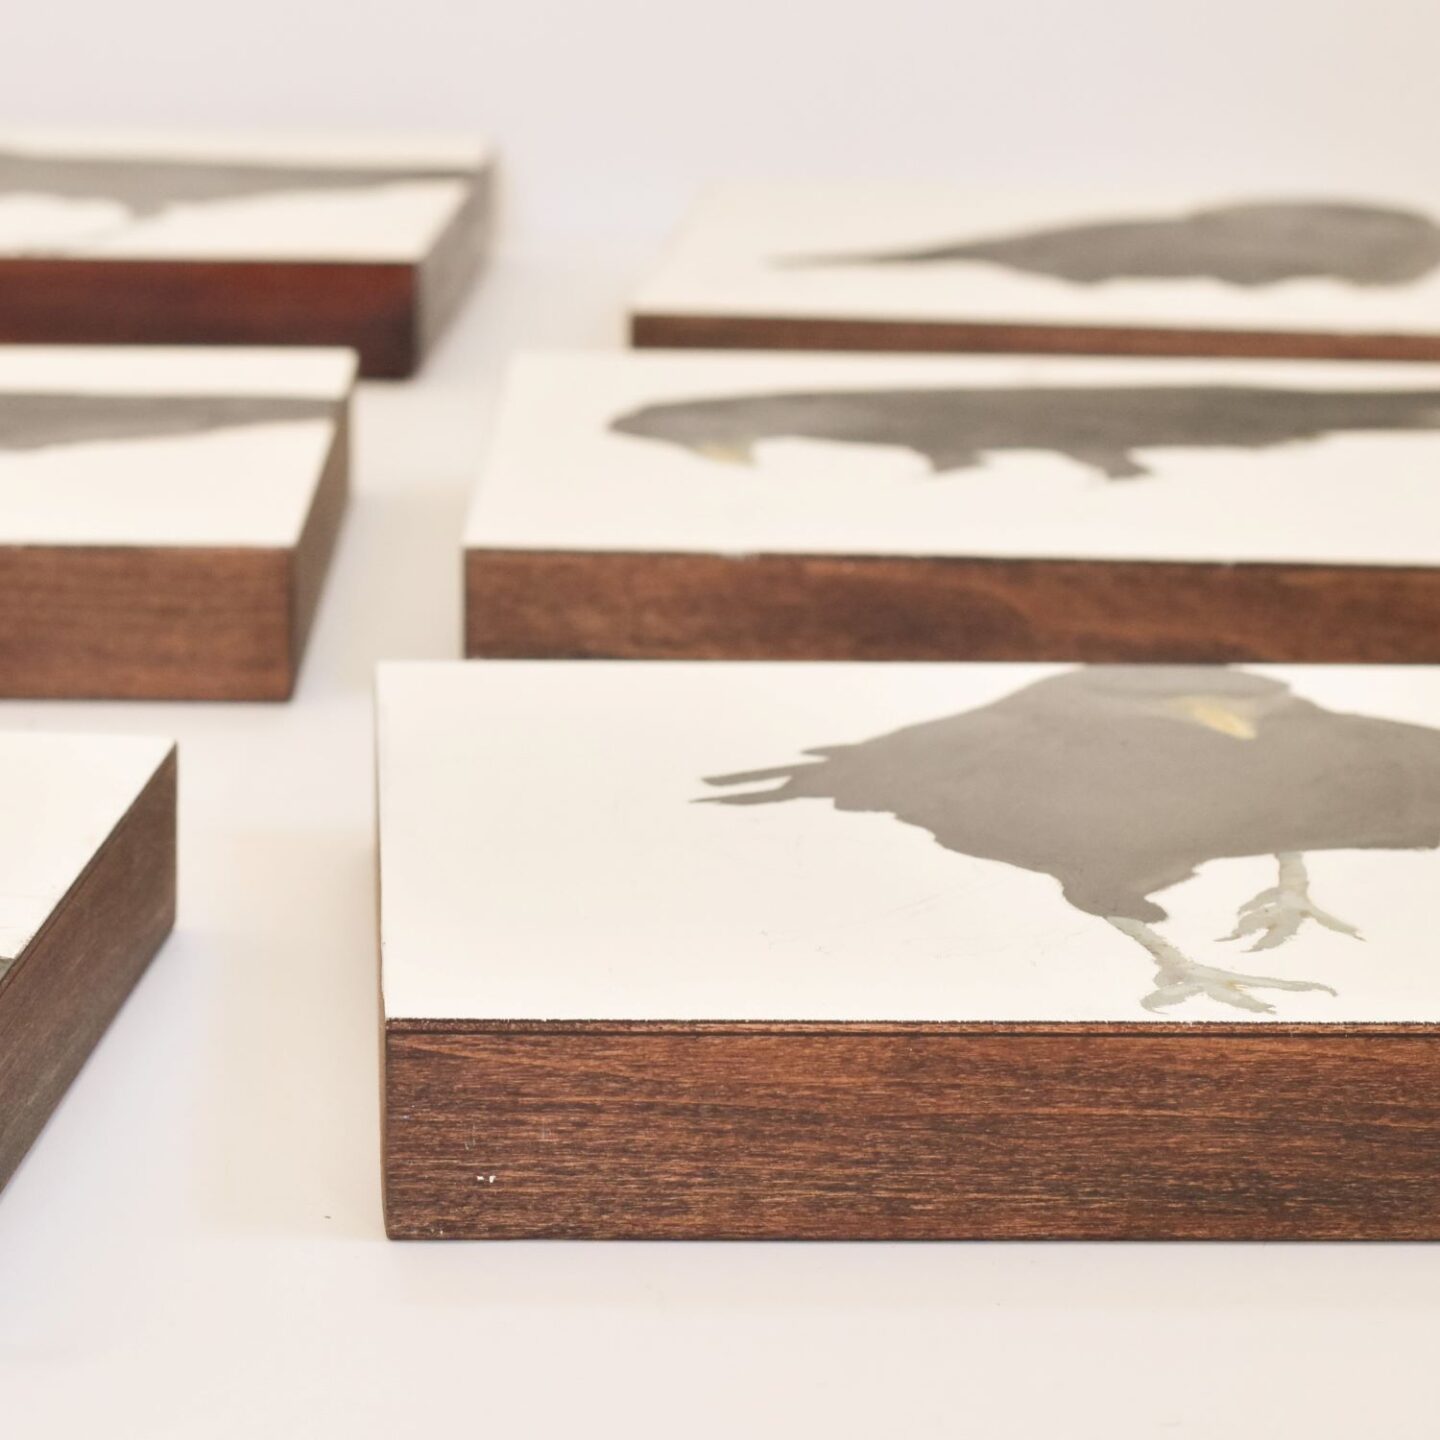
- If you use a CRADLED PANEL like I did in this example you do not need to frame the work
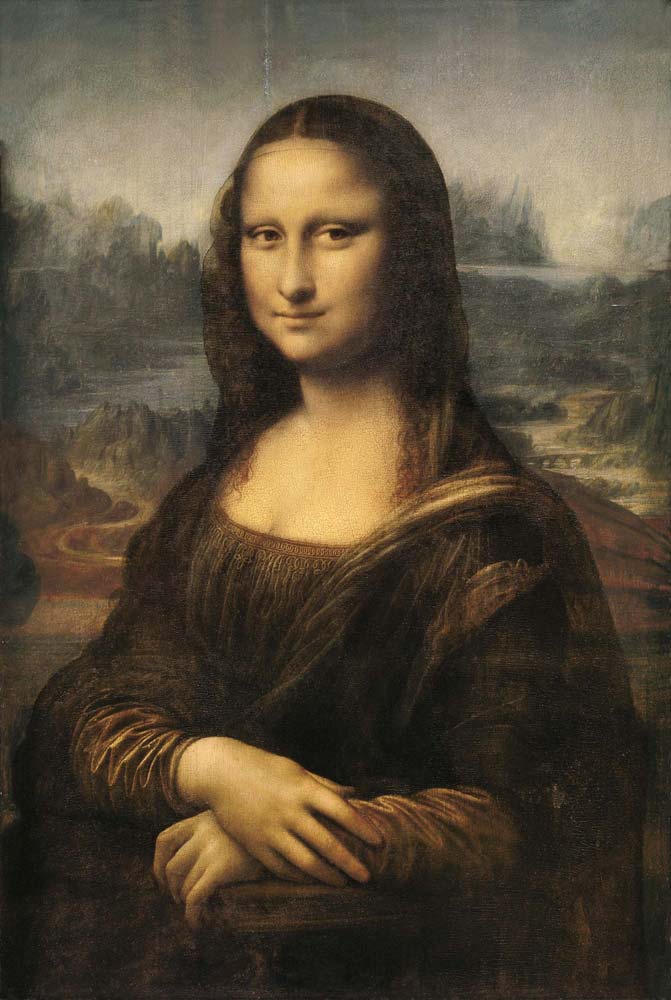
Leonardo da Vinci’s “Mona Lisa”, the world’s most famous painting, was painted on a poplar wood panel in the early 1500s.
2 Types of Wood Panels
Flat Wood Panel
A flat wood panel will need to be framed.
Cradled Wood Panel
I am using a cradled wood panel in my example. The wood “cradle” around the panel gives the panel added support. This can be especially helpful in larger works. The cradled wood panel does not need to be framed. By painting or staining the “cradle” edges you will give the painting a finished look resembling a framed work. In my examples I am using a cradled wood panel that is 1-5/8″, they also come 7/8″ deep.
The cradled wood panel below is the same brand as what you see in the examples on this page. Read more about the giant painting I did on wood panel here.
It’s personal preference whether or not you want to use a regular wood panel or a cradled wood panel.
Wood panels are generally plywood with veneer. Birch veneer is the most popular and is beautiful smooth wood.
Note: Wood panels are also available with canvas already glued to their surface. They come already primed and are all ready to paint on, just like primed stretched canvas. This is an alternative to priming a raw wood canvas.
Step by step: Preparing the surface for painting
The surface of the wood panel needs some preparation before paint is applied. You will need to apply a layer of primer or gesso on the wood before you paint on it. This barrier layer protects the wood. It prevents the paint you will apply from “sinking” into the wood and appearing matte or “dead” in spots.
See my post all about gesso for more info on why you need to use gesso on this raw wood.
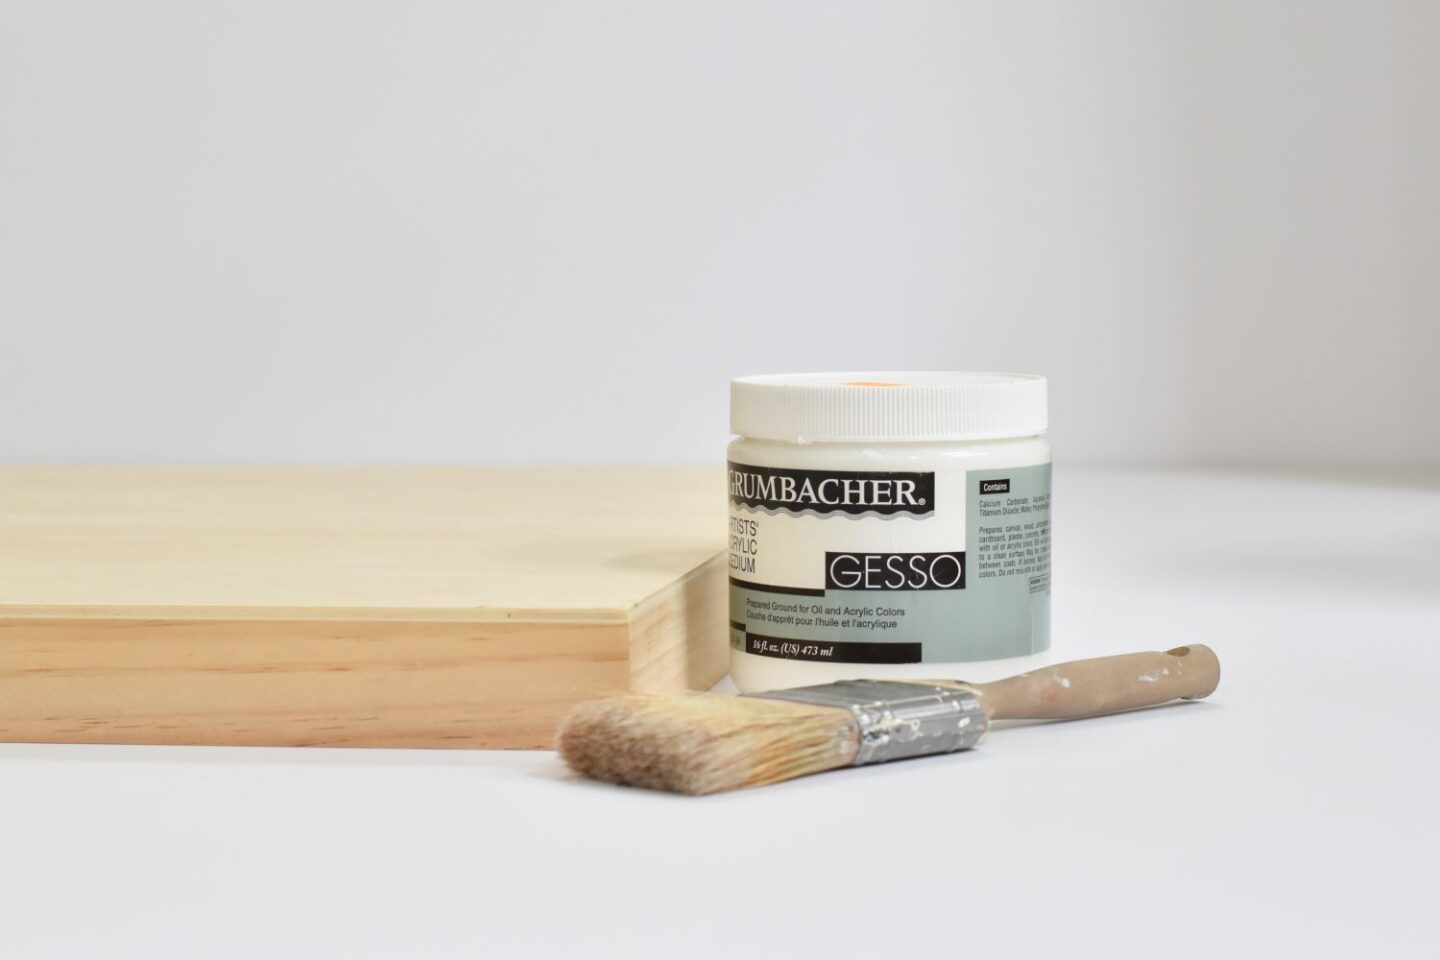
Supplies
To prepare the wood panel or wood canvas you will need:
- acrylic gesso (whether you paint in acrylic or oil paints, acrylic gesso is most common and what I use. Then I paint in oil over it.)
- a brush to apply the gesso
- sandpaper
Brush on the Gesso
Make sure your raw wood surface is clean. Wipe it with a dry rag.
Apply the gesso with a brush, just like you would apply paint. The better quality brush you buy, the less brush hairs you will have to pick out later! (Just a tip that I’ve learned the hard way.)
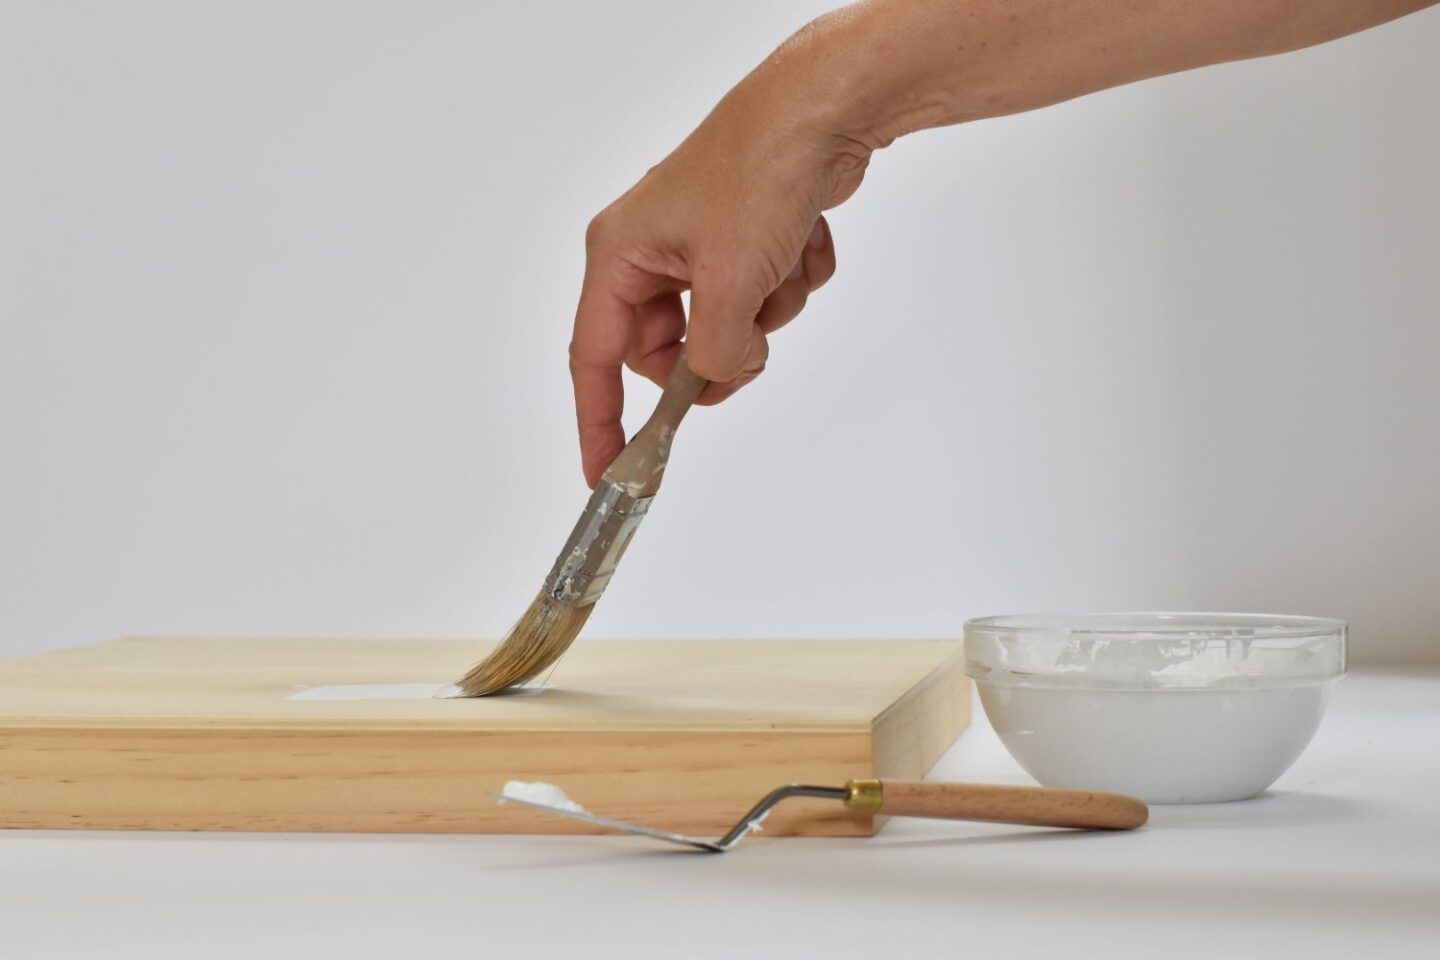
I have seen gesso be thick like peanut butter when I open the container. Gesso can get a little dried out, and if this is the case, I always mix in a little water to get the consistency more like thin yogurt. It should not be so thin that you can pour it, just to easily brush it on the surface.
To get good coverage you should brush the gesso in one direction, top to bottom. (A second layer will be added by brushing the gesso side to side.)
Sand the Gesso
Once the gesso is dry I sand the gesso. I don’t get it very smooth, I just want to knock down some of the brush strokes and get a more even surface.
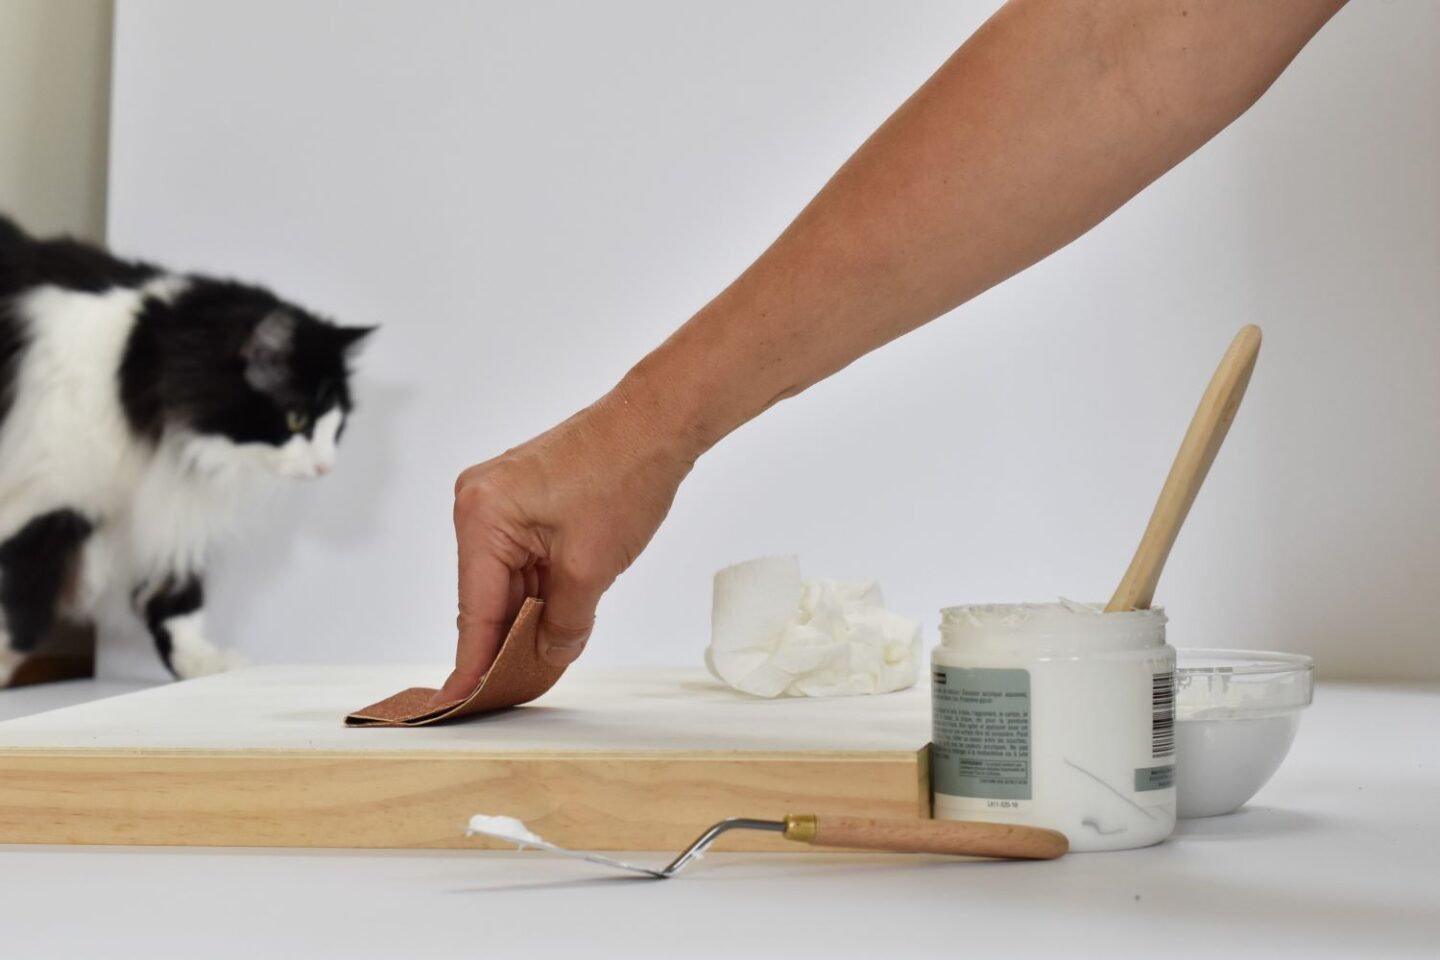
Repeat
To be sure you cover all of the wood, it’s a good idea to now repeat the process. Brush on another layer of gesso. If your first layer was brushed on side to side, this one should be up and down brush strokes. Once that’s dry, sand again.
Finishing Wood Panels for hanging
If you are painting on a flat wood panel once your painting is finished and varnished, you’ll take it to a framer and choose a frame. If you’re using a cradled wood panel, you have one more step.
Frame a flat Wood Panel
A flat wood panel can be framed using traditional framing methods. I have found that one of the advantages of painting on panels means there are more frame choices. Unlike a stretched canvas, a flat wood panel does not sticks out on the back when using frames with a shallow rabbet.
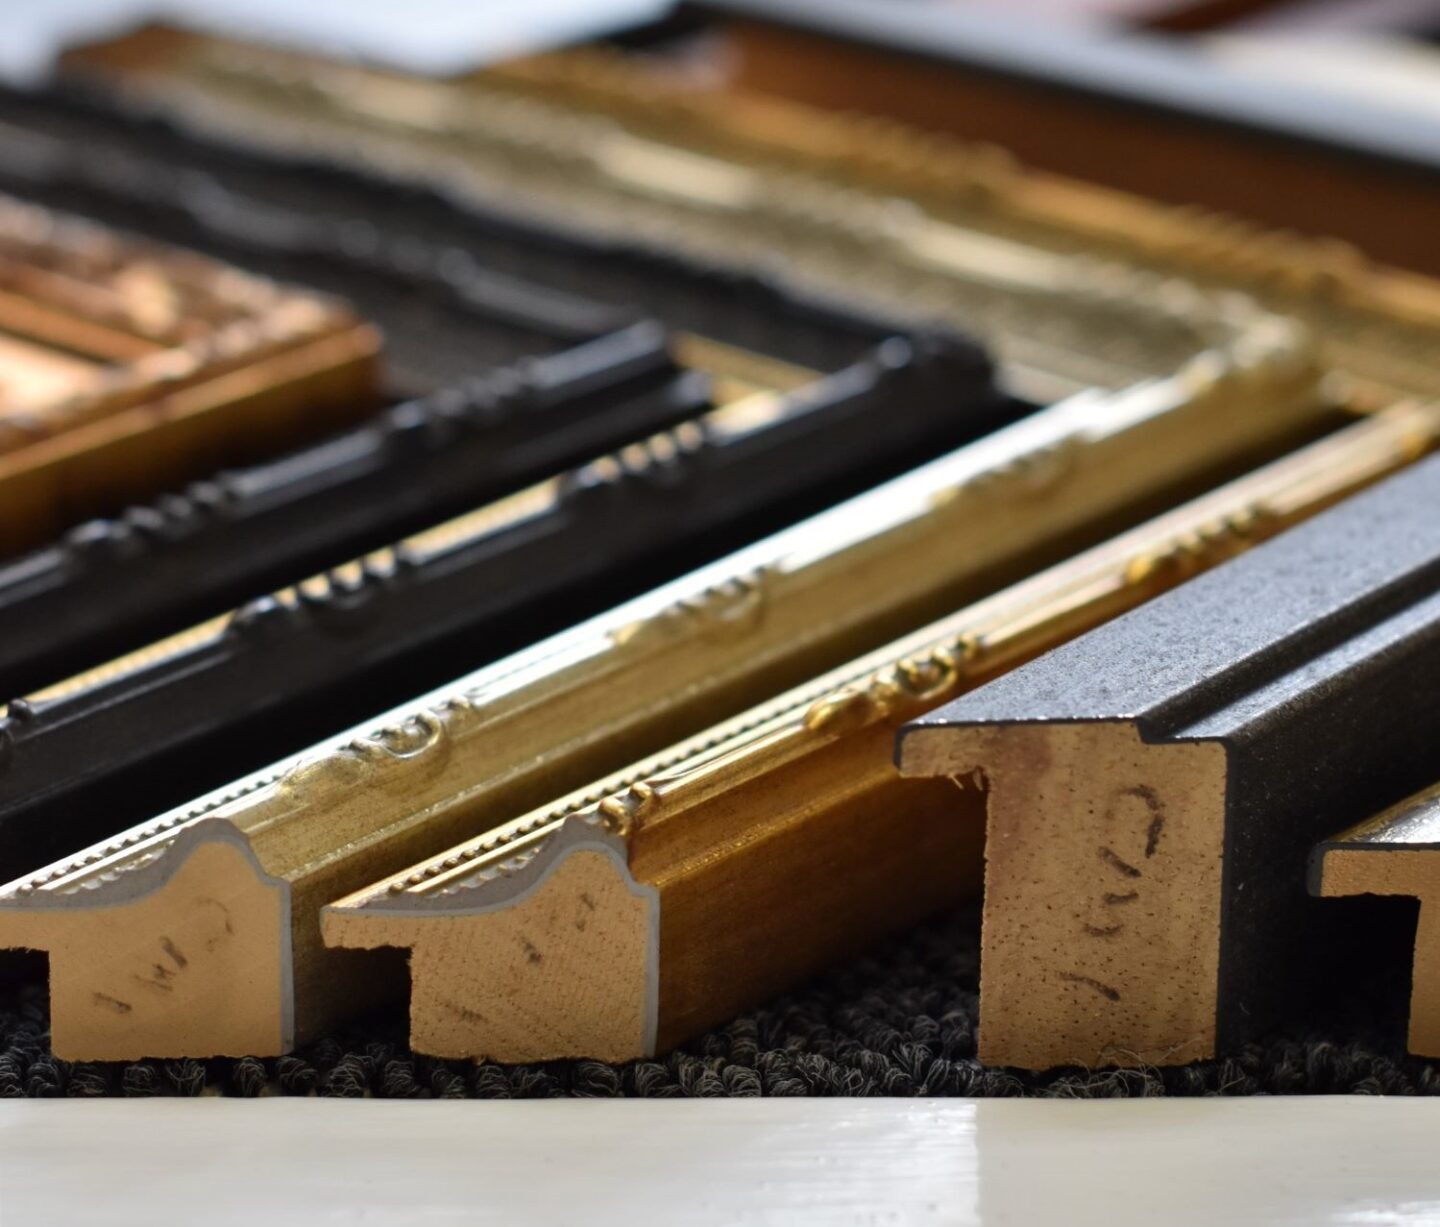
You can see in the image above that the space where the canvas or panel fits – the rabbet – comes in a variety of depths depending on the frame.
Stain a cradled Wood Panel (instead of framing)
If you are using a cradled wood panel, as in my example, you will need to finish the raw sides in some way. A cradled panel does not need a frame, though you will need to add a wire on the back for hanging.
You can prime the sides with gesso just as you primed the top surface. You can do this at the same time you’re doing the top. You can then paint the sides if you wish.
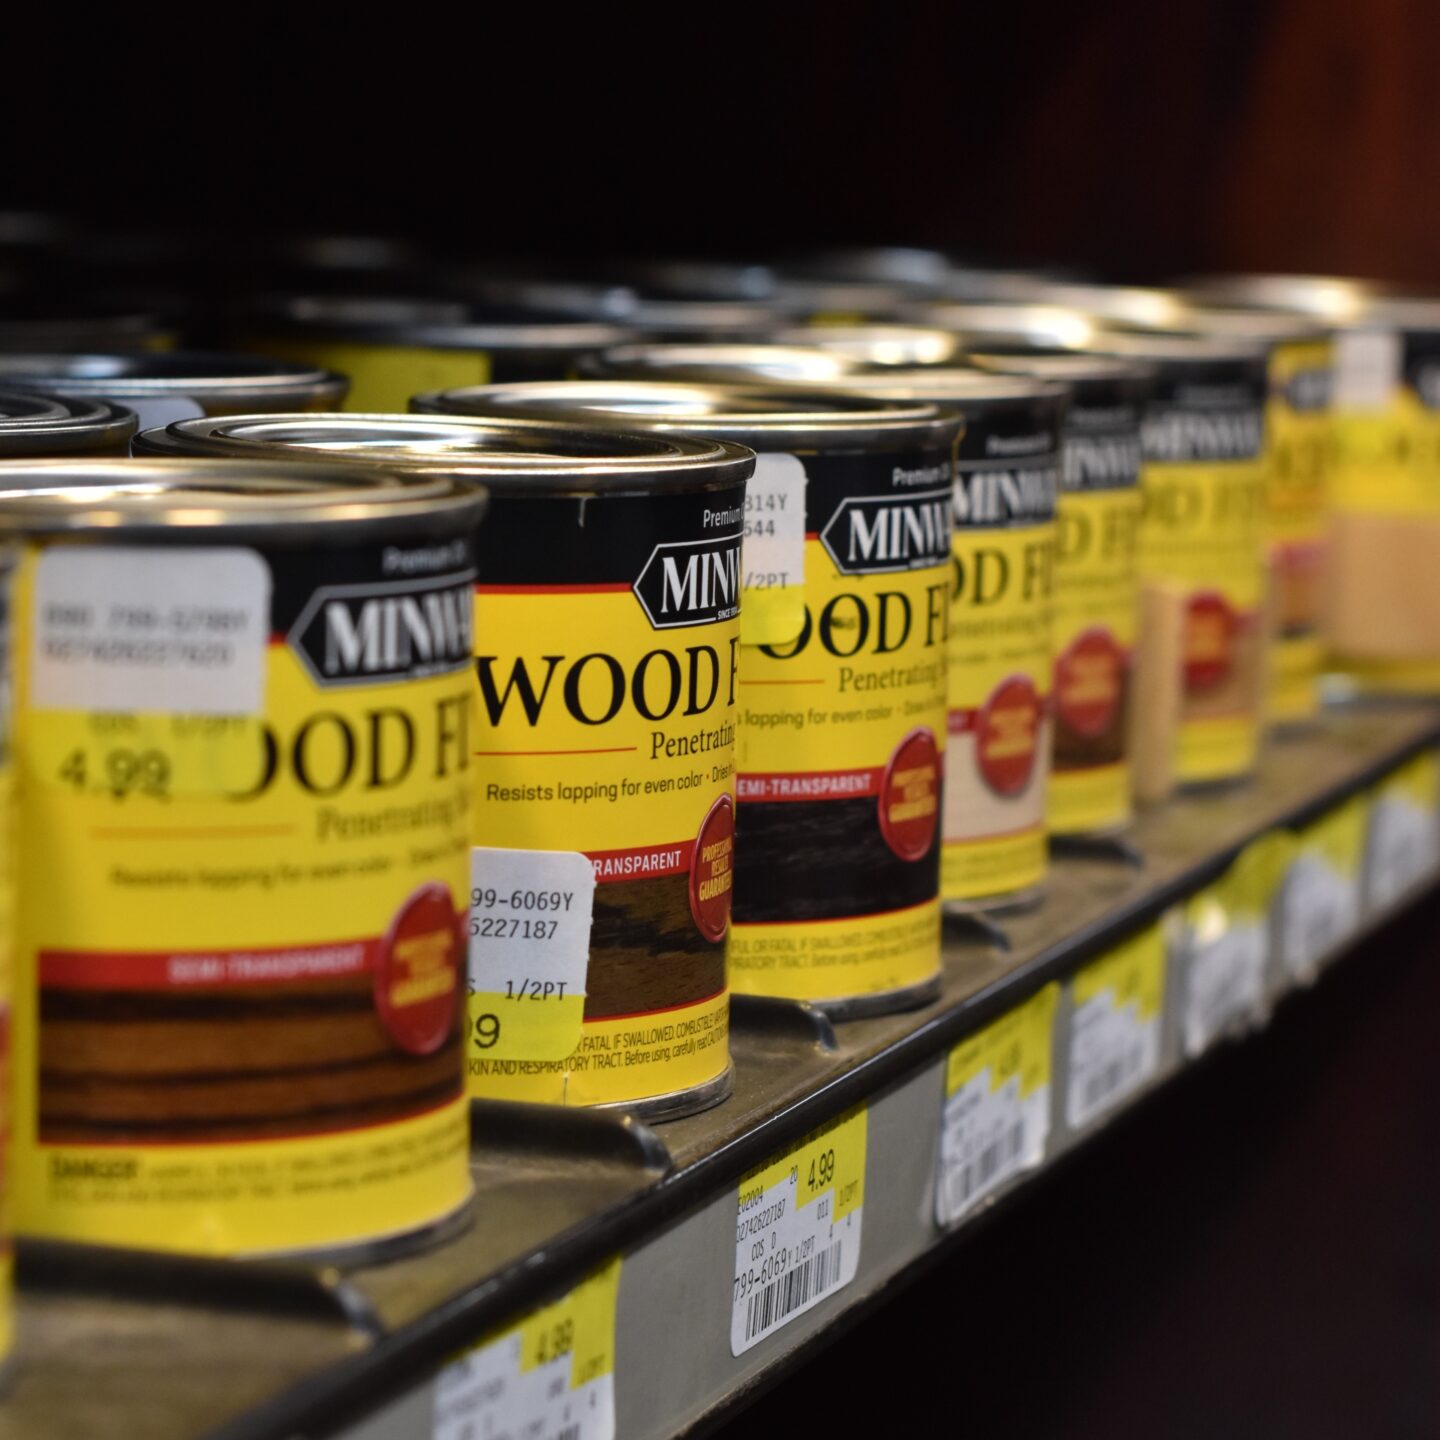
Or, you can stain the sides which is what I did.
When you stain the sides it gives the artwork the appearance of having a frame. I chose “Dark Walnut” stain by Minwax from my local hardware store.
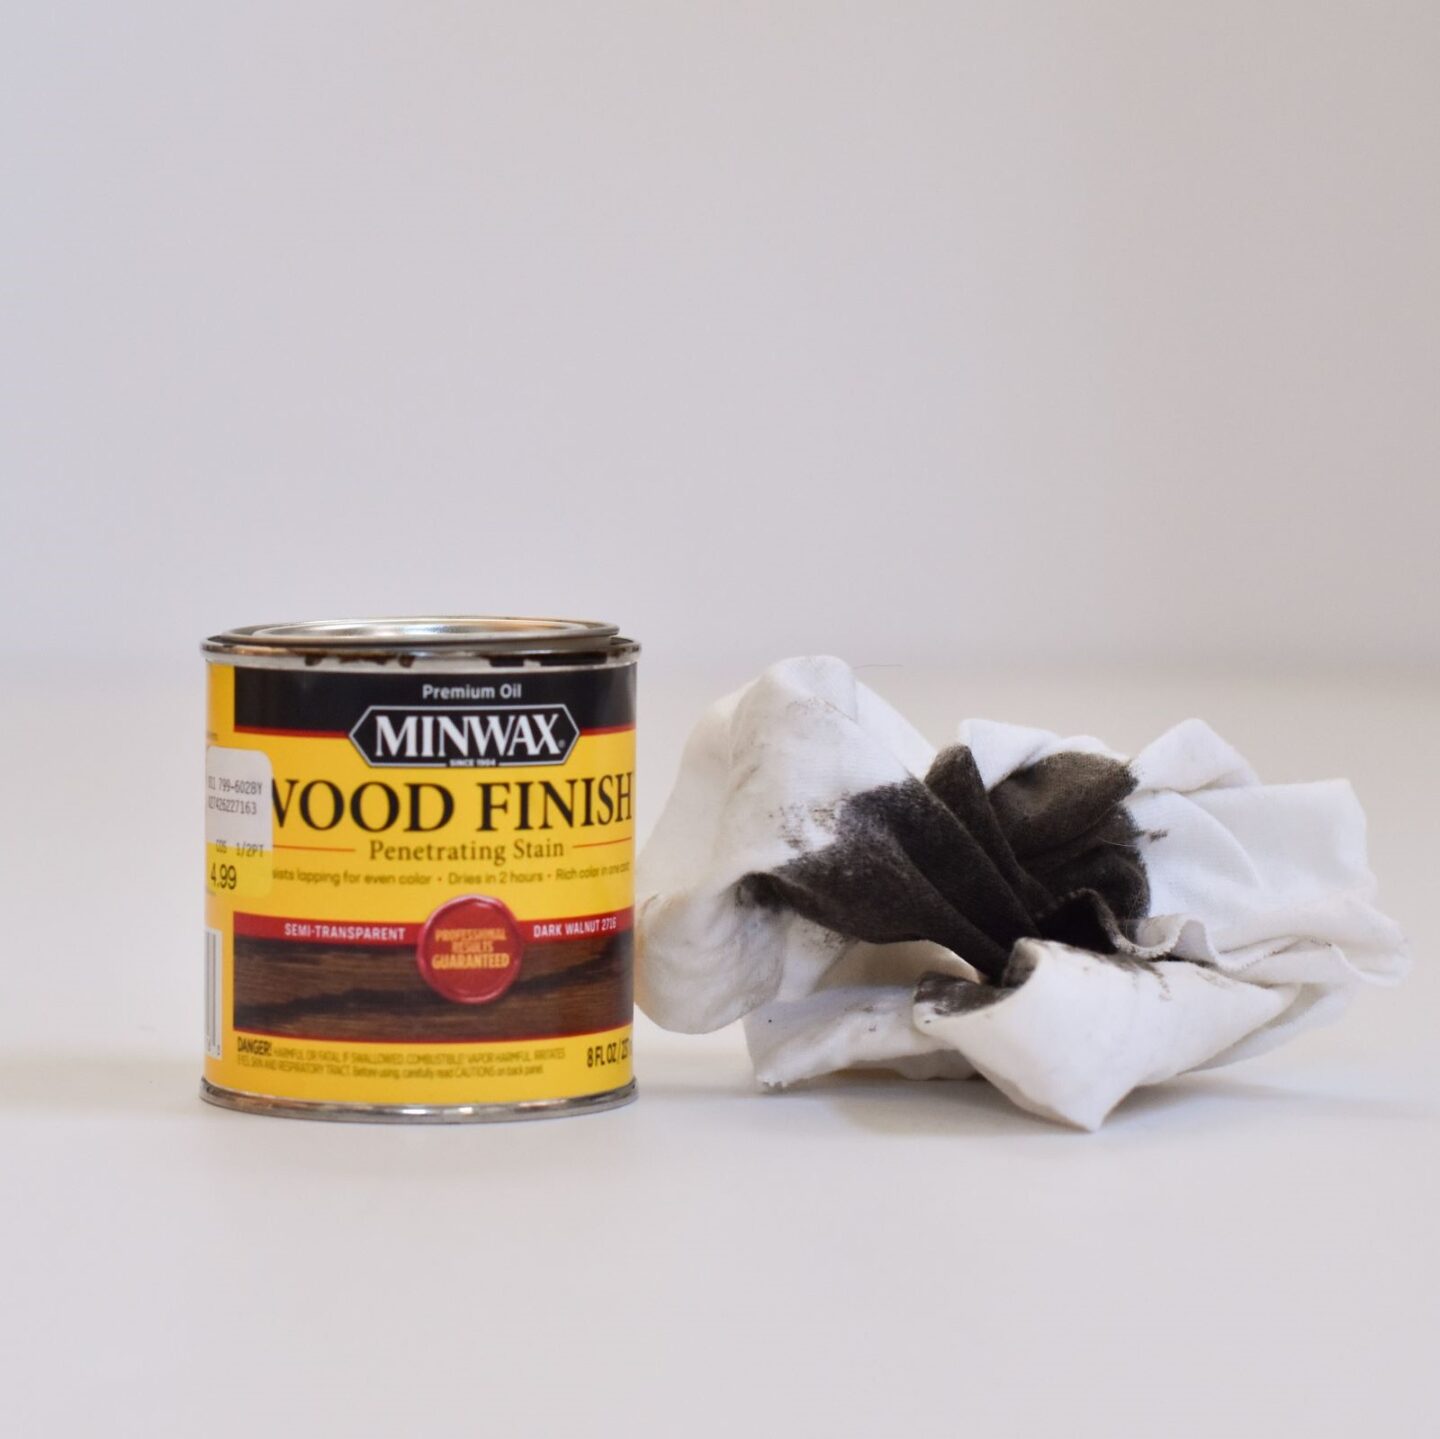
Make sure the sides of your canvas are free from dust and dirt by wiping all sides with a dry rag.
Using gloves and an old rag, I wiped stain onto the wood. To get a darker stain, let this first coat dry completely and then apply a second coat of stain.
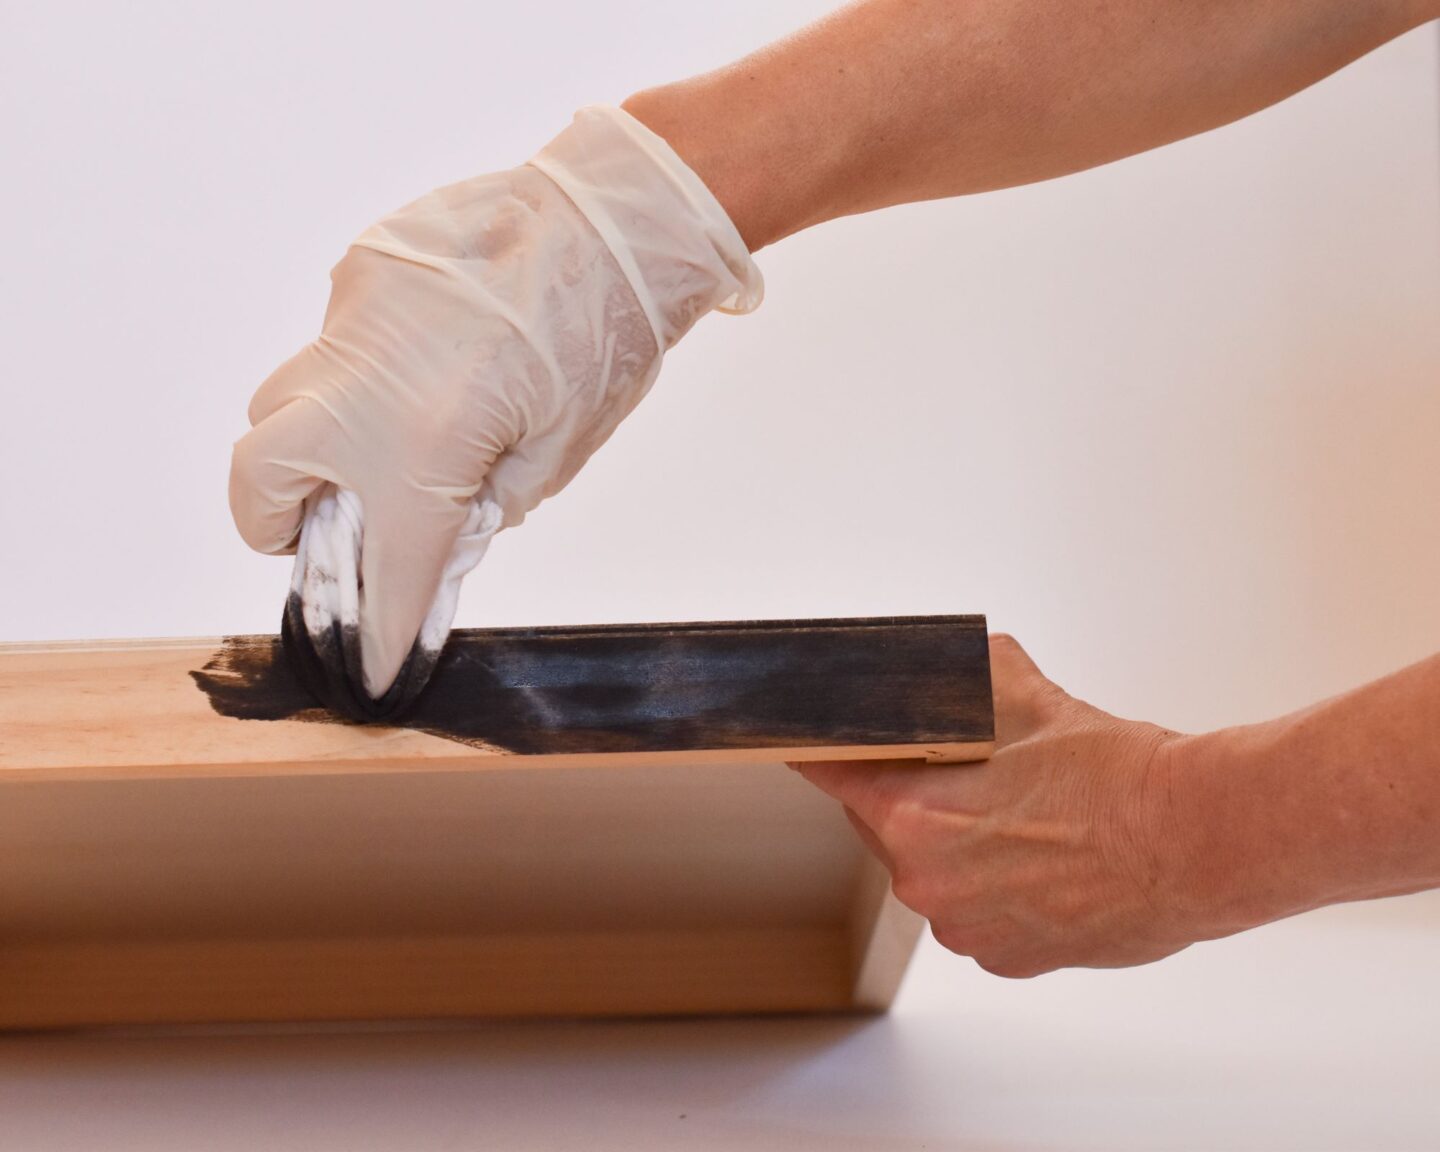
Set the cradled wood panel aside and let it dry completely. Be careful with the stain, it will stain your clothes or anything else it comes in contact with.
Paint and varnish the Wood Panel
Once the stain is dry you are ready to paint on the panel, just like you would paint on any canvas. (Sometimes I paint my painting on the surface first, then stain later. It’s up to you.)
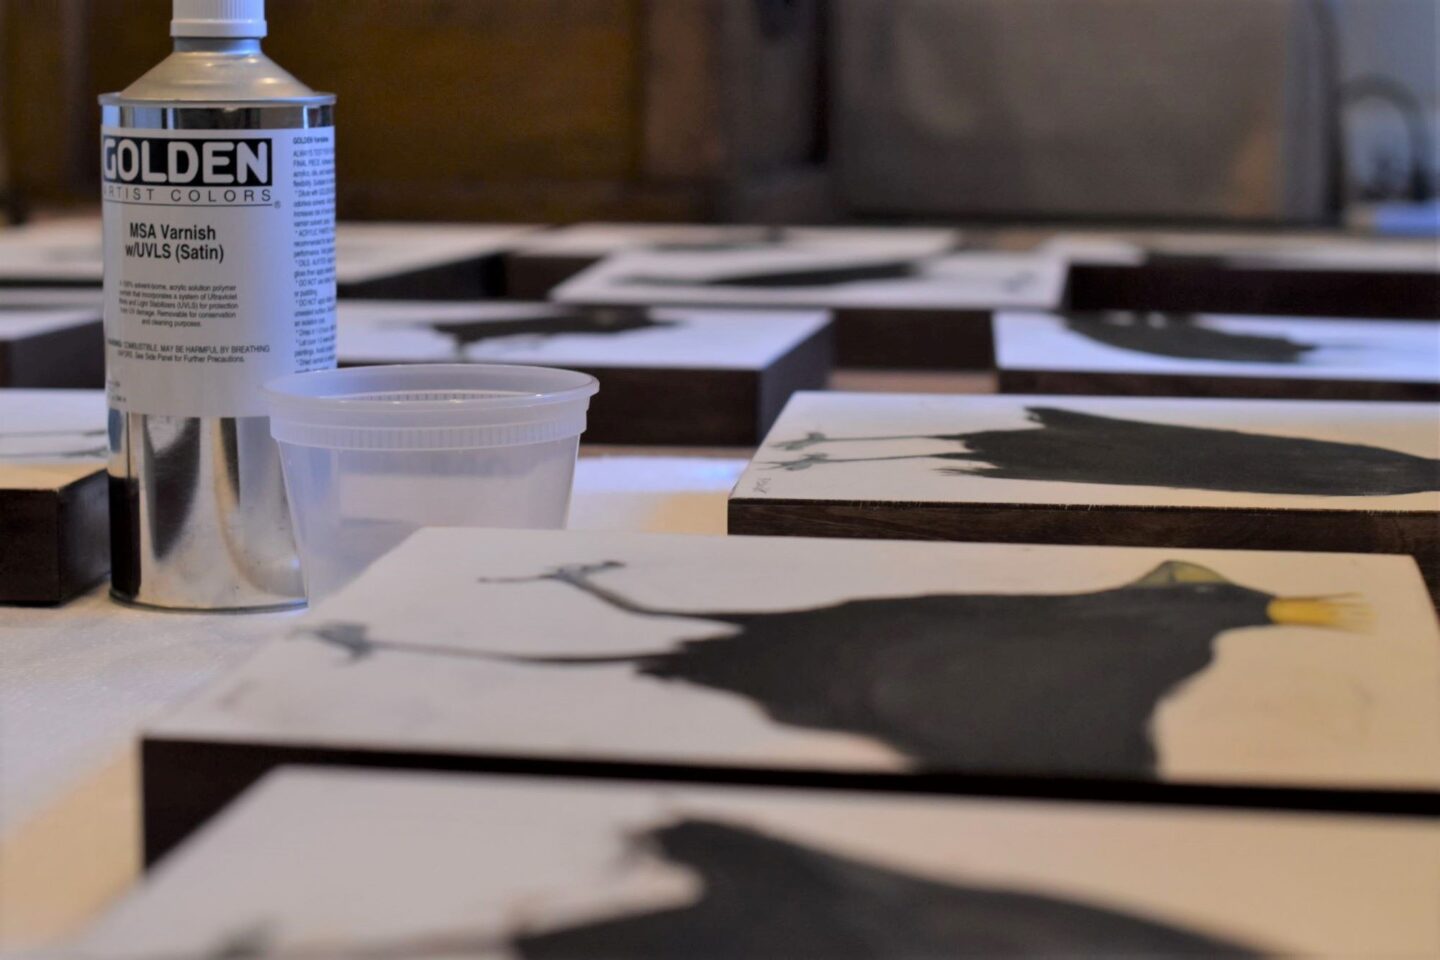
Once the top are all painted and/or stained, I varnish the top and sides with this satin varnish. The varnish acts as a protective coat and I varnish all my paintings on cotton or linen canvas too. I do this out in the garage because you need a well ventilated place to varnish.
The last step is to attach a wire to the back of the panel for hanging.
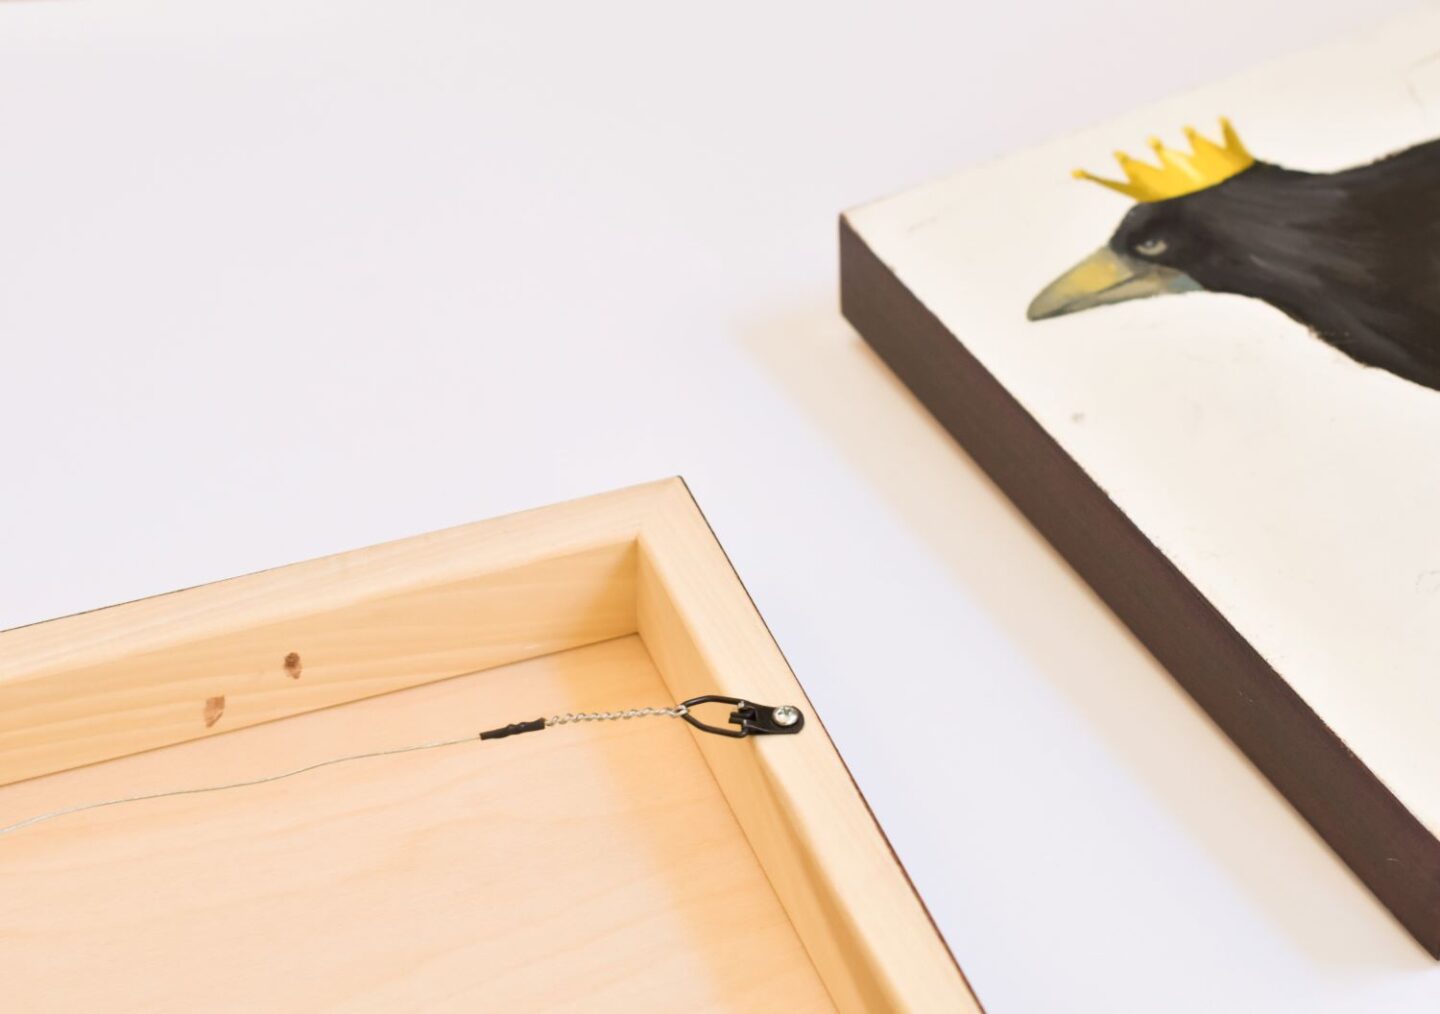
And that’s it! Now your painting on a wood panel is ready for hanging. This is a sturdy wood canvas that will be well protected from most damage.
I hope this post has given you lots of information about using a wood canvas or wood panel for painting.
I’ve been wanting to make a wood panel painting but had no idea where to start! Thank you for creating a post that answered all my questions!
Love painting on cradled wood panels. I find they hang tighter up against the wall if no wire is used .. just sink two nails or screws into the wall , making sure they are level and the cradled panel on those.. So easy and makes for tight fit on the wall and just as secure wire hung,
Hi Mary, you bring up a great point, cradled panels do hang tightly to the wall! I always add the wire and the wire needs to be pretty taught so it takes a little patience to get the panel with the taught wire on the wall but works great. I hadn’t tried just hanging the cradled panel on nails or screws, great idea. I did once paint a giant cradled panel (6’x9′) and had the secured professionally on the wall. They screwed 2x4s horizontally to the wall and the cradled panel was lifted up and hung on that – with a couple more screws to hold it to the 2x4s. There are lots of ways to attach cradled panels to the wall, thanks for your suggestion!
Hi ? great article! I admire your credentials, experience and inspiration for painting. Any recommendations for good “quality” panels? I’ve only worked with canvas (self taught aka God taught artist) and recently learned of the existence of panels. I’d like to use them for impasto style painting. Are smooth panels better than just plain wood panels (ive seen adverts. for “ultra smooth” and plain “wood” panels).
Hi Selena,
Great question! There are lots of options when it comes to painting on panels. I use panels that have a piece of linen fabric glued to them, that’s done by the place I buy them, not me. So it’s like painting on a linen canvas, except it’s very rigid. You can also buy panels with cotton canvas glued to it. There are probably a dozen choices when it comes to choosing which type of canvas you would want glued to your panel, ranging from rough cotton canvas to very very fine linen (for portraits). Panels are usually made from a 1/4″ or 1/8″ sheet of birch wood or sometimes a lighter weight foamcore type material. But . . . since you want to paint impasto, you don’t really need that canvas glued to the panel unless you like the “tooth” a canvas has. You could paint on a piece of masonite, just put a layer of gesso on it first, that will also give your brush a little “tooth” and it won’t be slick. I’ve had my local hardware store cut pieces of MDF or masonite into small and medium “panels”. Then I put a layer of gesso on the board. That might be a good alternative for you. I hope this helps!