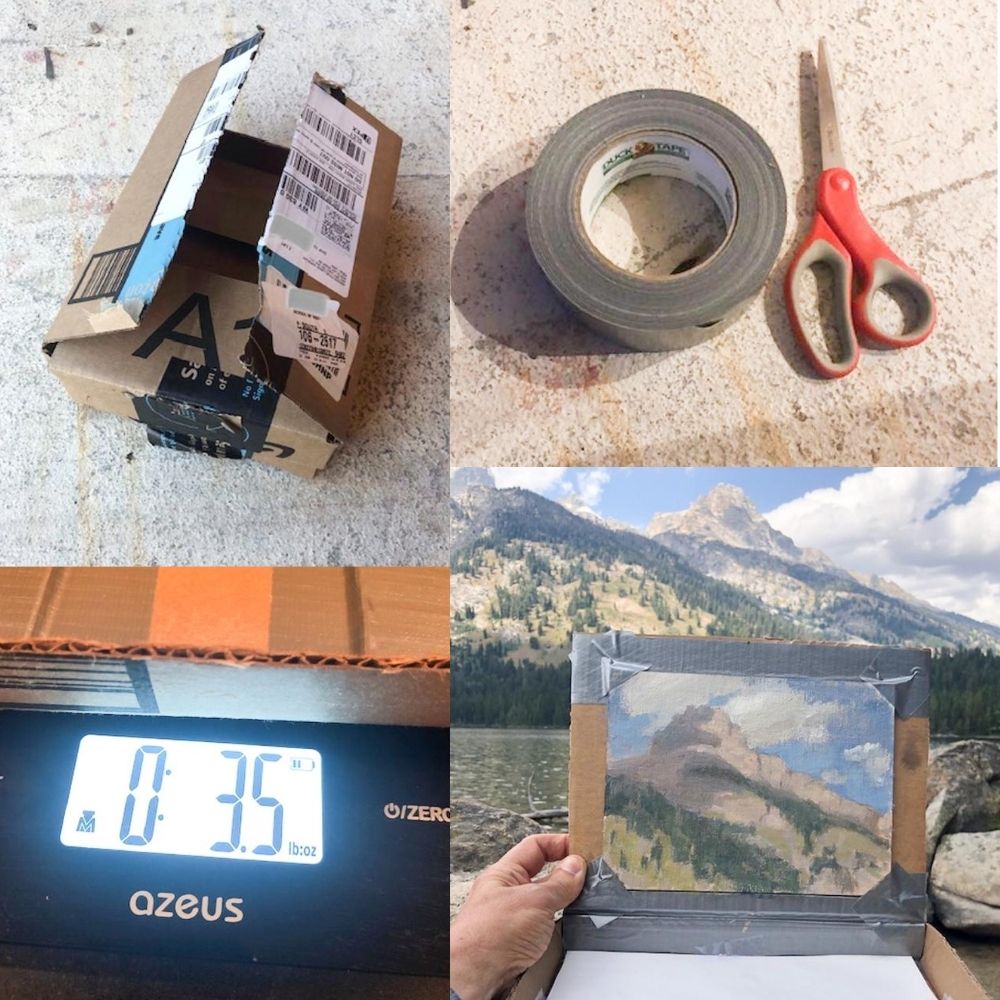
These pochade box diy instructions will show you how to make a pochade box that weighs only 3.5 ounces or 100 grams.
You may also be interested to see how I built a pochade box out of a CIGAR BOX on another post. Yes I’ve made a few!
I made this lightweight pochade box out of an Amazon cardboard box so I could carry it easily in my backpack when I hike into the mountains. Many artists carry wood or metal pochade boxes but those are too heavy for me.
This alla prima pochade box does not use a tripod. I hold it in my left hand, or put it in my lap or on a rock when I paint. And I took it out for a trail run a few days ago and it worked great.
Supplies
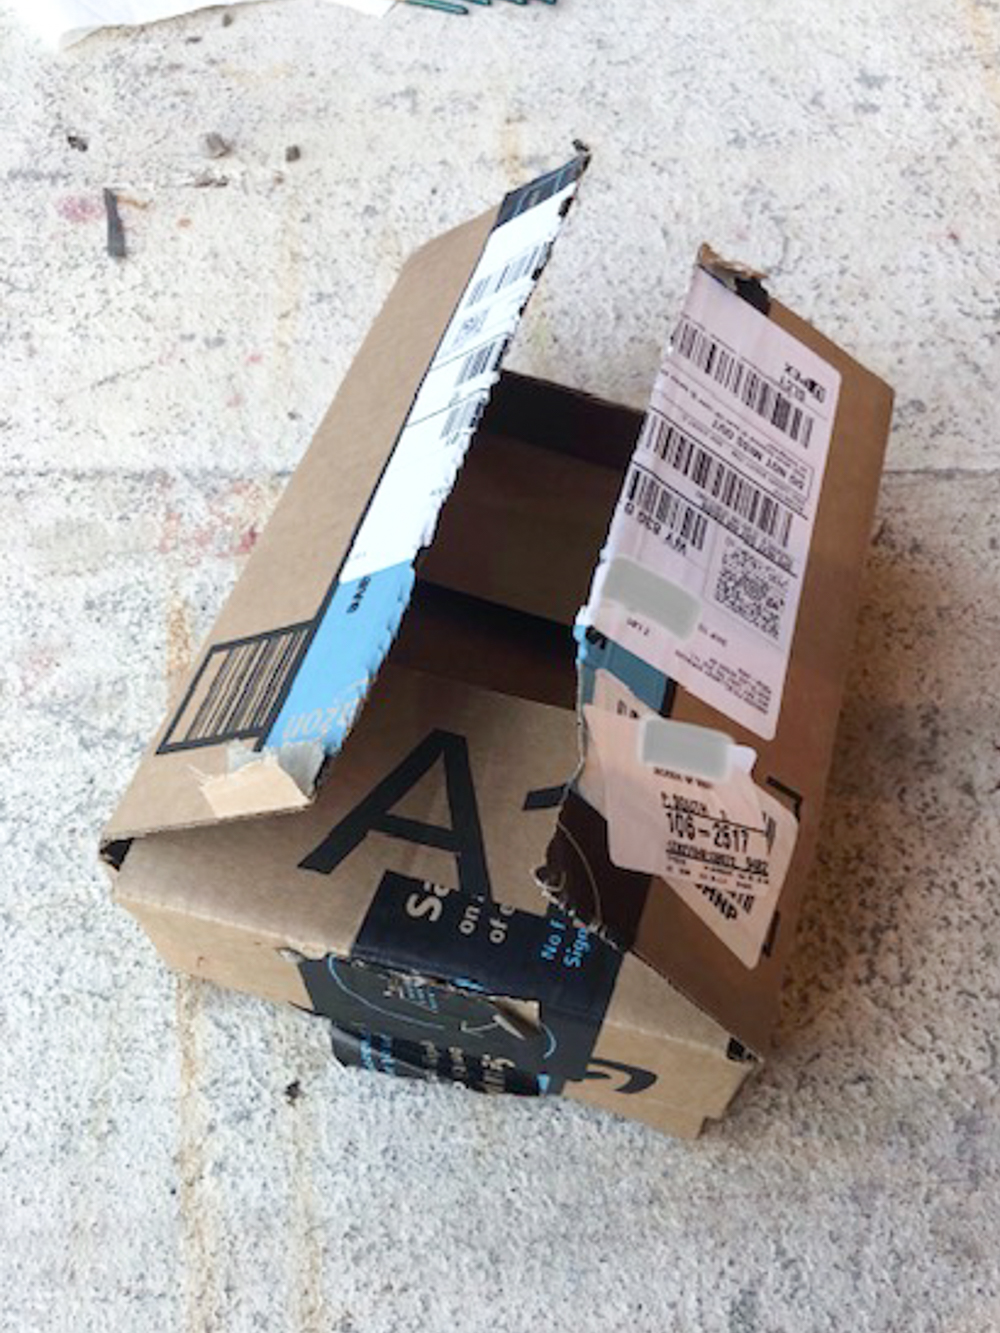
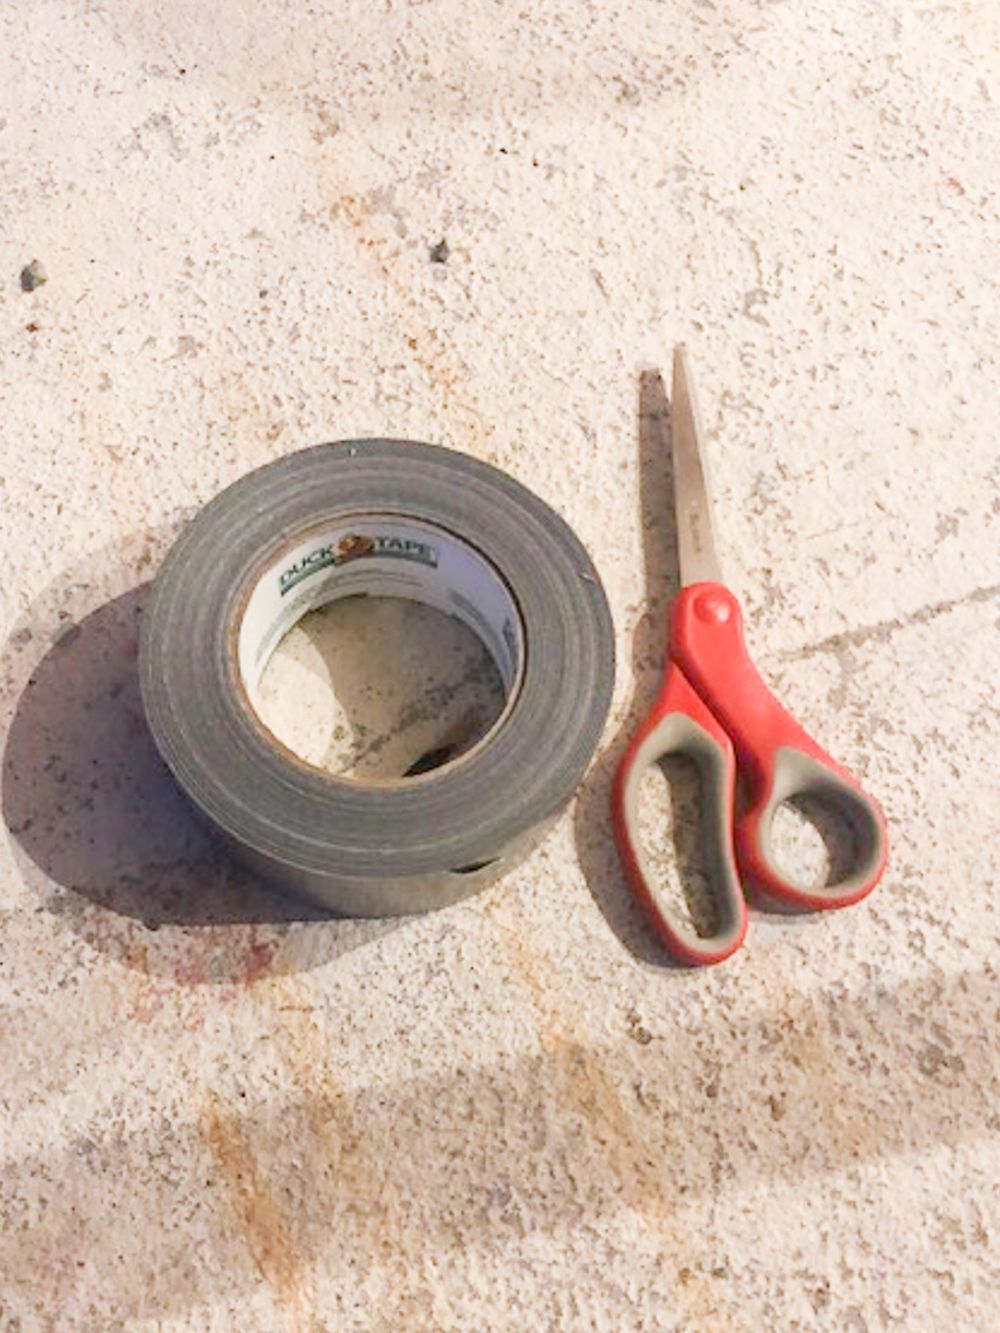
The first thing you’ll need is a cardboard box of an appropriate size. My pochade box easily fits a 6″x8″ panel (shown in my example) but would also hold an 8″x10″. Next you’ll need duct tape and scissors. A box cutter would have made cleaner lines but I didn’t have one handy. And that’s it, only three things needed.
Pochade box DIY steps
There are really only 3 parts to this pochade box.
- the base
- a ledge to hold your panel from slipping
- the flap which will hold your panel (and protect it when you are finished)
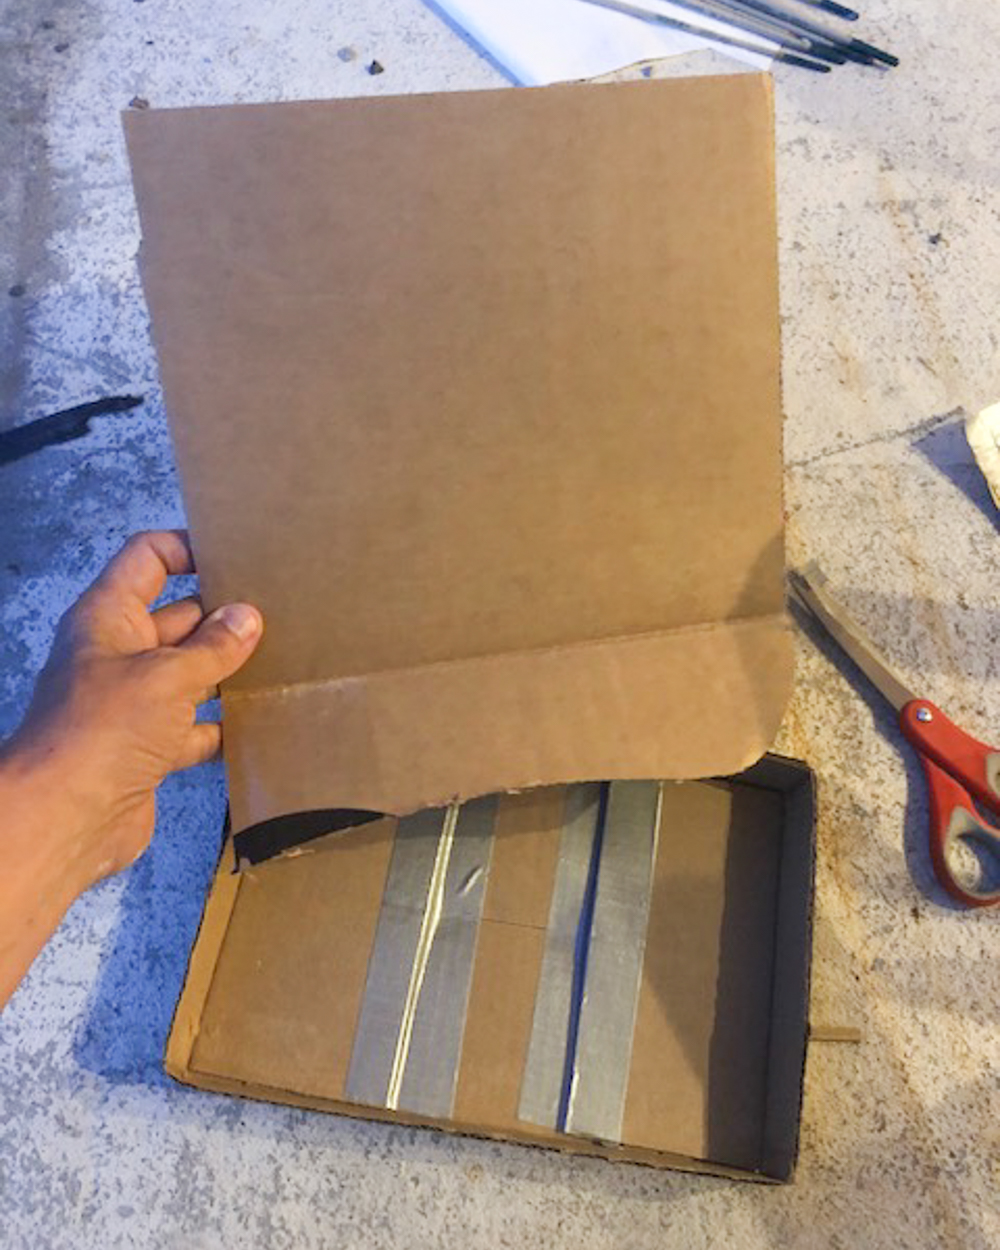
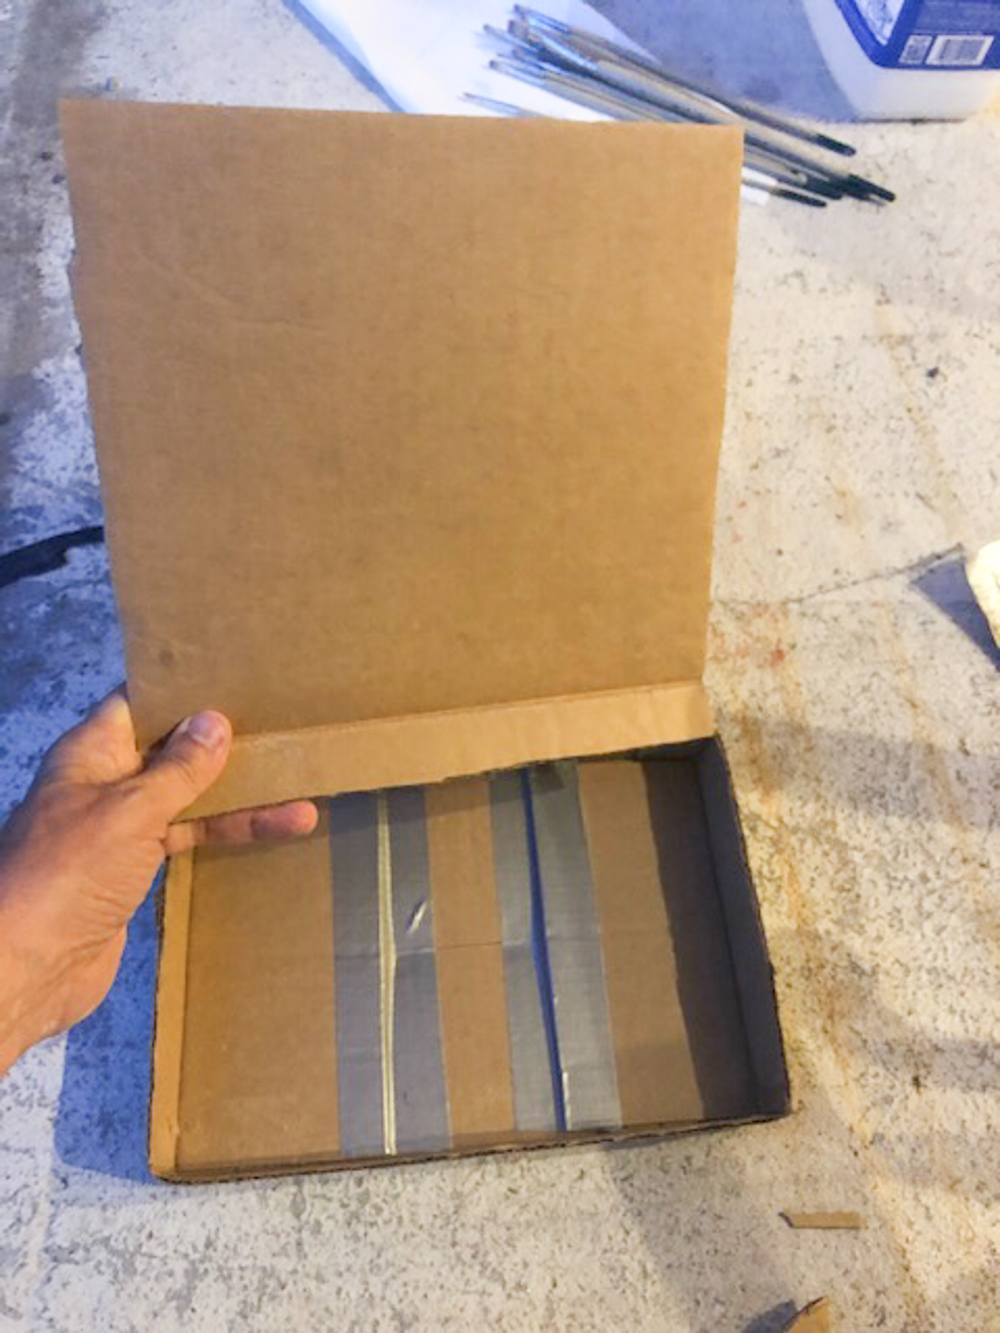
1. The base

Cut away the cardboard leaving a one inch “wall” all around what will be your palette. I taped down the cardboard edges on the bottom of the box for a flatter palette.
2. The flap
The flap serves as the top cover for your pochade box. It has two purposes: to hold your panel and when you are finished with your painting you can close your pochade box and your wet painting will be protected. Be sure and remove the paper palette before you do this though. I’ll talk more about this later.
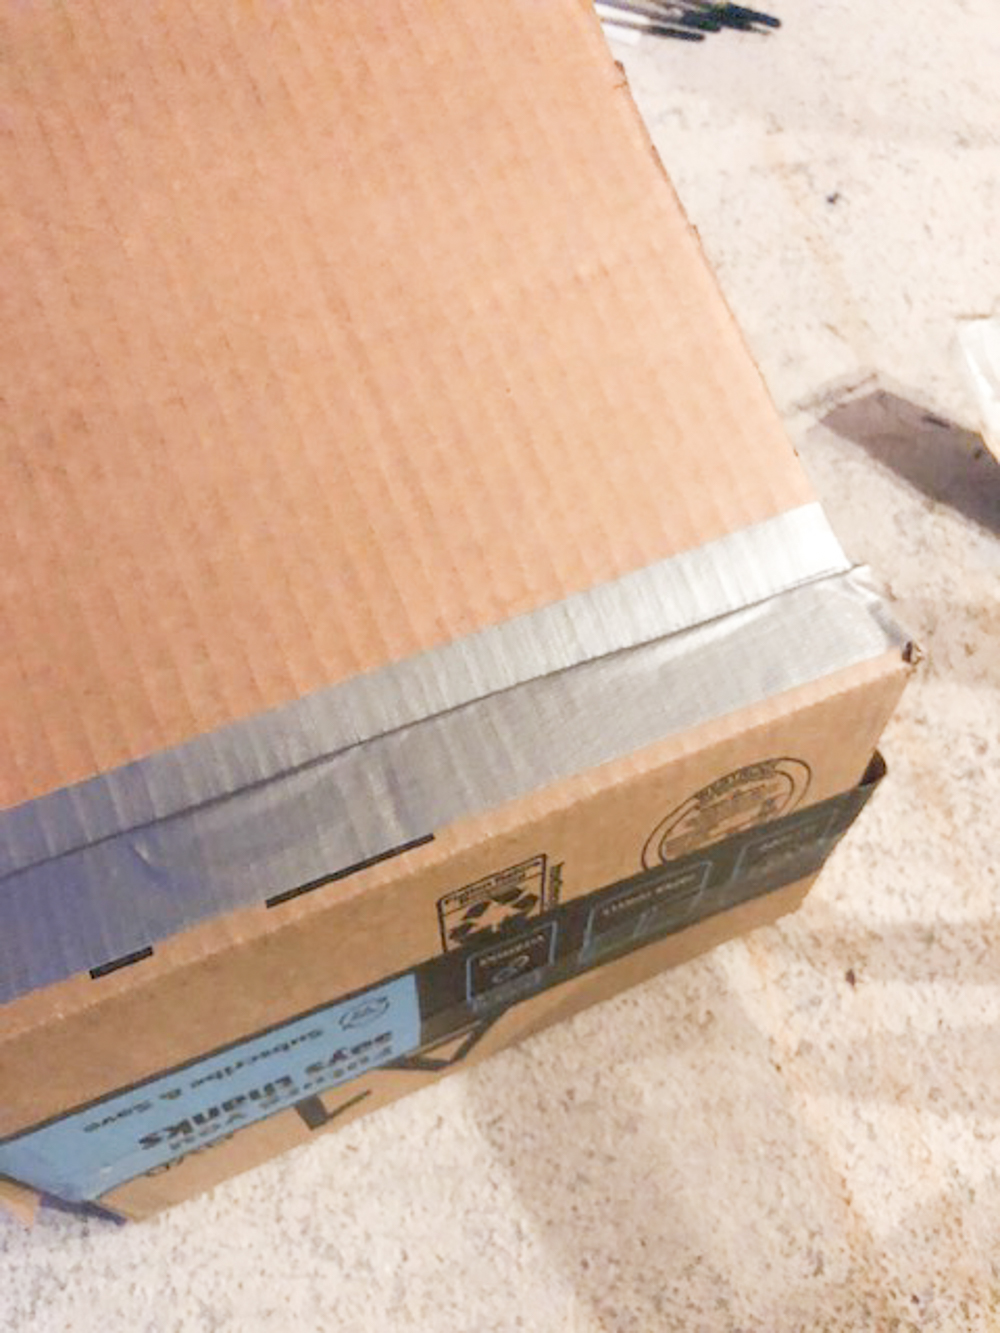
Now here is something IMPORTANT about the flap. The flap has a fold in it. When you cut your flap, it’s best to use an existing fold. I first used my Amazon box but found the part above the fold (which would be the top cover) wasn’t big enough. I could have added another piece of cardboard by taping on more and this would have made the whole pochade box out of one box, but I wanted easy so I found another box. So I grabbed another box and cut into that using an existing fold in the cardboard.
I tried to score some cardboard to make my own fold but it didn’t work. This doesn’t mean you can’t make that work, it’s just a lot easier to use cardboard that already has a fold in it.
Tape this flap to the pochade box palette tray at the bottom, front and back.
3. The ledge
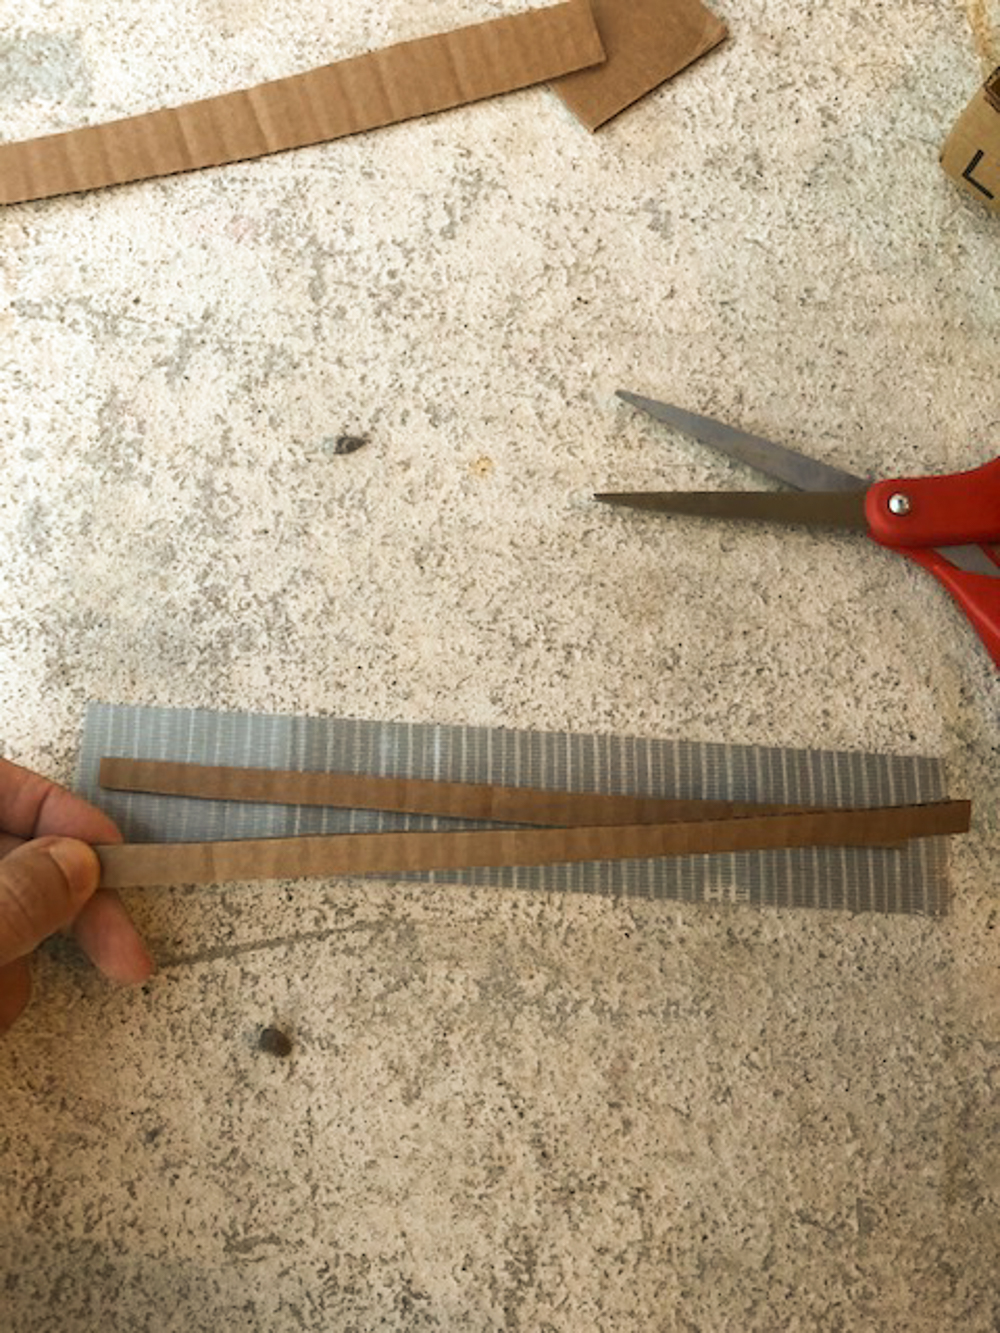
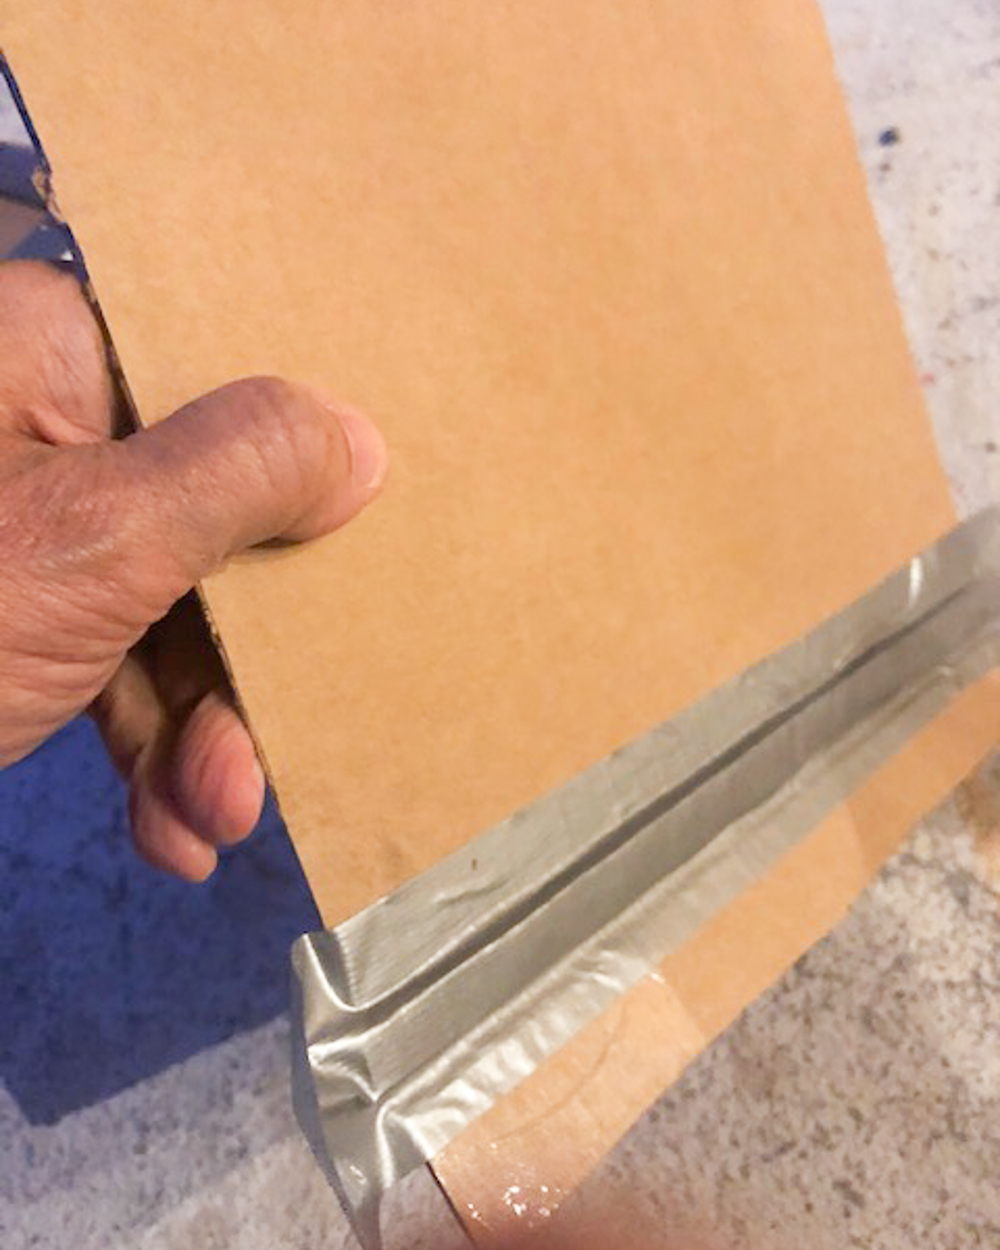
The ledge is a little shelf that will hold your panel from sliding down. I cut two thin strips of cardboard, laid them on top of each other for more thickness, and then taped them one on top of the other, to the flap.

You’ll need to tape this to the pochade box cover on the inside. And ABOVE the fold. Otherwise this little ledge will get in the way of the actual closing (folding) of the pochade box top.
Just a few more things I did to refine this box:
Now you have your basic alla prima pochade box. I made a few quick additions to make the whole painting experience better.
Paper palette
I taped a piece of thin cardboard to the bottom of the palette “tray” so I would have a smooth surface for my paper palette.
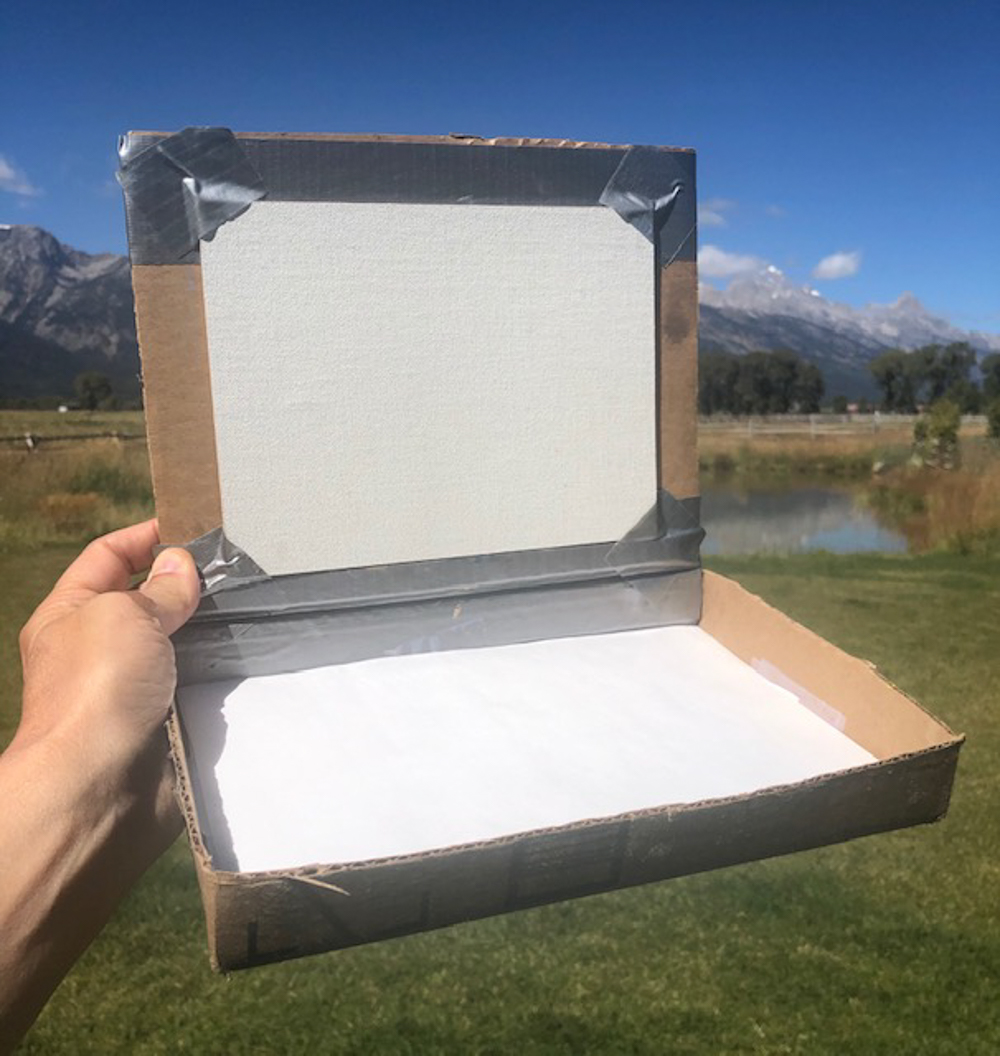
I cut a few paper palettes to fit the palette tray. I put one down, then taped it with scotch tape to two sides. Two sides was enough to hold it in place. The I put another cut paper palette on top of that and taped that in two places. I repeated this until I had 4 paper palettes one on top of another. When I needed a fresh palette, I just pulled off the dirty one and there was a fresh one ready beneath it. I used two sheets of palette paper for the little 6″x8″ painting in my example.
Securing the painting panel
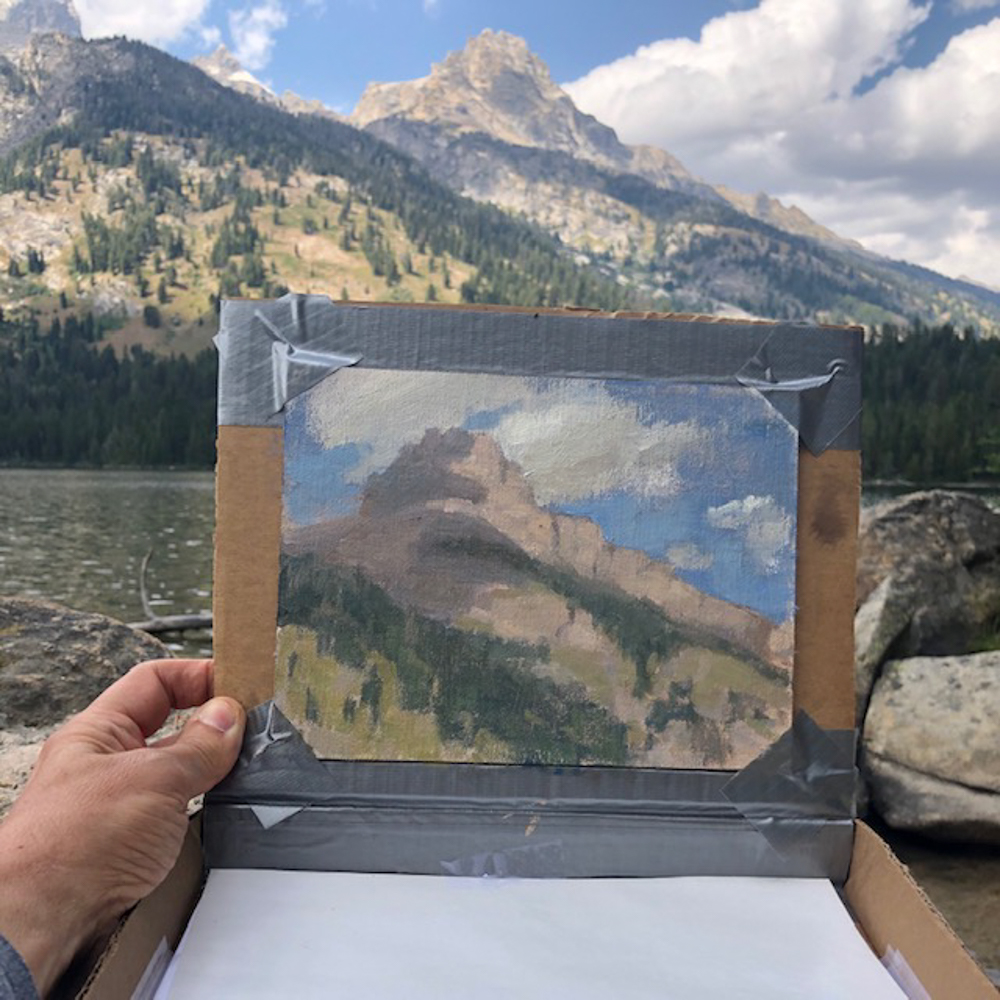
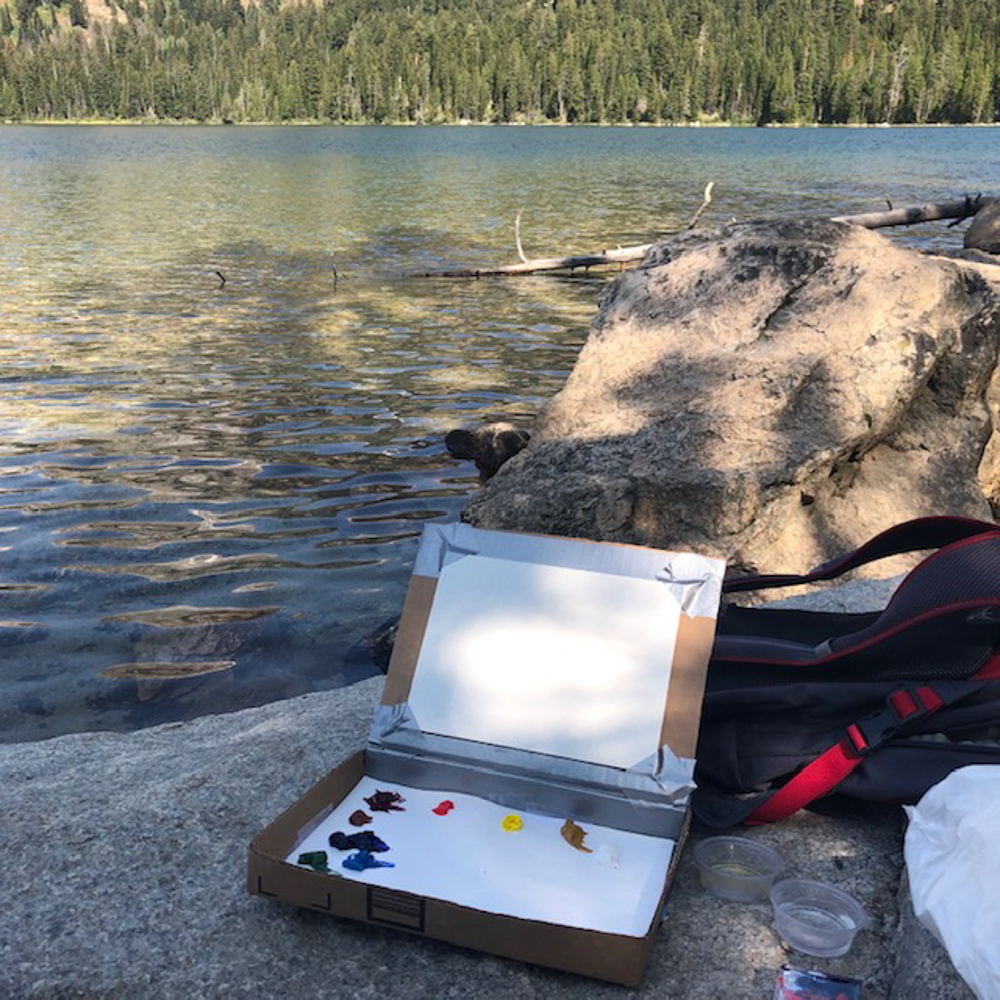
I set my panel on top of the ledge and then used 4 small pieces of duct tape to secure each corner. I found duct tape is very strong and held my panel secure, even after finishing my painting and folding the top closed. And I hiked 3 miles with the pochade box and finished painting in my backpack.
Size of your pochade box DIY
I wouldn’t recommend making your pochade box too big. Cardboard is not as rigid as wood so you need to take care you don’t crush the top when you are packing your backpack. Cardboard is fairly rigid and my smallish pochade box worked great, just take care you protect it a bit.
Happy Ending to this pochade box DIY
Besides the fact that I was able to construct this pochade box diy easily enough with what I had around the house, it is so lightweight that it enabled me to go out hiking and paint along a beautiful lake here in Jackson Hole, Wyoming. That is enough of a happy ending.
But it gets better! On my first trip out I sold my painting to a group of people I met while painting. The day really could not have gone any better.
My other pochade box diy
I also have another pochade box that I made. The other was out of wood and was a lot more complicated and of course, heavy. You can read about how I made a pochade box out of a cigar box.
I realize I now have 5 pochade boxes with plans to buy another. Most of the time I paint very close to my car so weight is not a problem. For those outings I have two EasyL pochade boxes.
The last pochade box I have is a small 6″x8″ wood pochade box. I bought it from an instructor years ago. It’s small so I’ve used it on hiking trips for painting but because it’s made of 3/8″ walnut, it’s really too heavy for what it is: a place to hold a panel and a small wooden palette. I’ll be using my new cardboard pochade box instead.
Best pochade I have ever seen! Thanks so much for sharing